Introduction
Since I got my CPC 664’s, I was very interested in getting the blue keys looking deep blue just like in so many photos I’ve seen of the original CPC 664’s.
So after a wee bit of research I attempted two different methods, both with mixed positive results, the first method was to let the sun’s power alone ‘treat’ the keyboard, and the second method was with 6% peroxide and sunlight.
Yes I could have used stronger peroxide but that might cause damage, either way I’ll use the data I’ve gathered in these attempts to fine tune how I do retro brighting in the future.
Method #1 – Sunlight
The first method involves placing the keyboard itself out in the sunlight for a few hours over a couple of days. So that was approx 4 hours per day over a 2 day period where it was sunny (no clouds).
Here’s the result of leaving it outside for a few hours over a couple of days in the May sunshine.
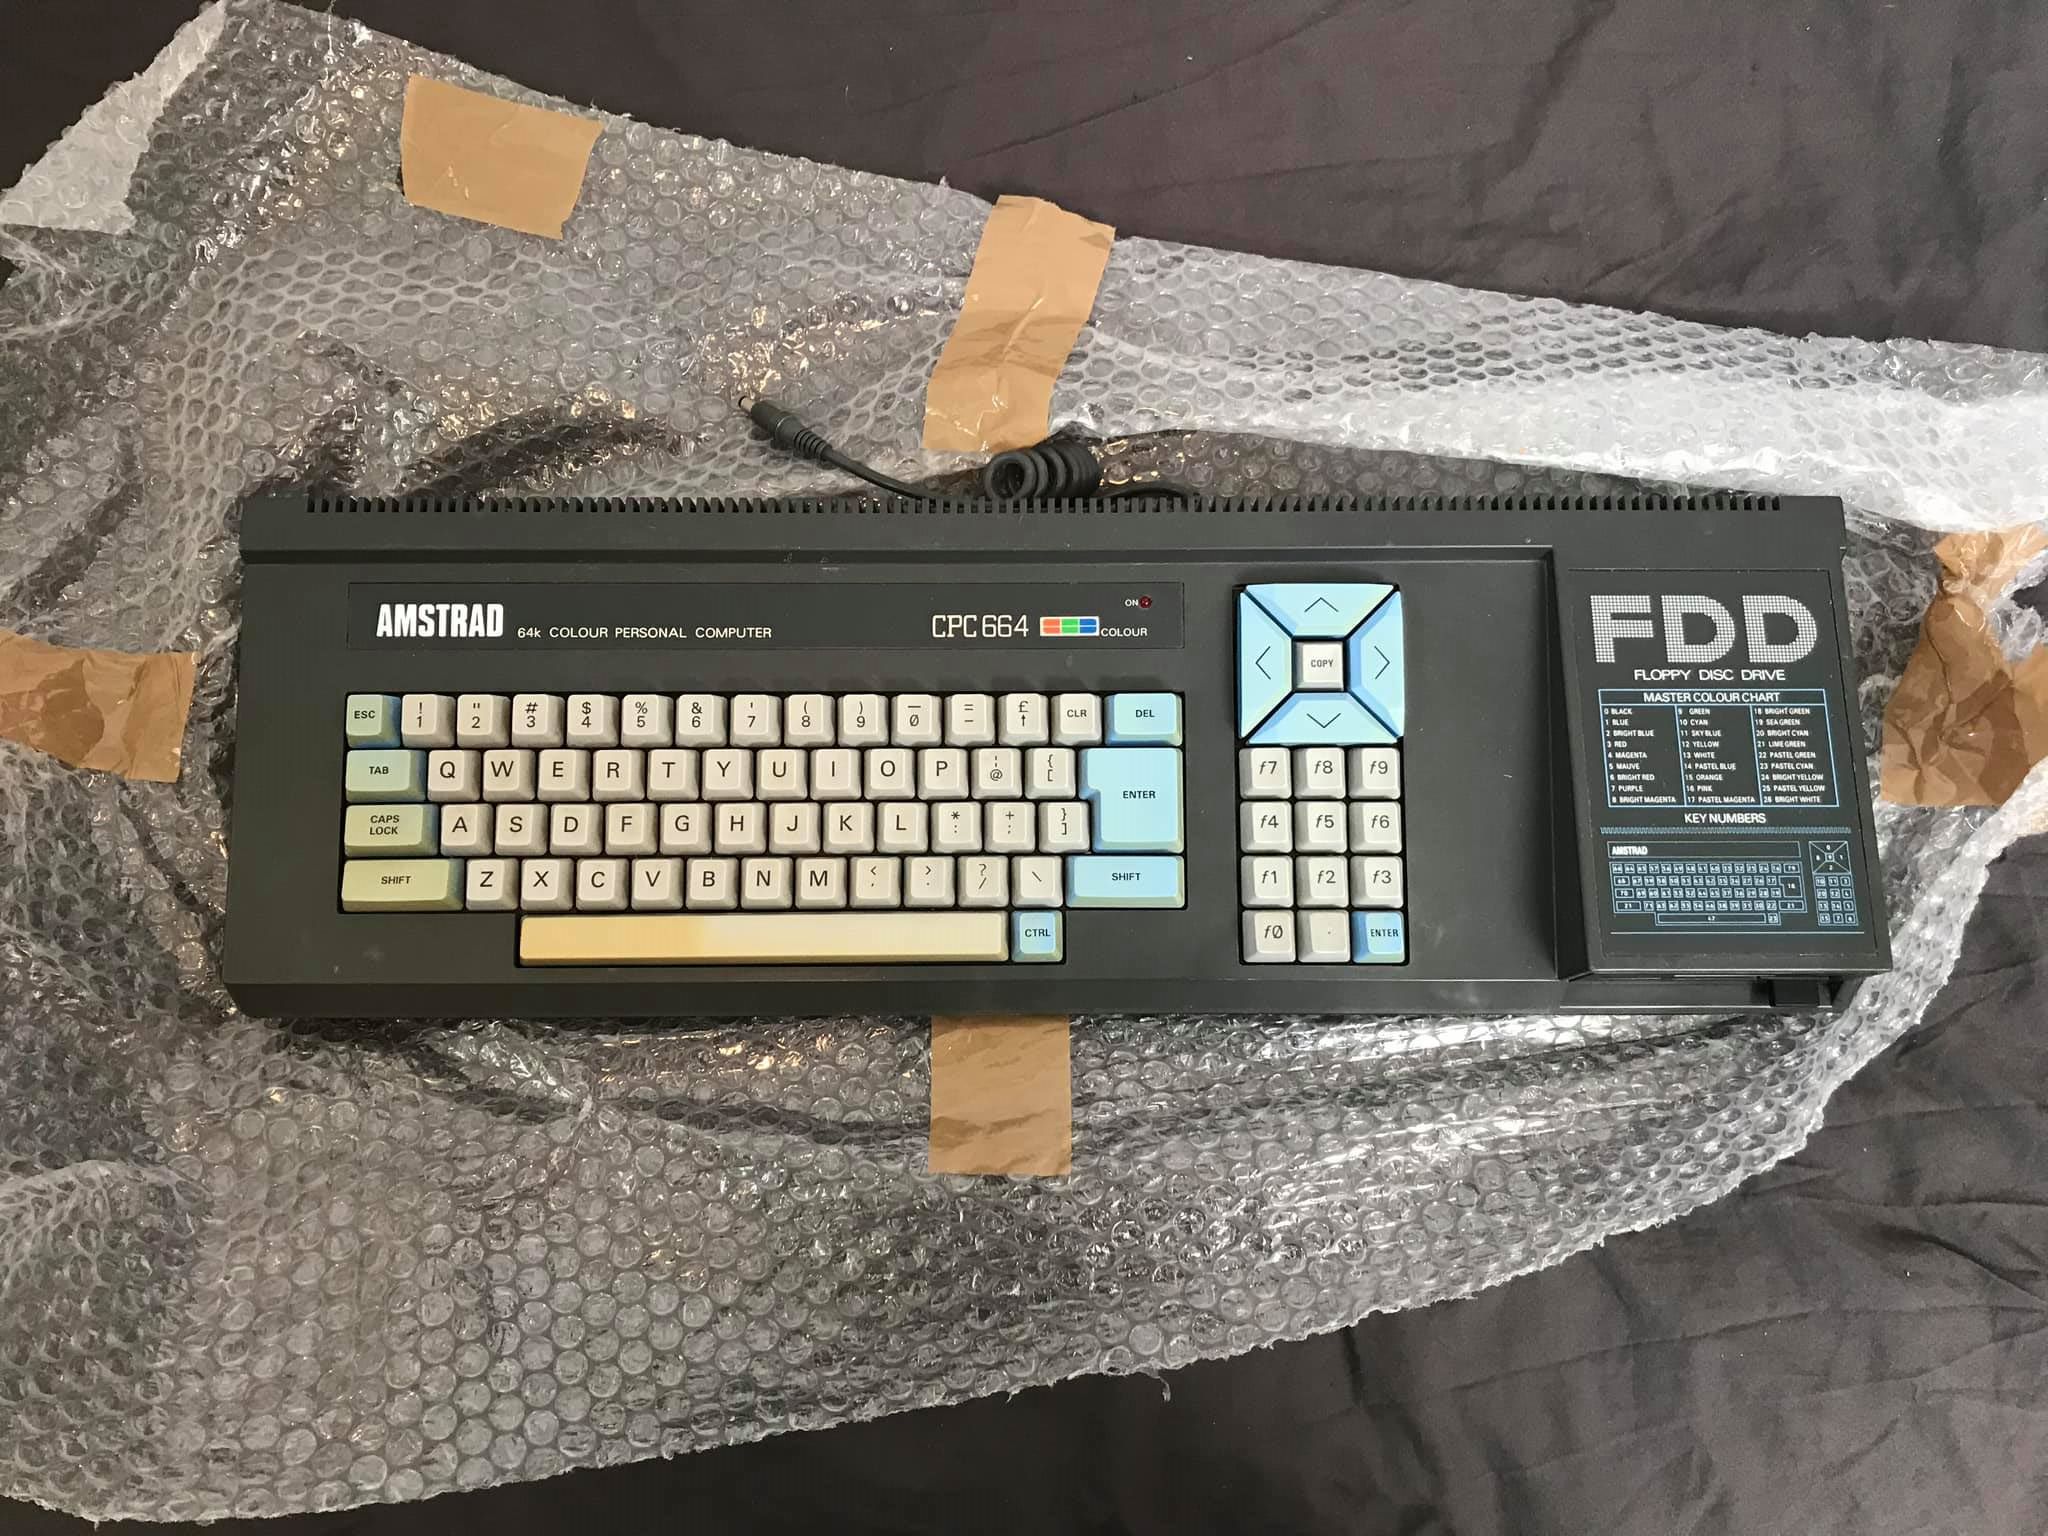
Before pic
After pic
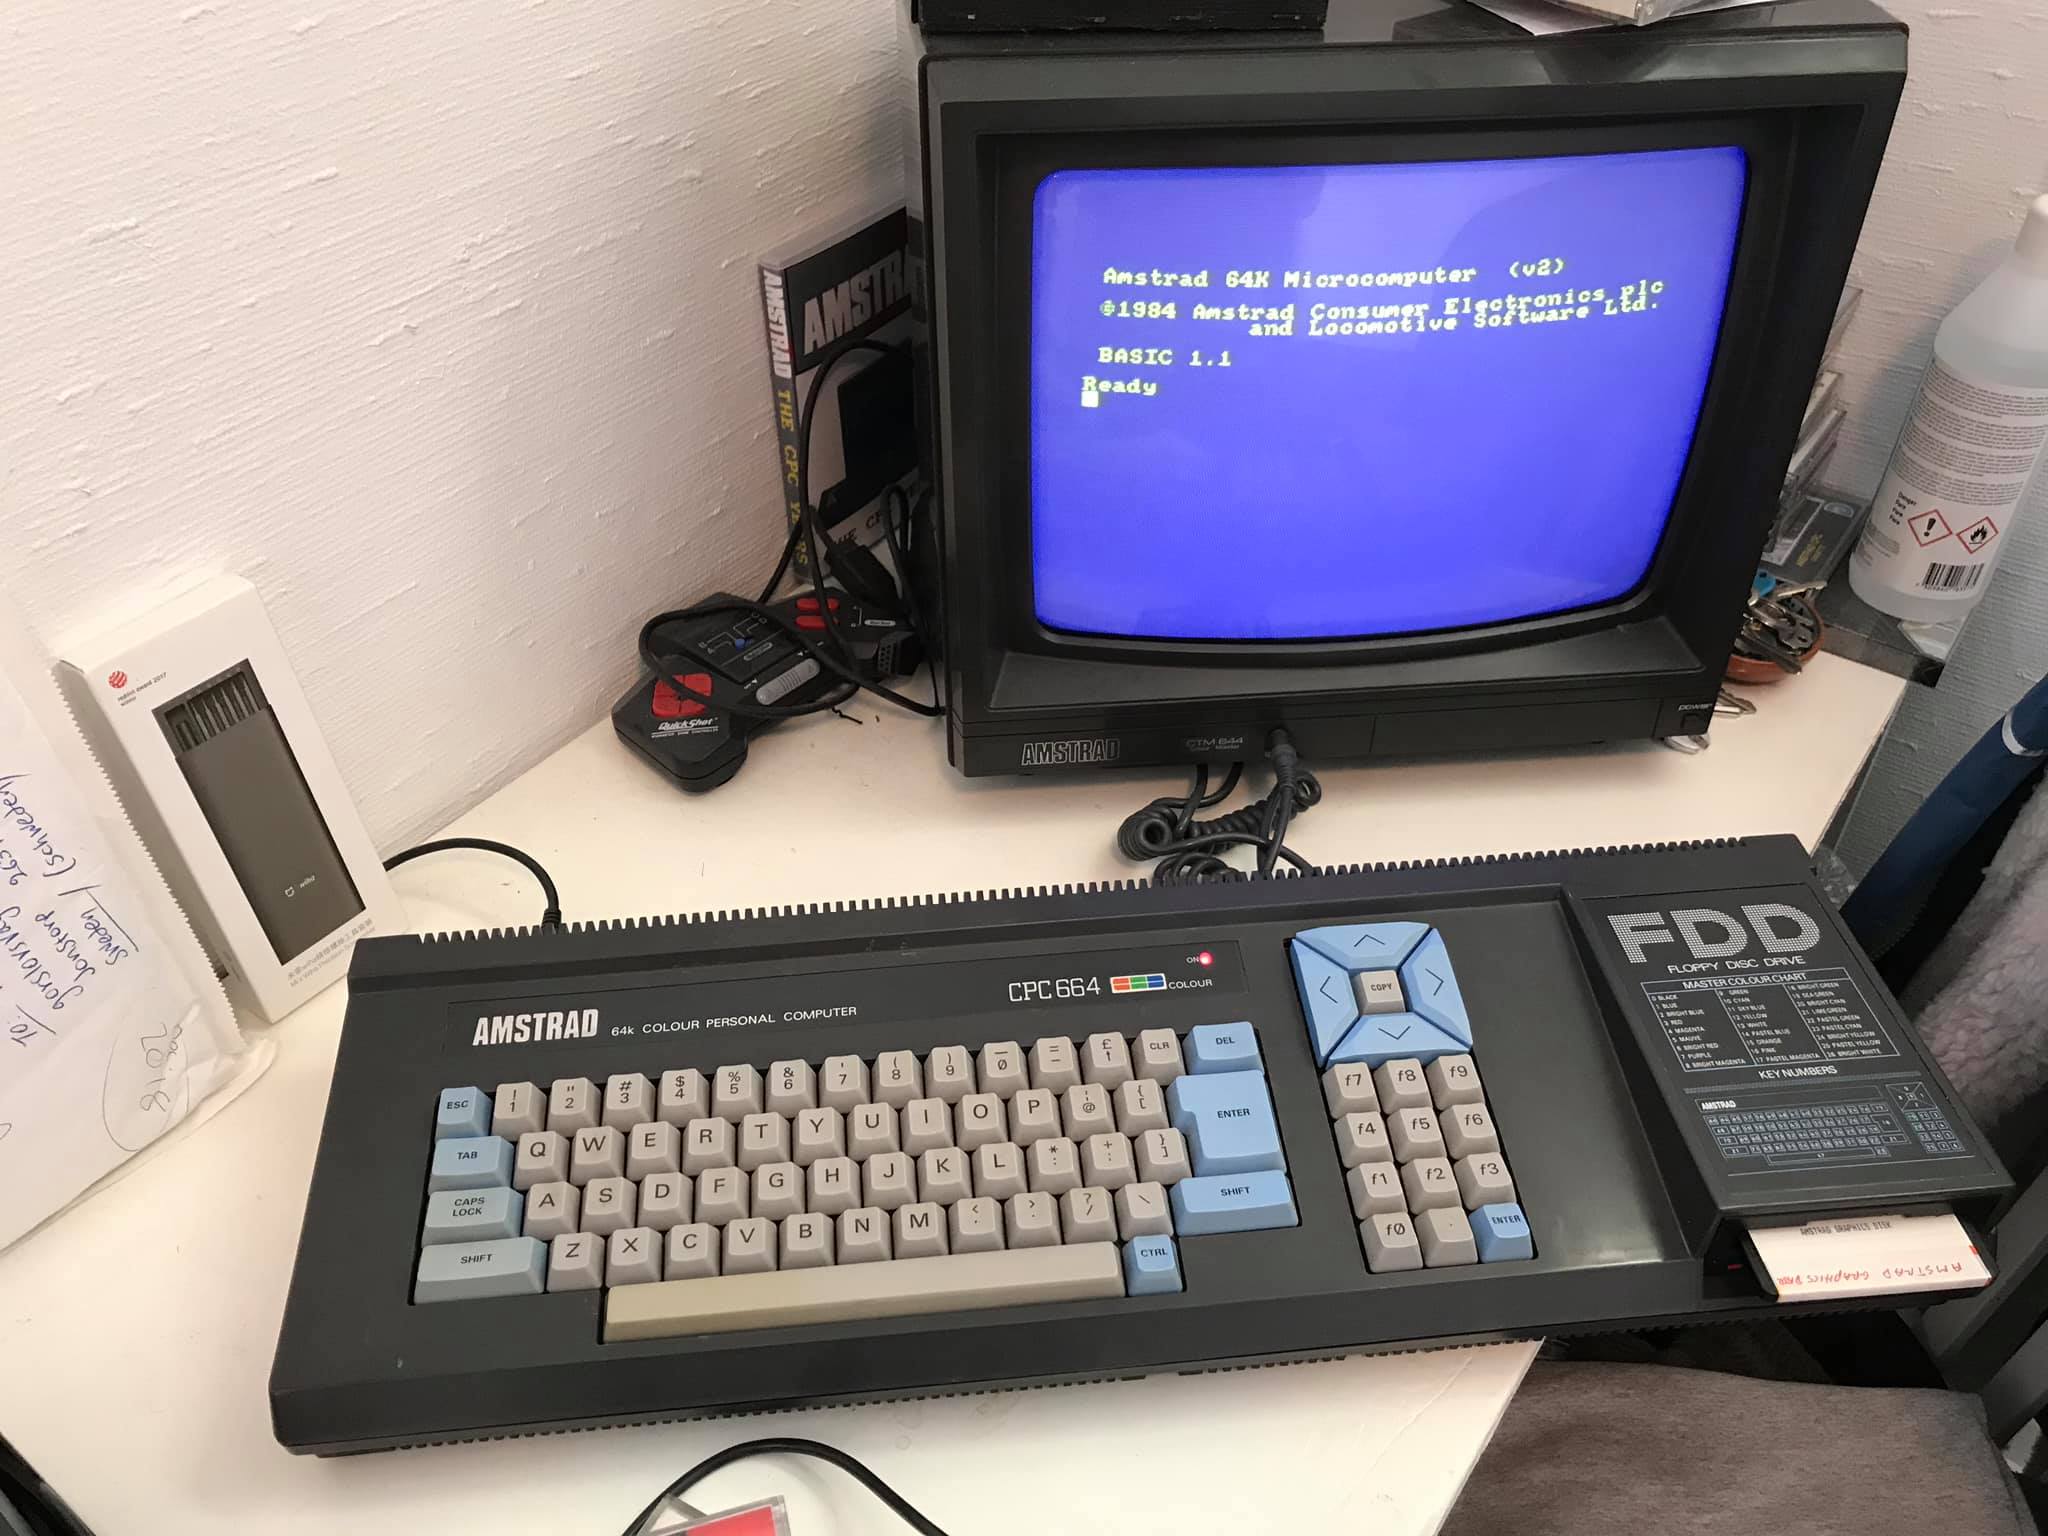
This method did lighten the overall colour of all the keys on the keyboard, and that was exactly what I wanted, but I also I wanted to see the blue colours pop out at me. So that meant more methods to try.
It did improve the look, that’s for sure, for example look at the spacebar and the left Shift and Caps lock keys, they are definitely improved, the yellowing is almost all gone!
If you do try this method, remove the keyboard assembly from the computer case, and place it outside on a table and keep an eye on it to verify what happens.
Method #2 – Peroxide & Sunlight
Next I tried using weak peroxide gel (6%) from ebay (hair gel) in conjunction with sunlight from fairly sunny days in July. Normally people use a strength of 12% or up to 30% so I wanted to start gently as 30% will definitely get a good result but can also whiten your blue keys in patches, and you don’t want that.
Warning !
Too much bleach or sunlight can cause damage ! If you want to see what 30% can do (including the white patches), see this photo (not mine), look closely and you’ll see that the ESC key, ENTER keys and left cursor keys (and other) are bleached/whitened.
Retro brighting with 6%
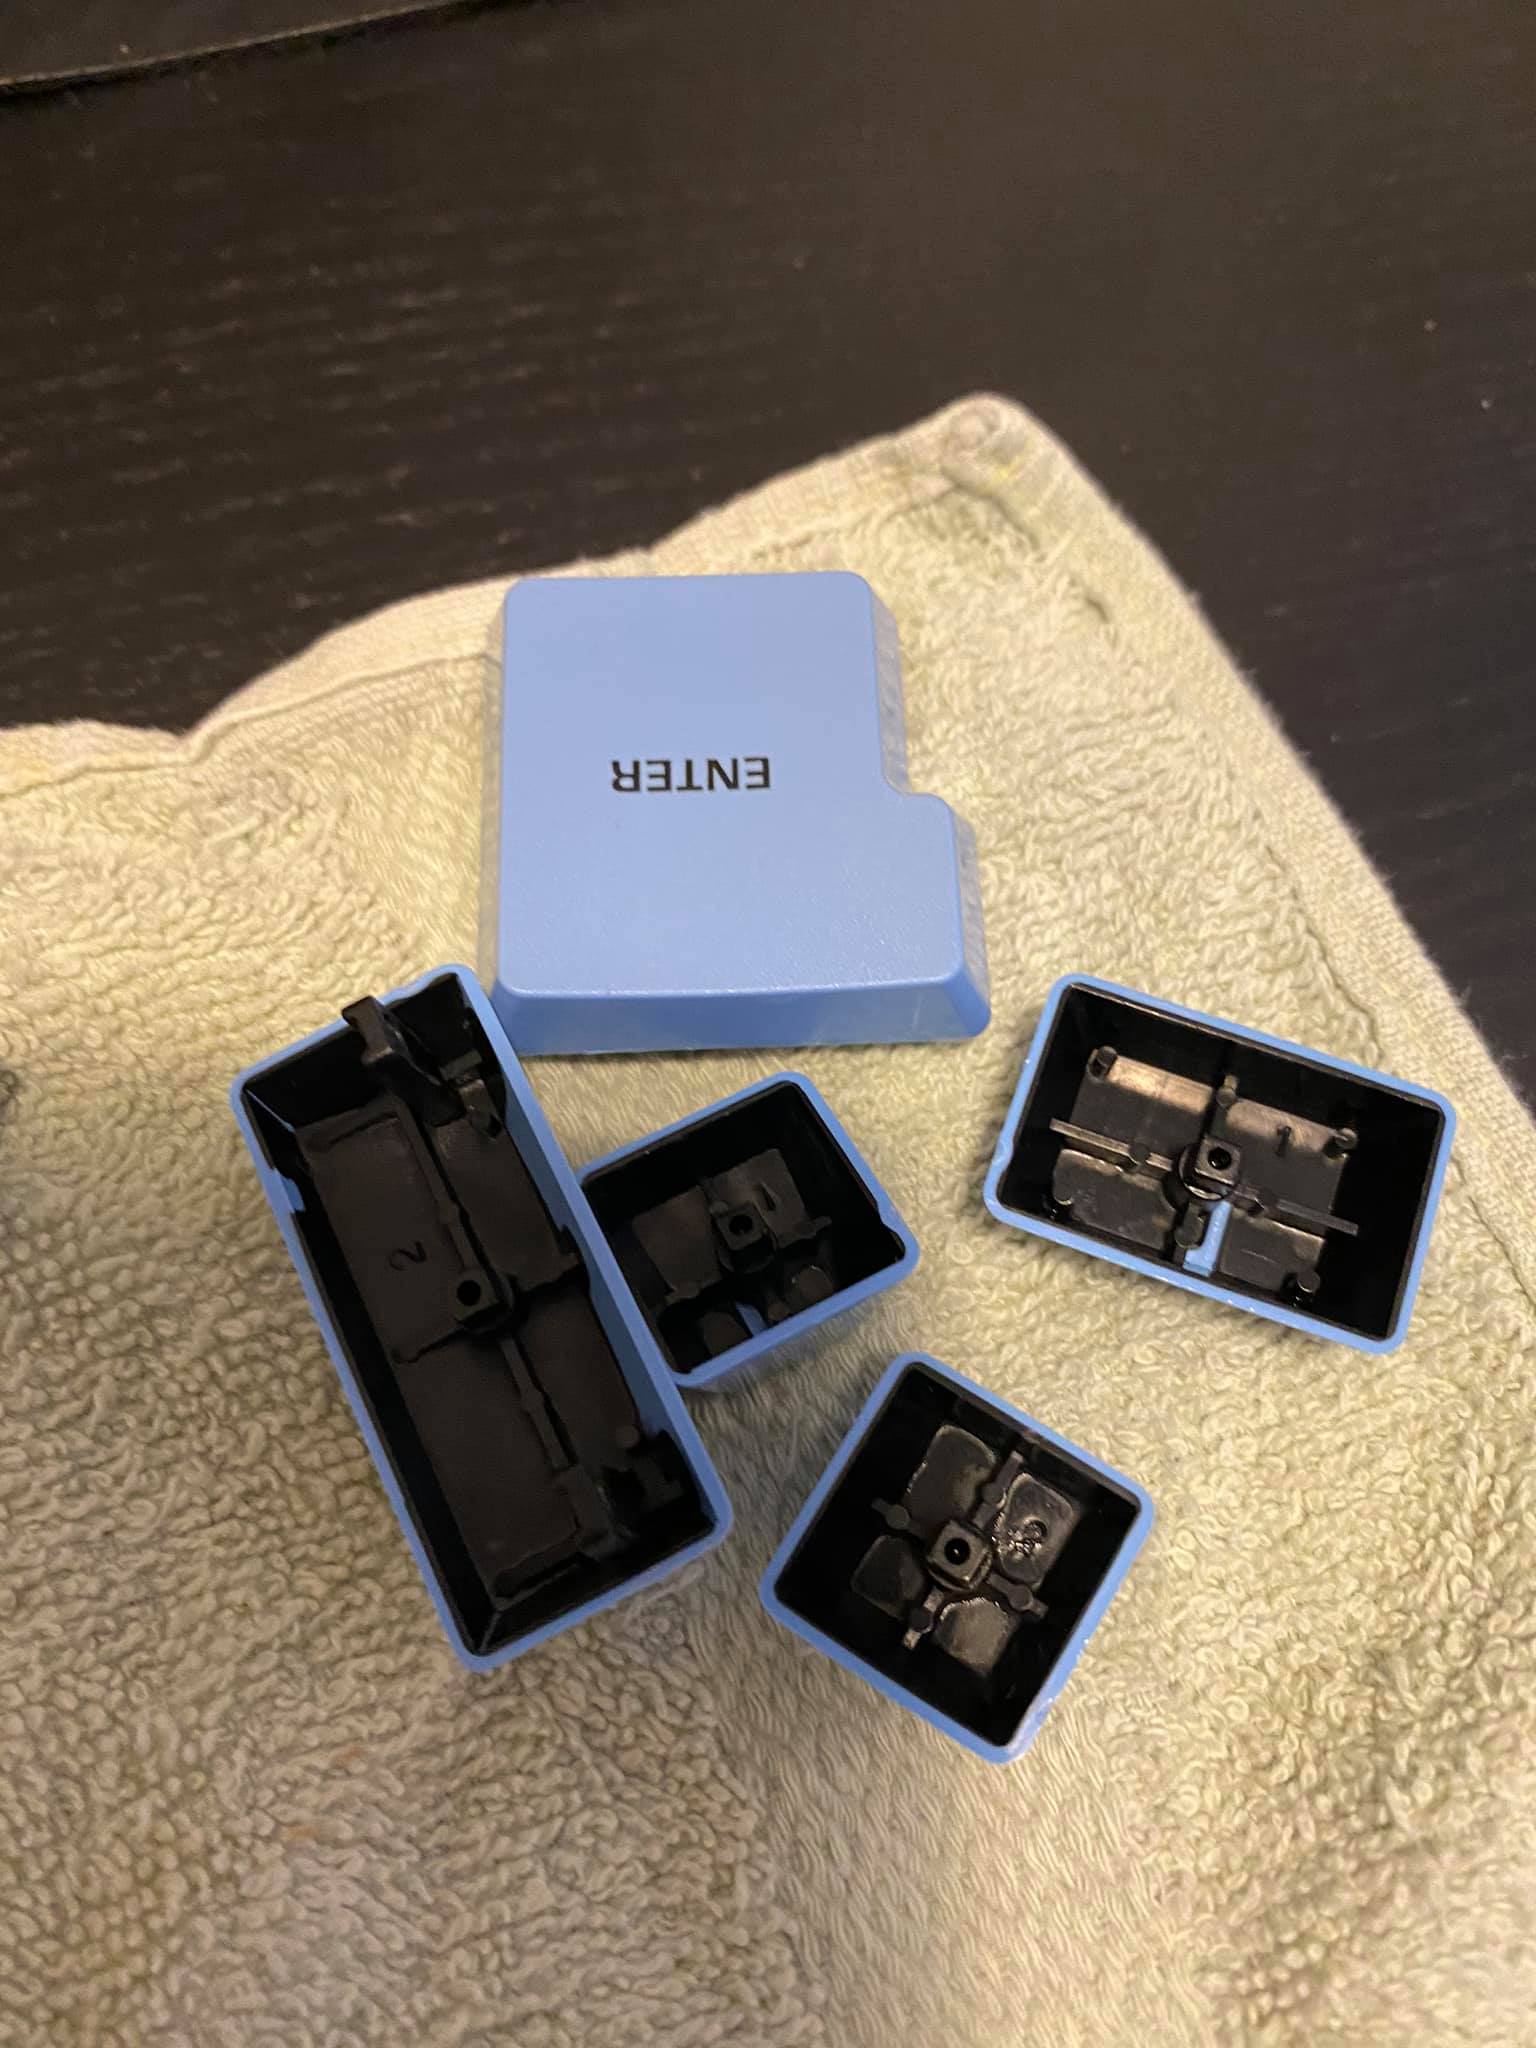
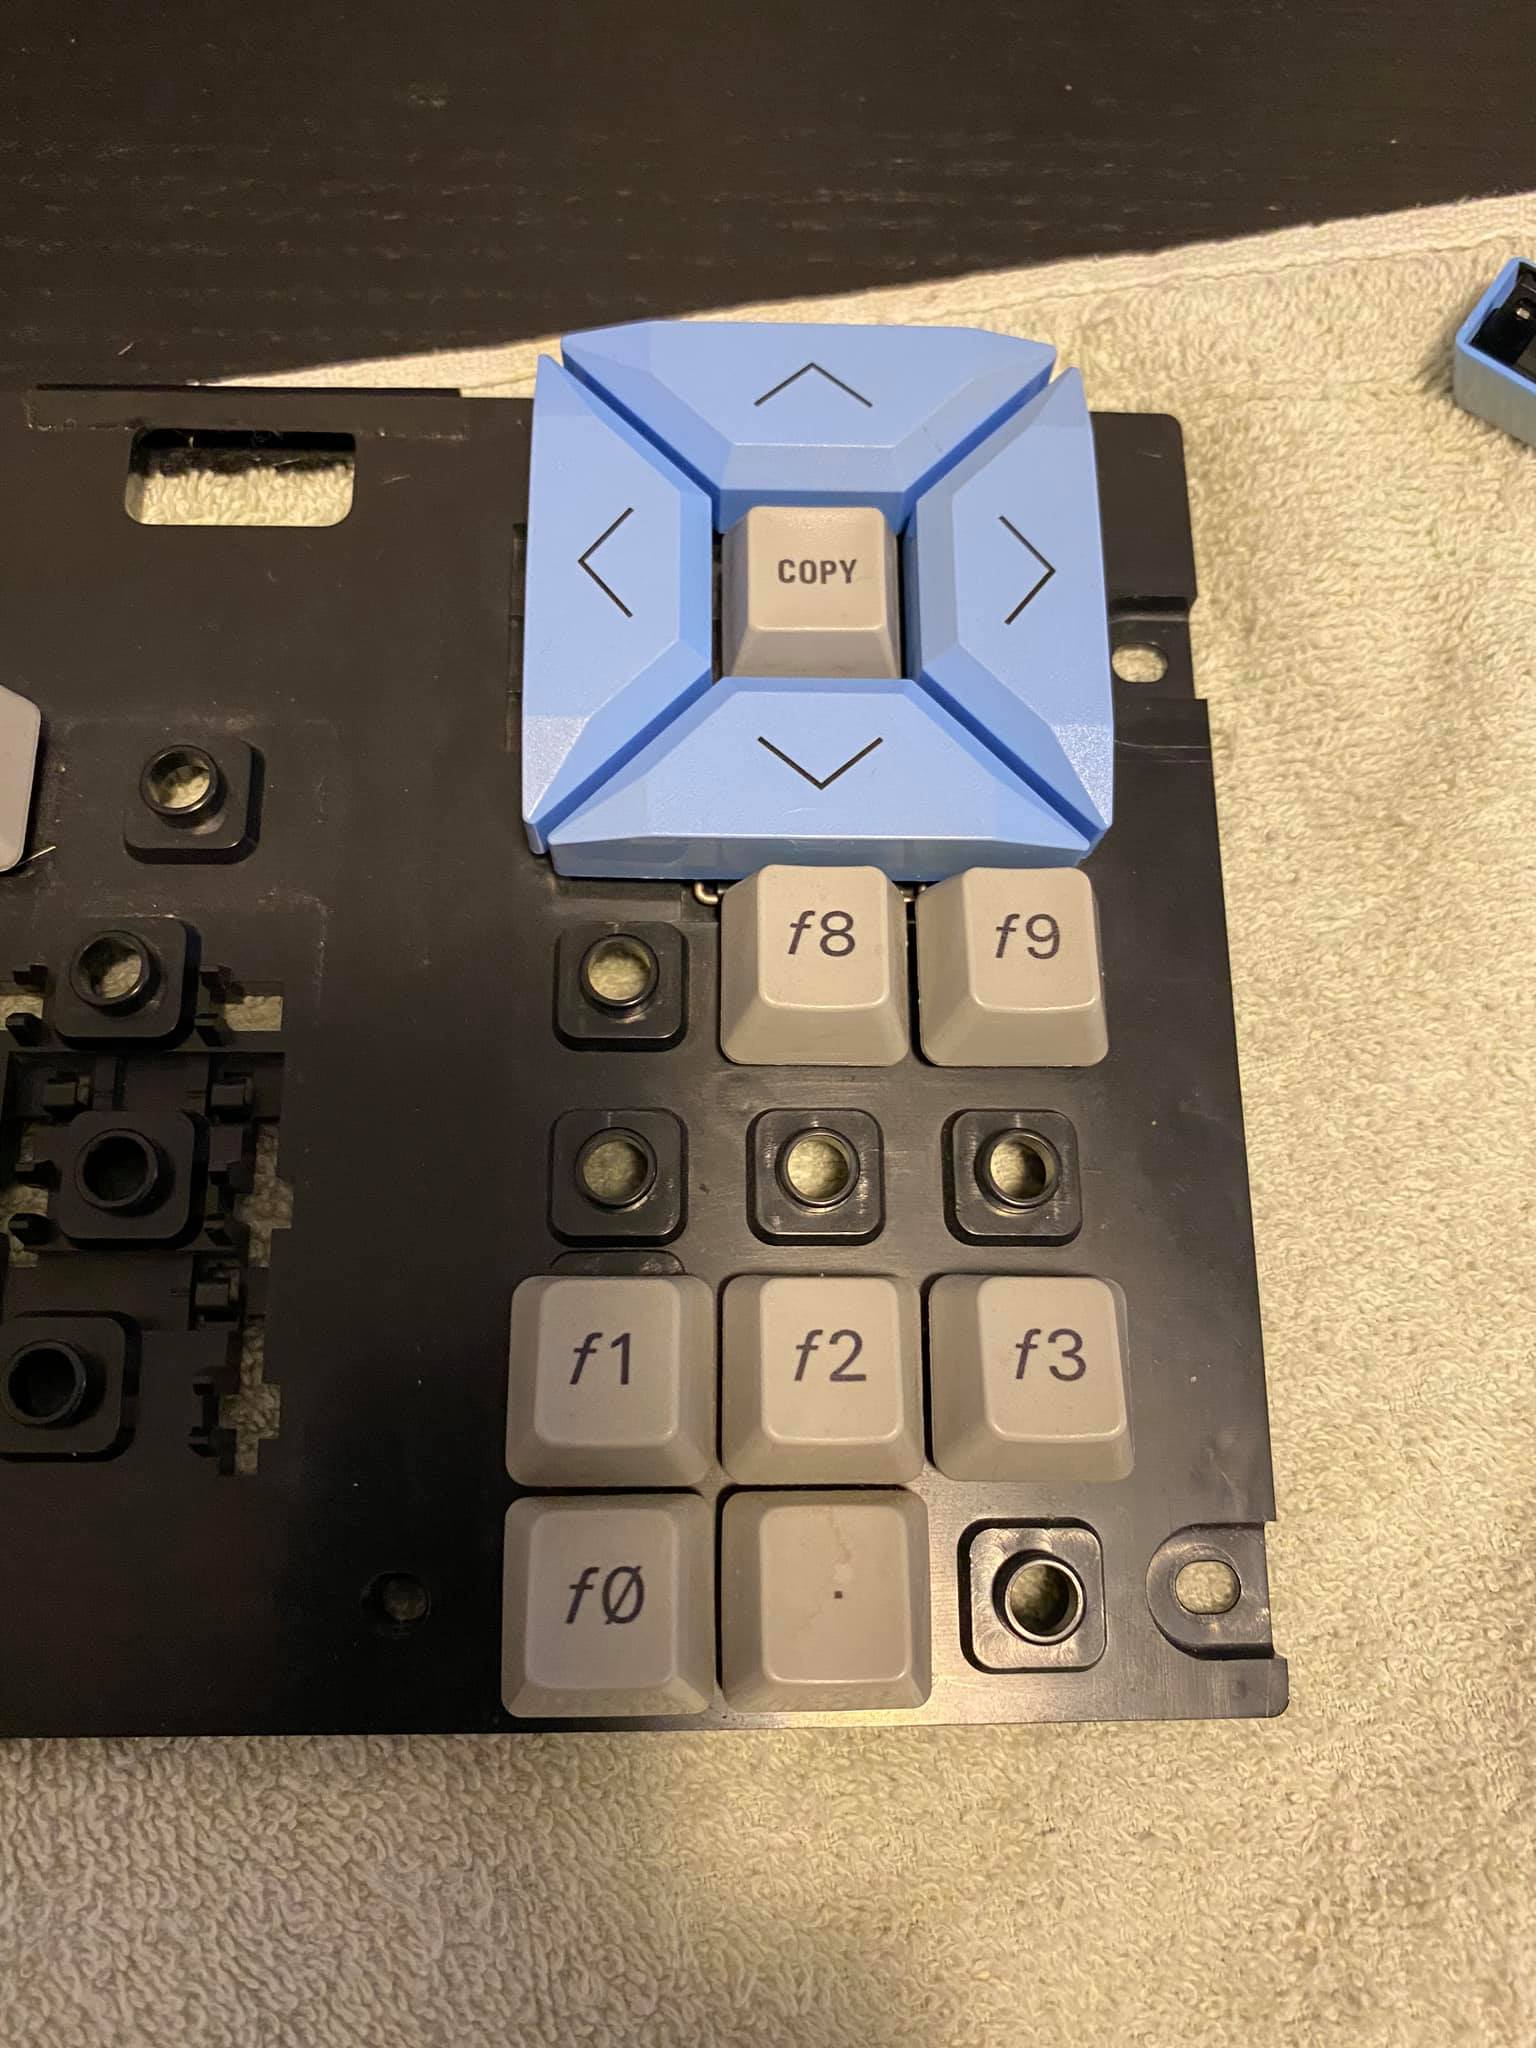
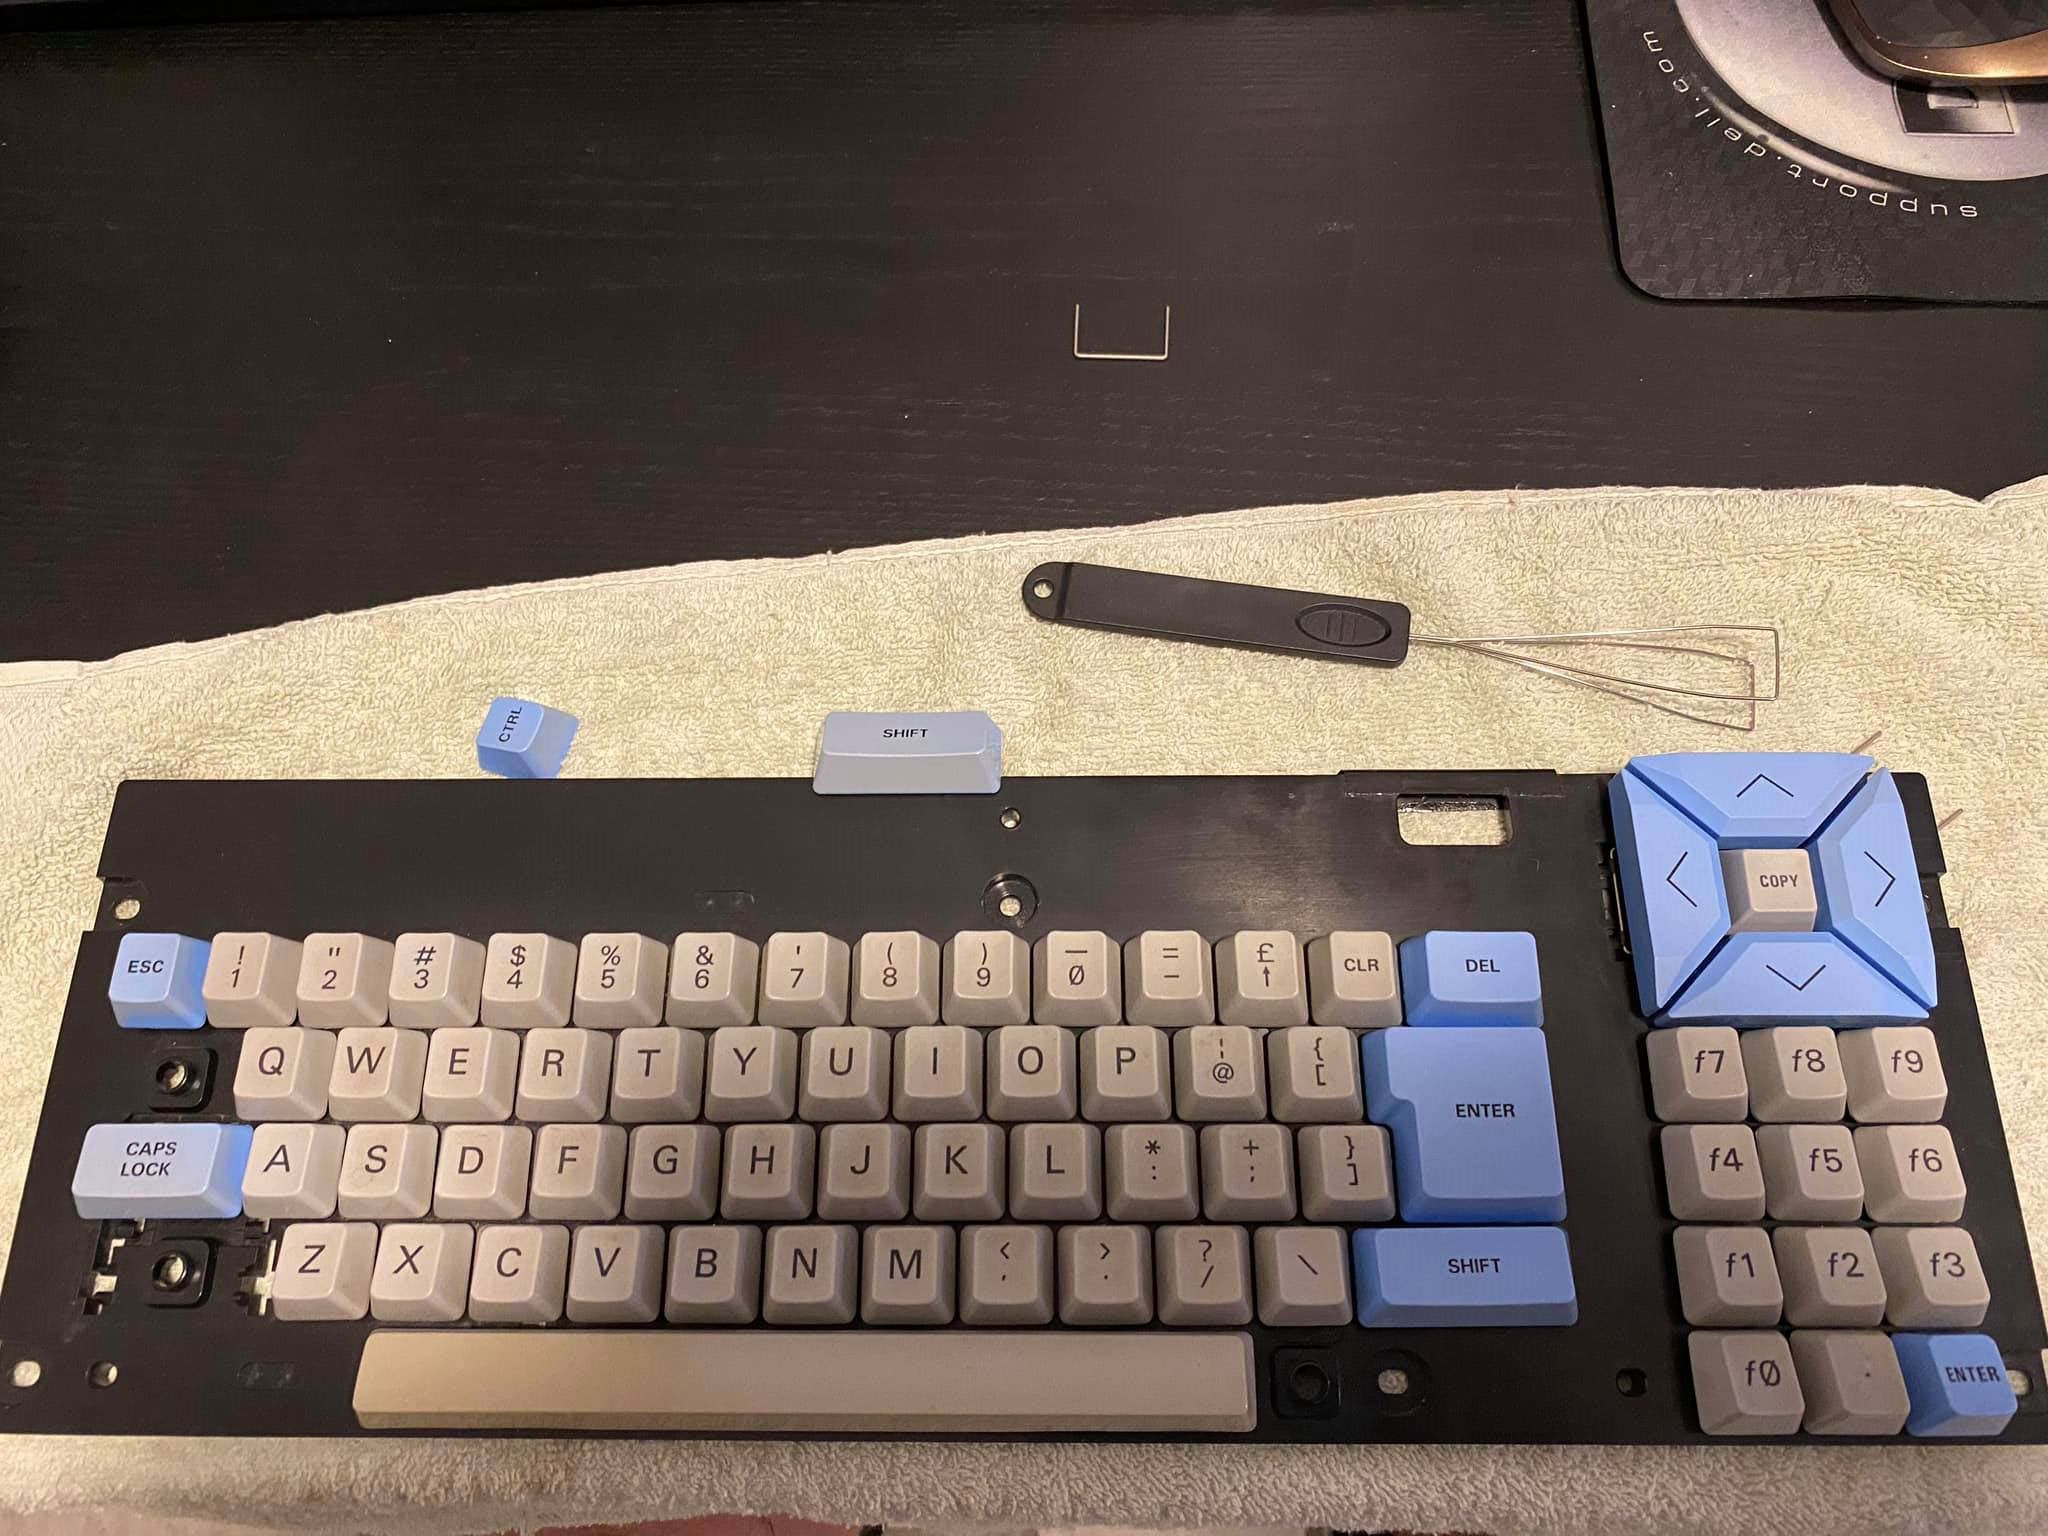
Note that removing the blue keys is fairly easy to do (using a key puller tool), but getting them back in (with the associated metal bits) took me a few hours to do as the metal bits are very fiddly. Be Patient, you will succeed.
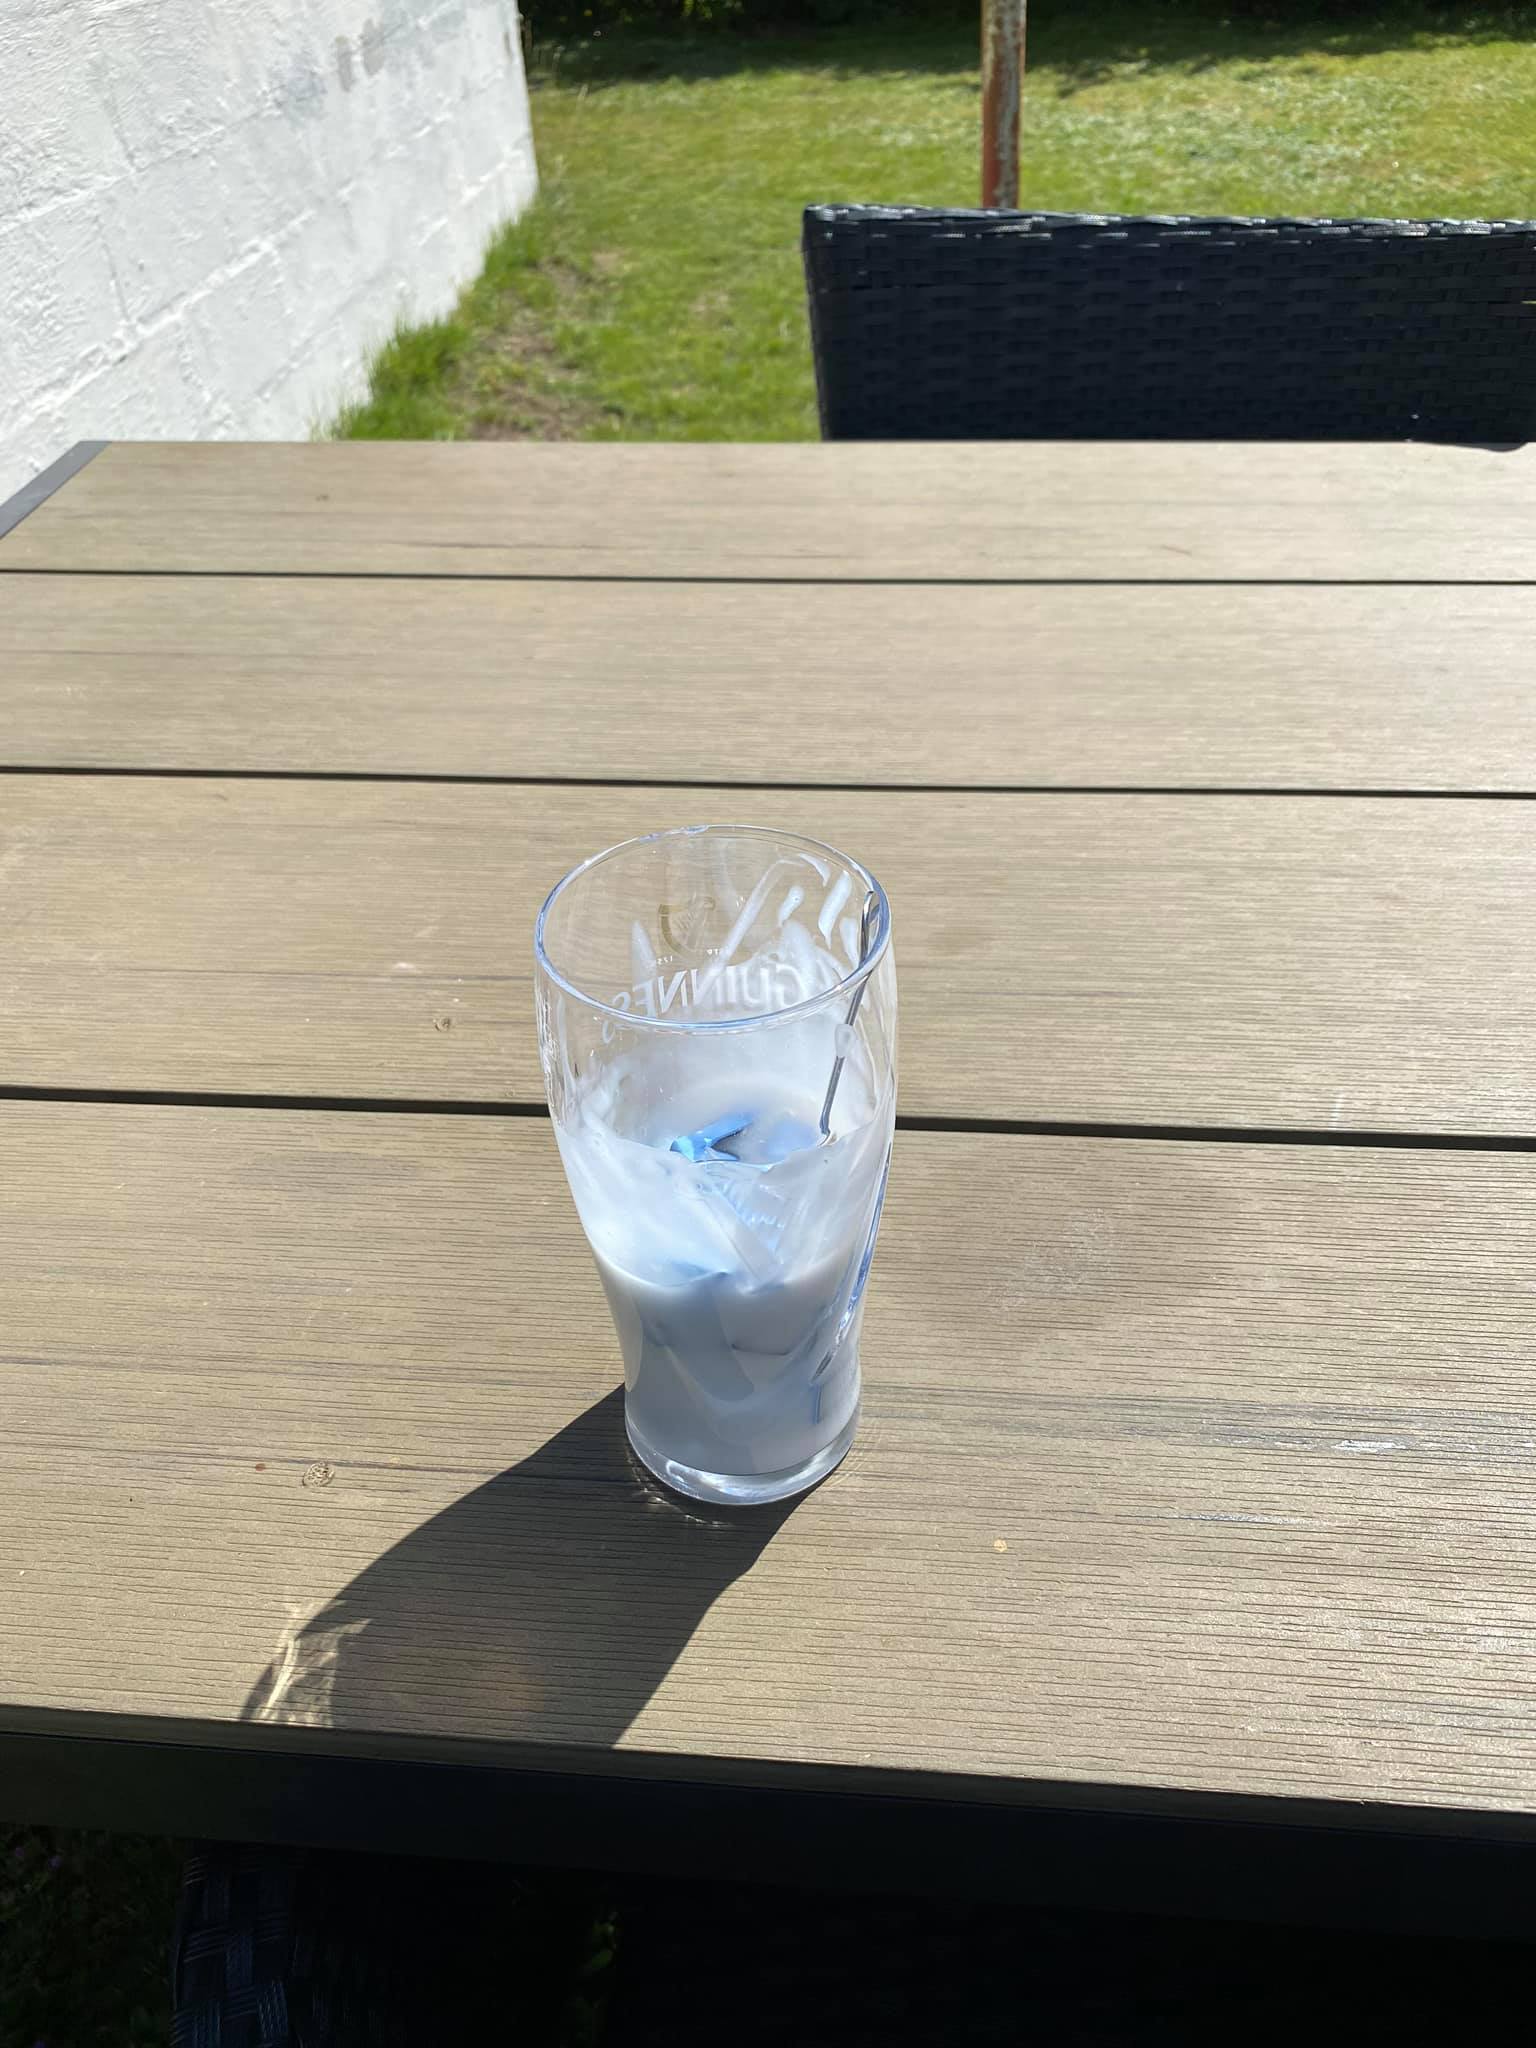
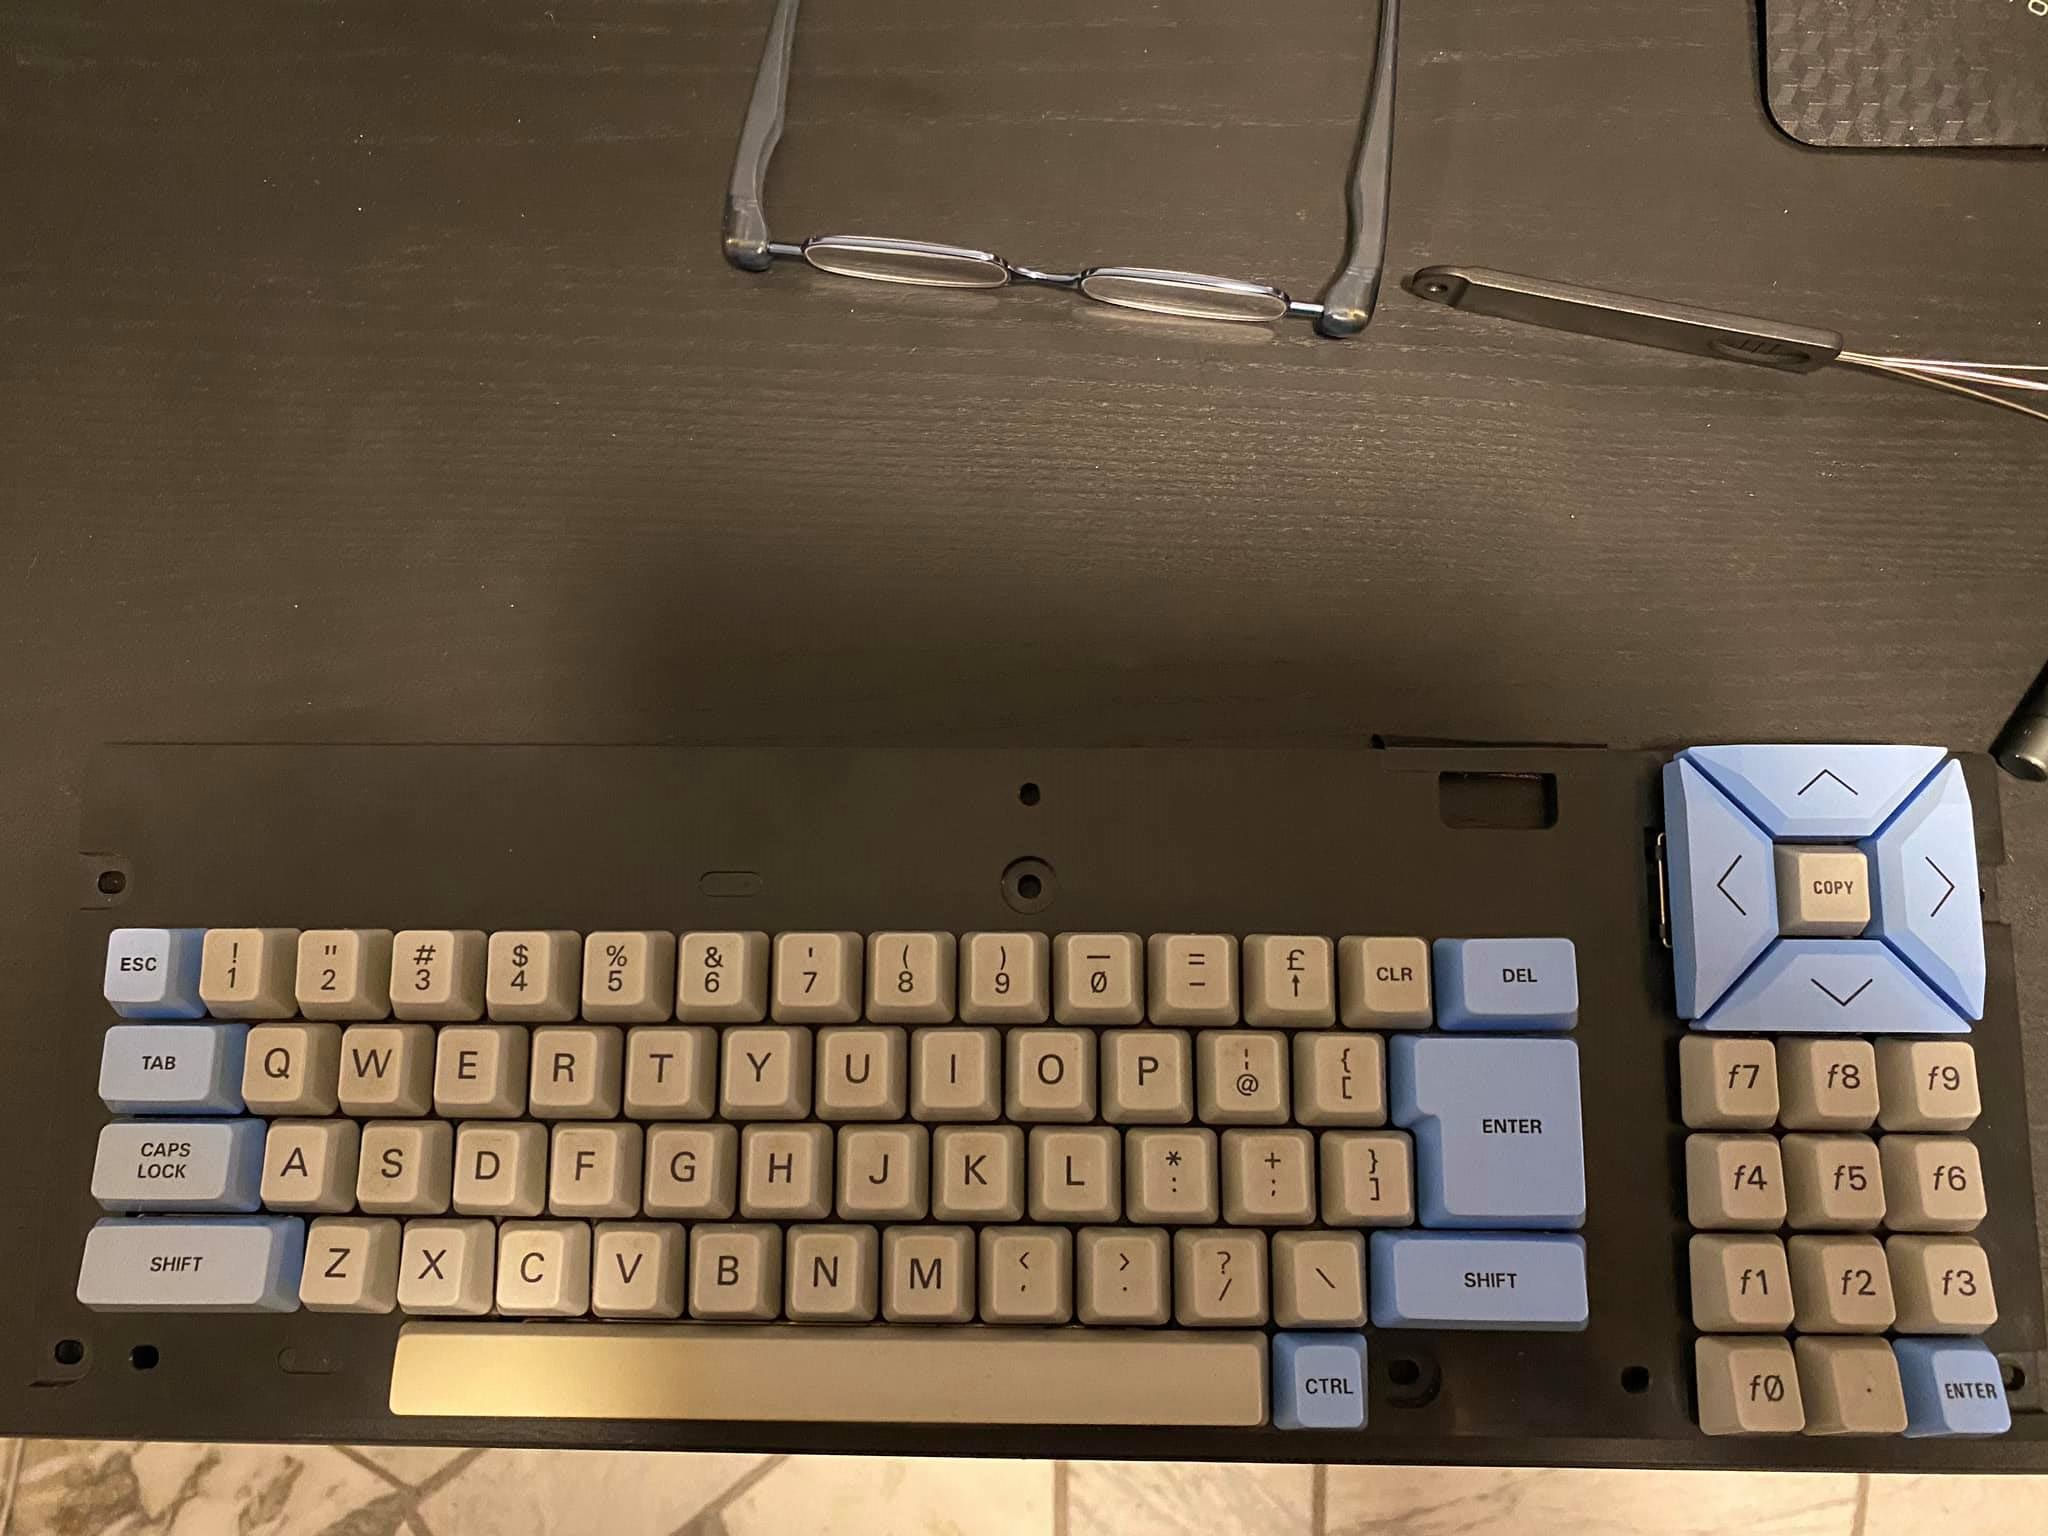
Simply place the keys you want to brighten in a suitable glass or bottle and add the 6% gel, make sure to cover all the keys and stir regularly so that the most yellow keys get properly exposed to the sun.
In this photo you can see that I added only all of the blue keys into a suitable glass and poured in enough gel to cover them. Also in the glass is a fork which I used to stir the mixture.
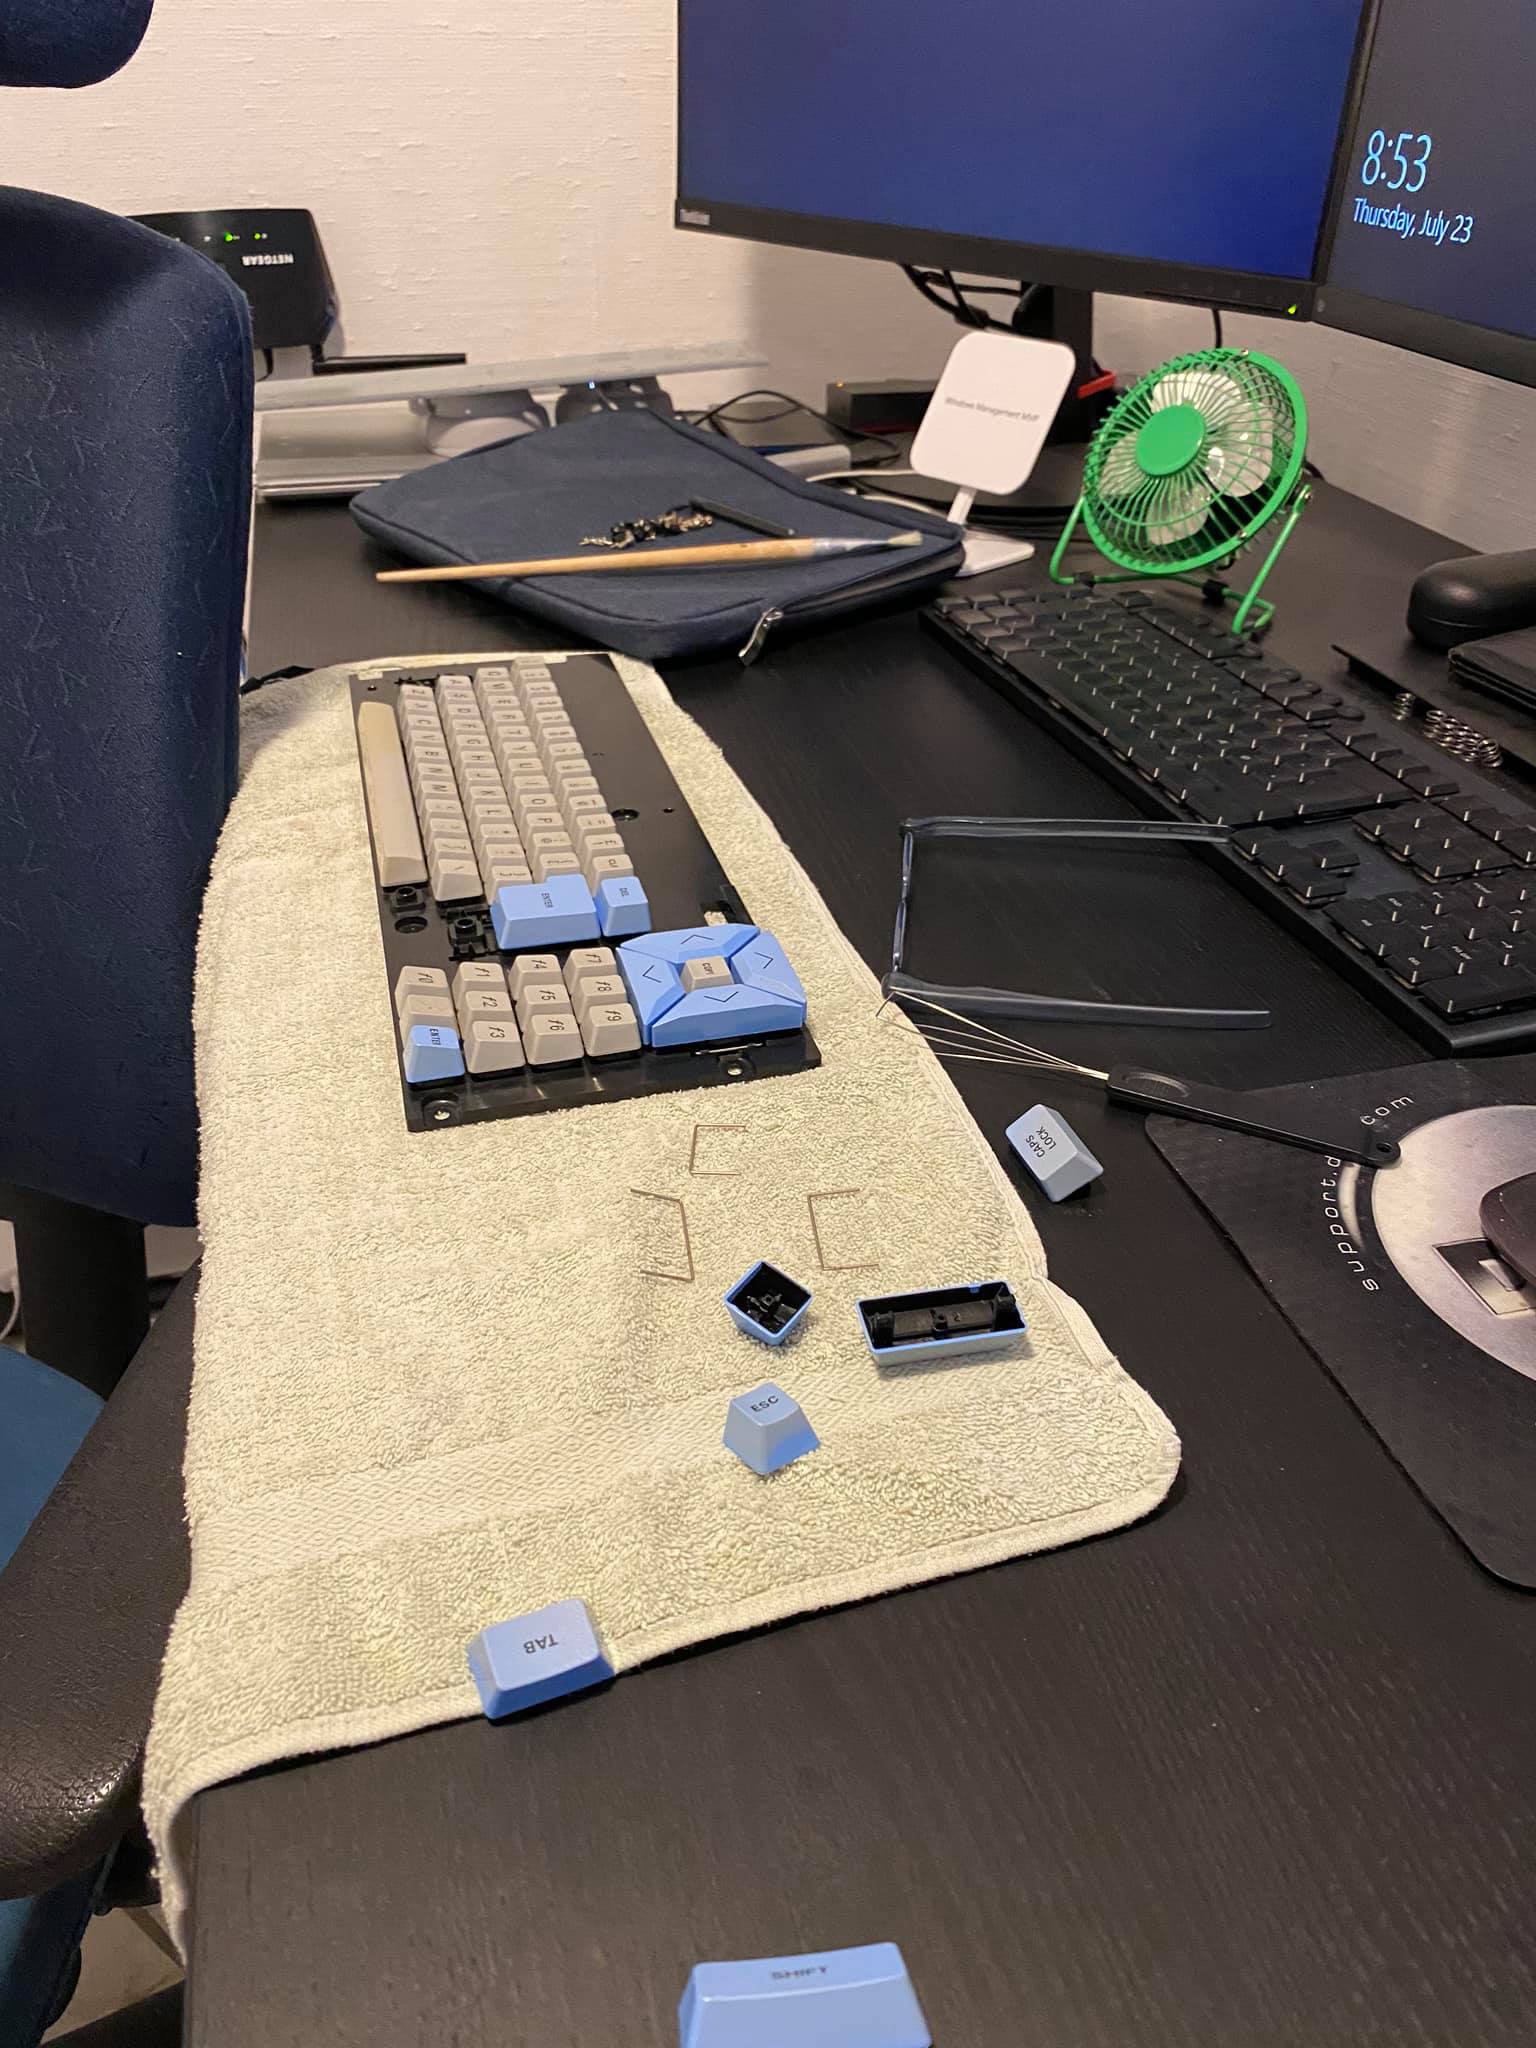
After they were out for a few hours (maybe 5 in total), I washed and dried each key and made sure there was no gel remaining. I used a toothbrush to assist in removing the gel (and warm water).
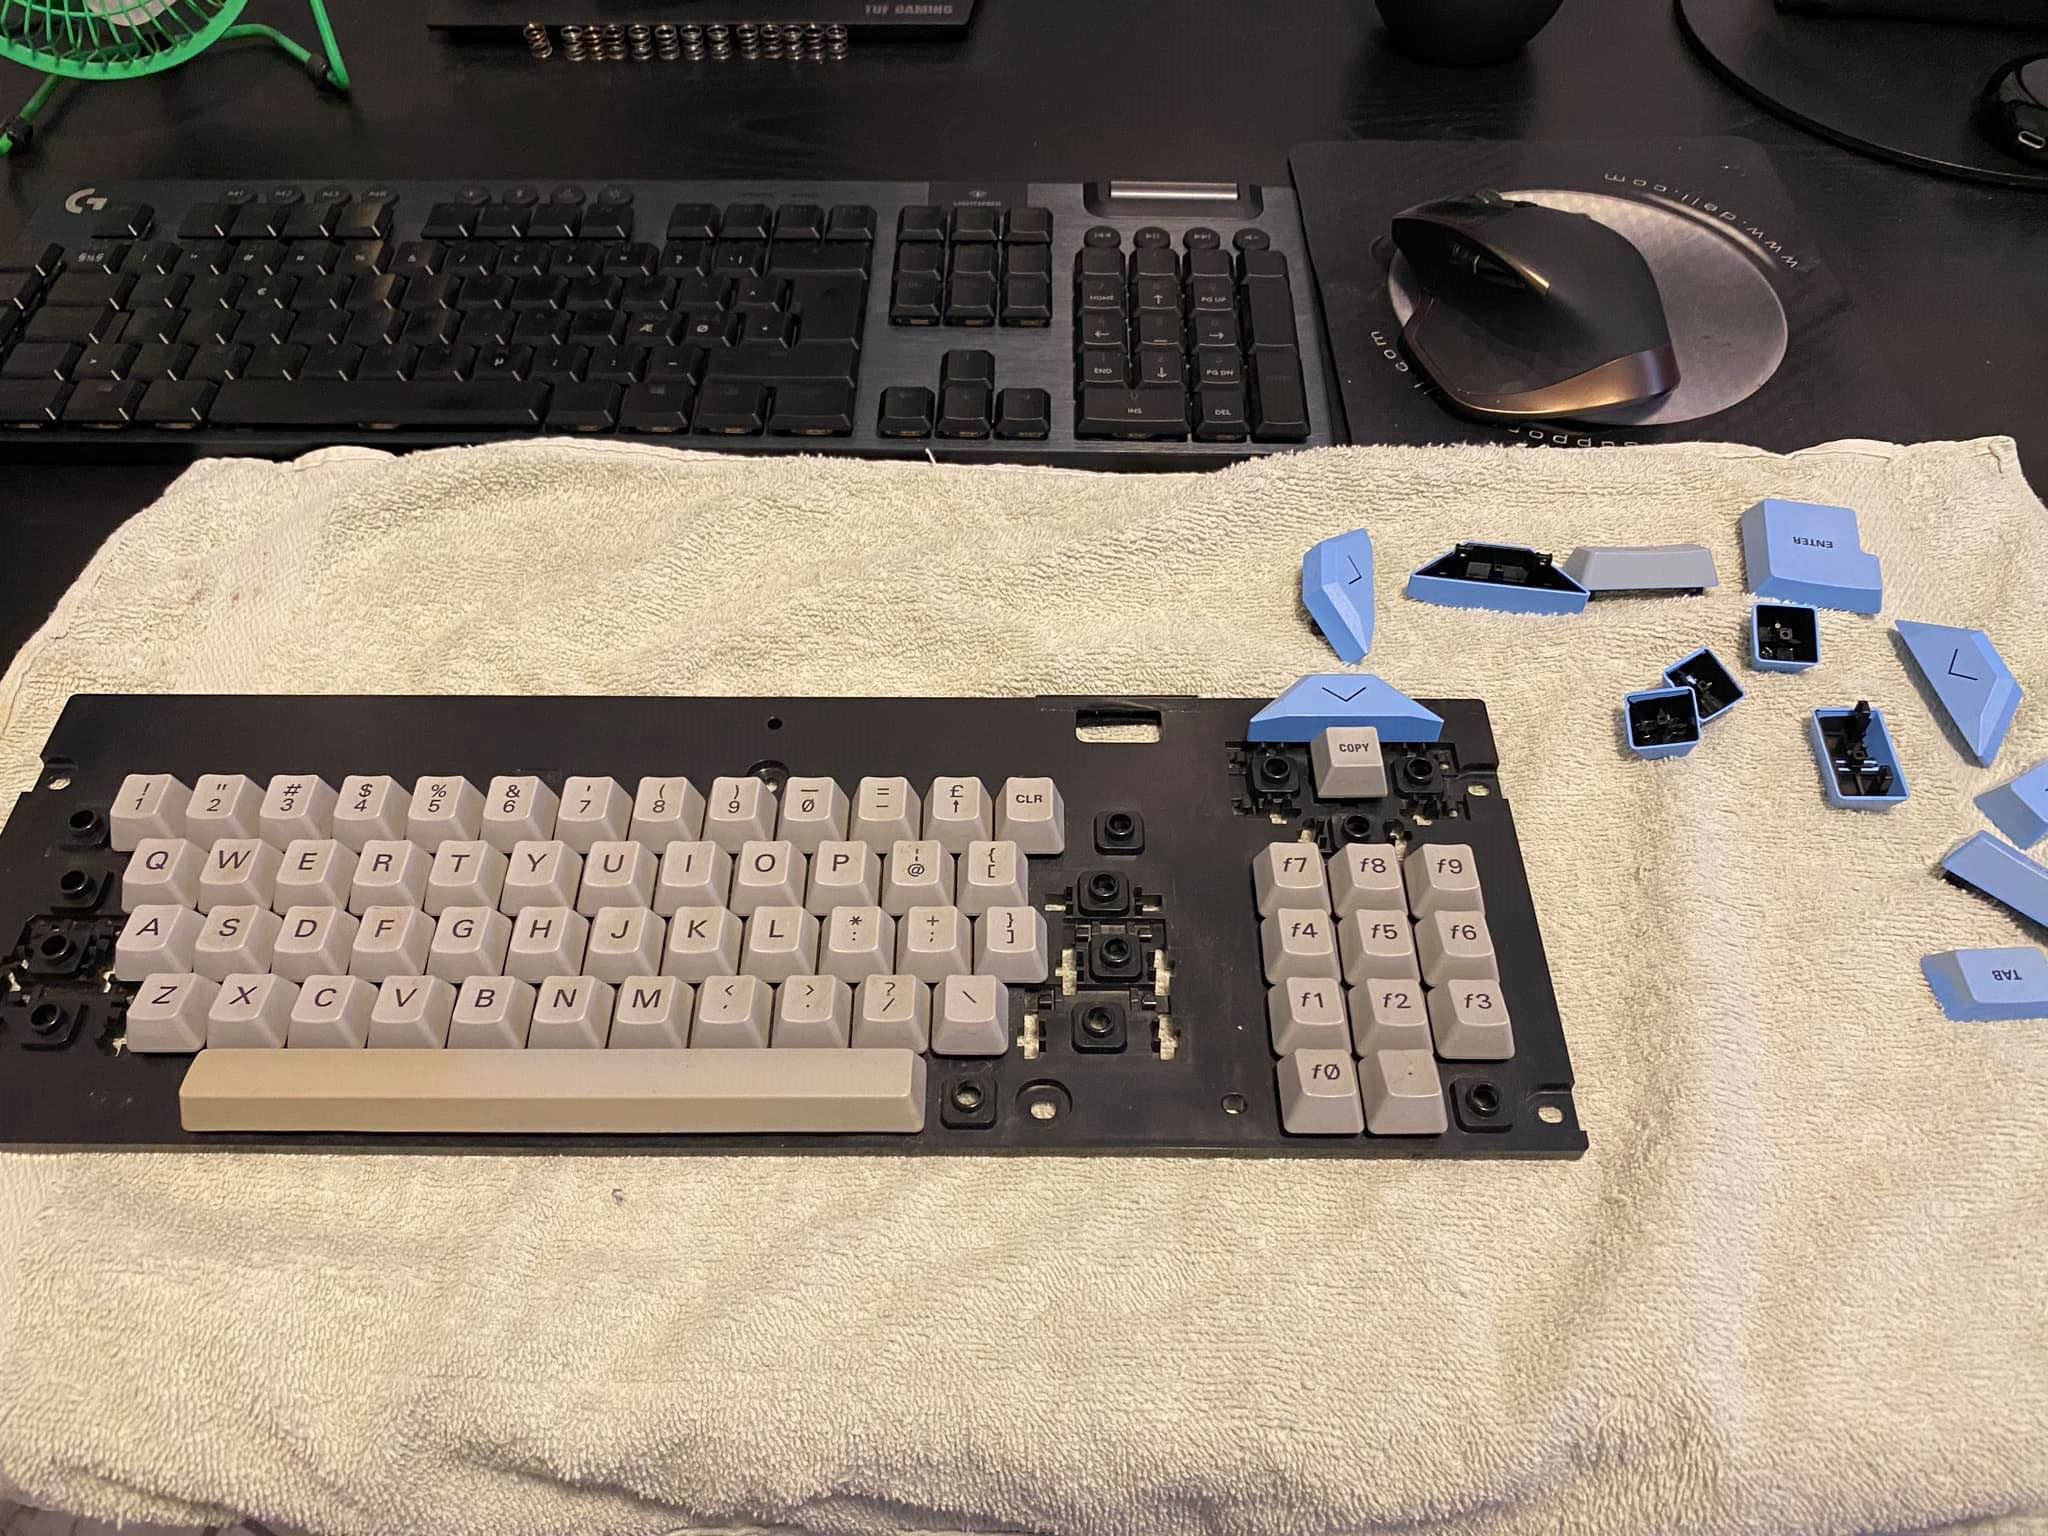
Then i spent a few hours reassembling them back into their correct position.
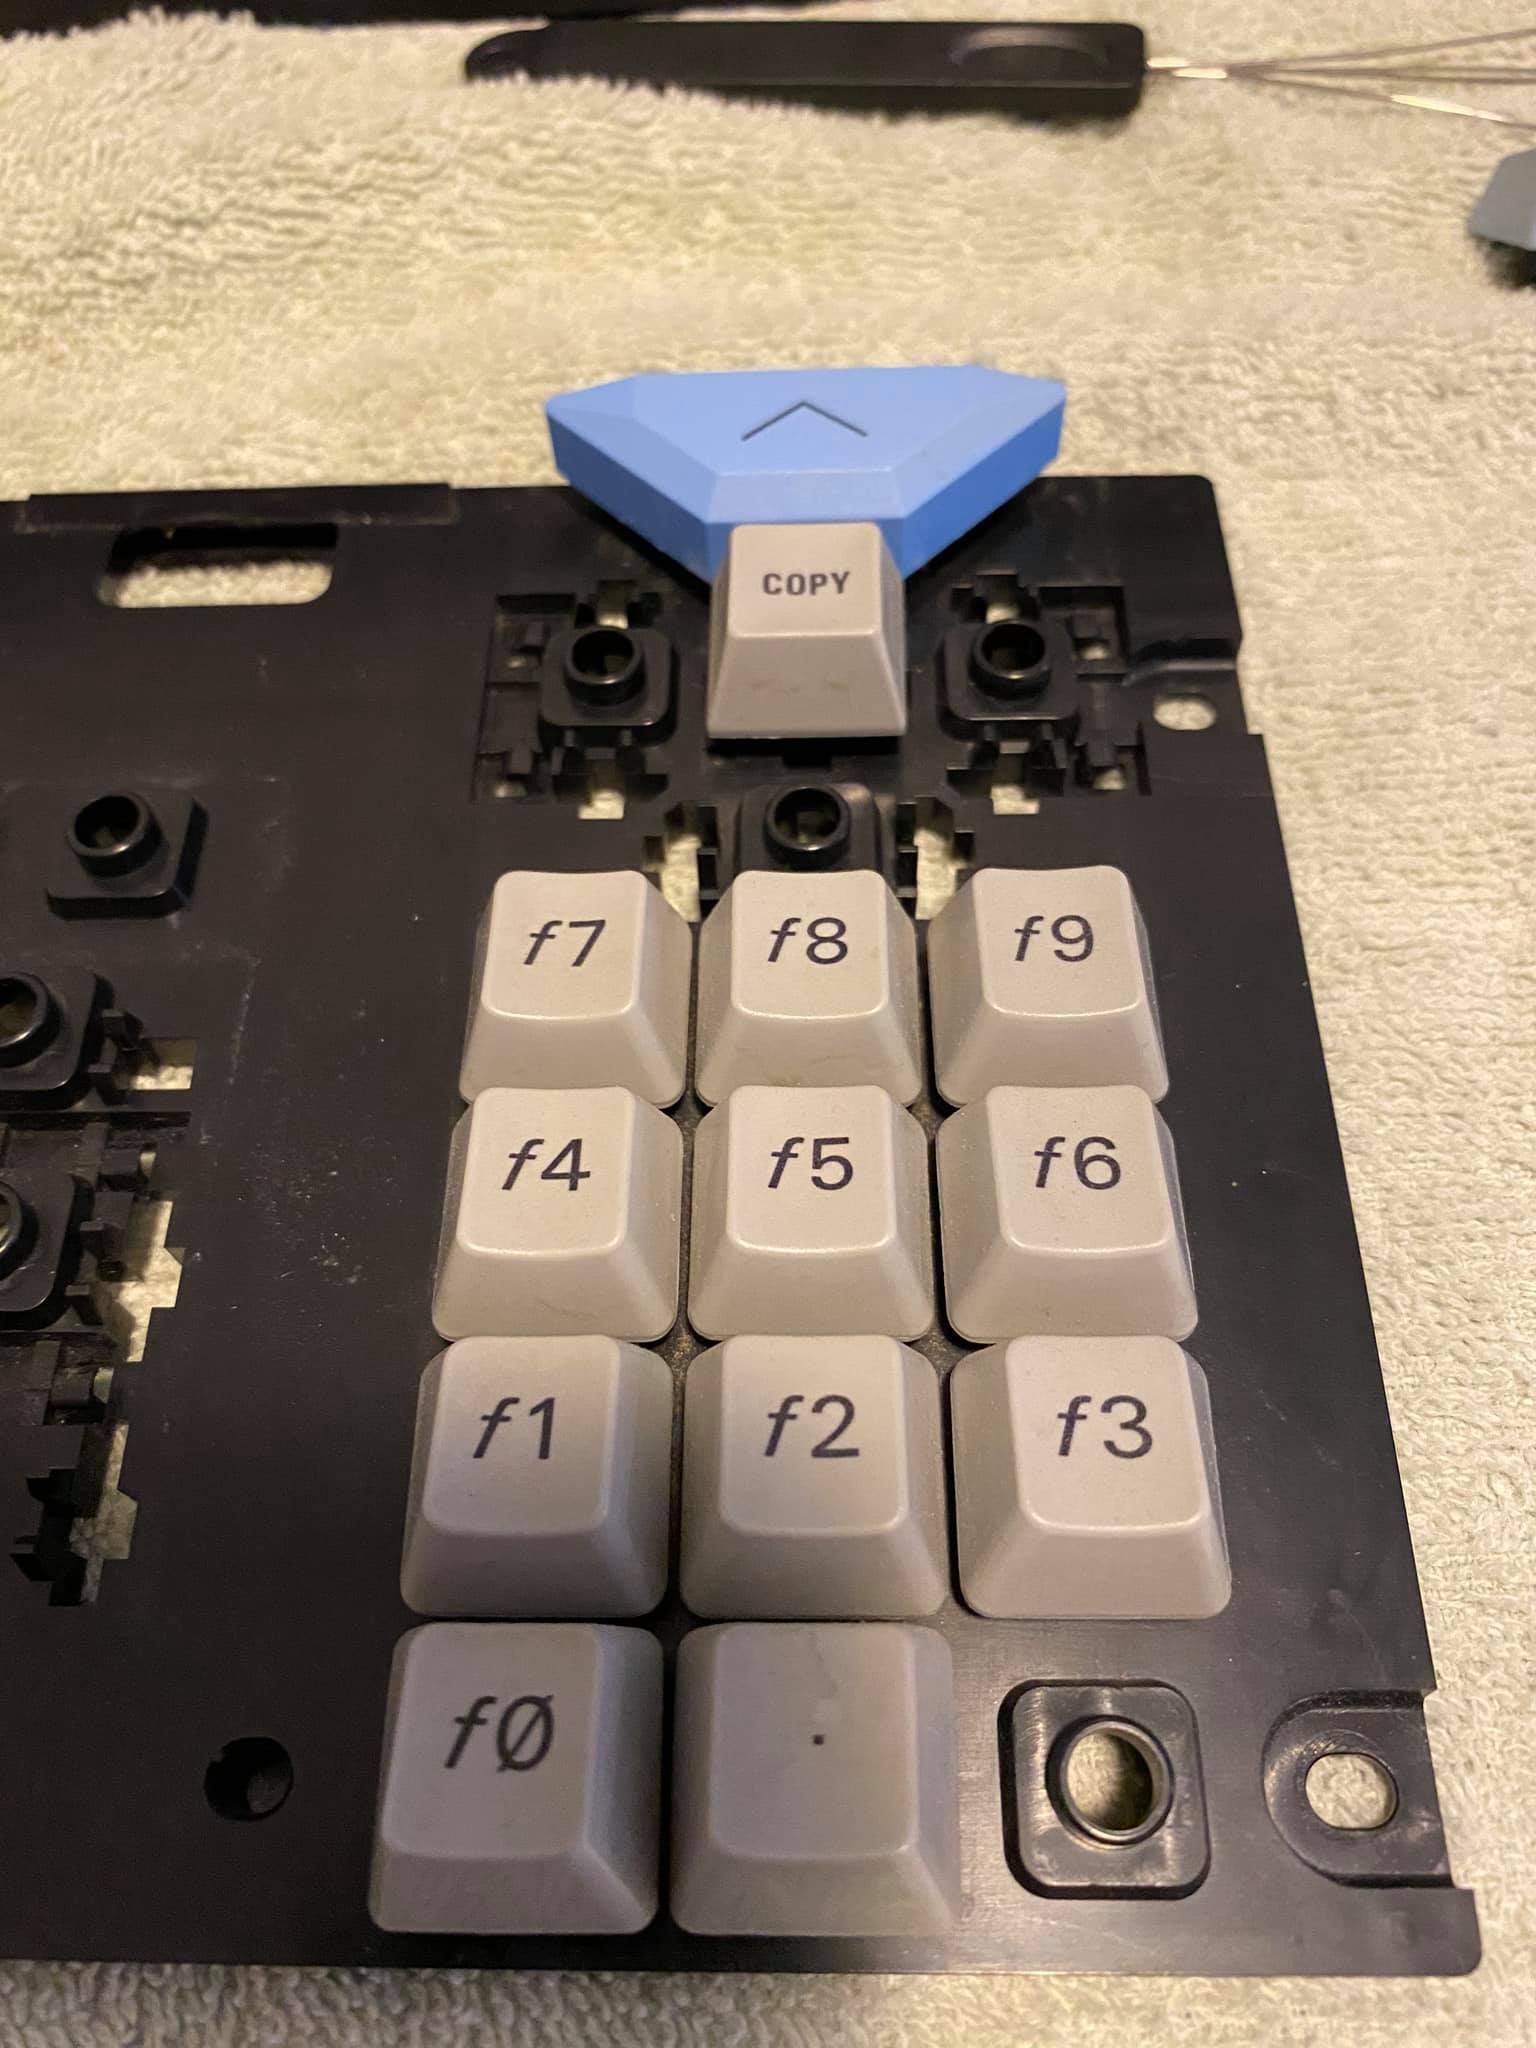
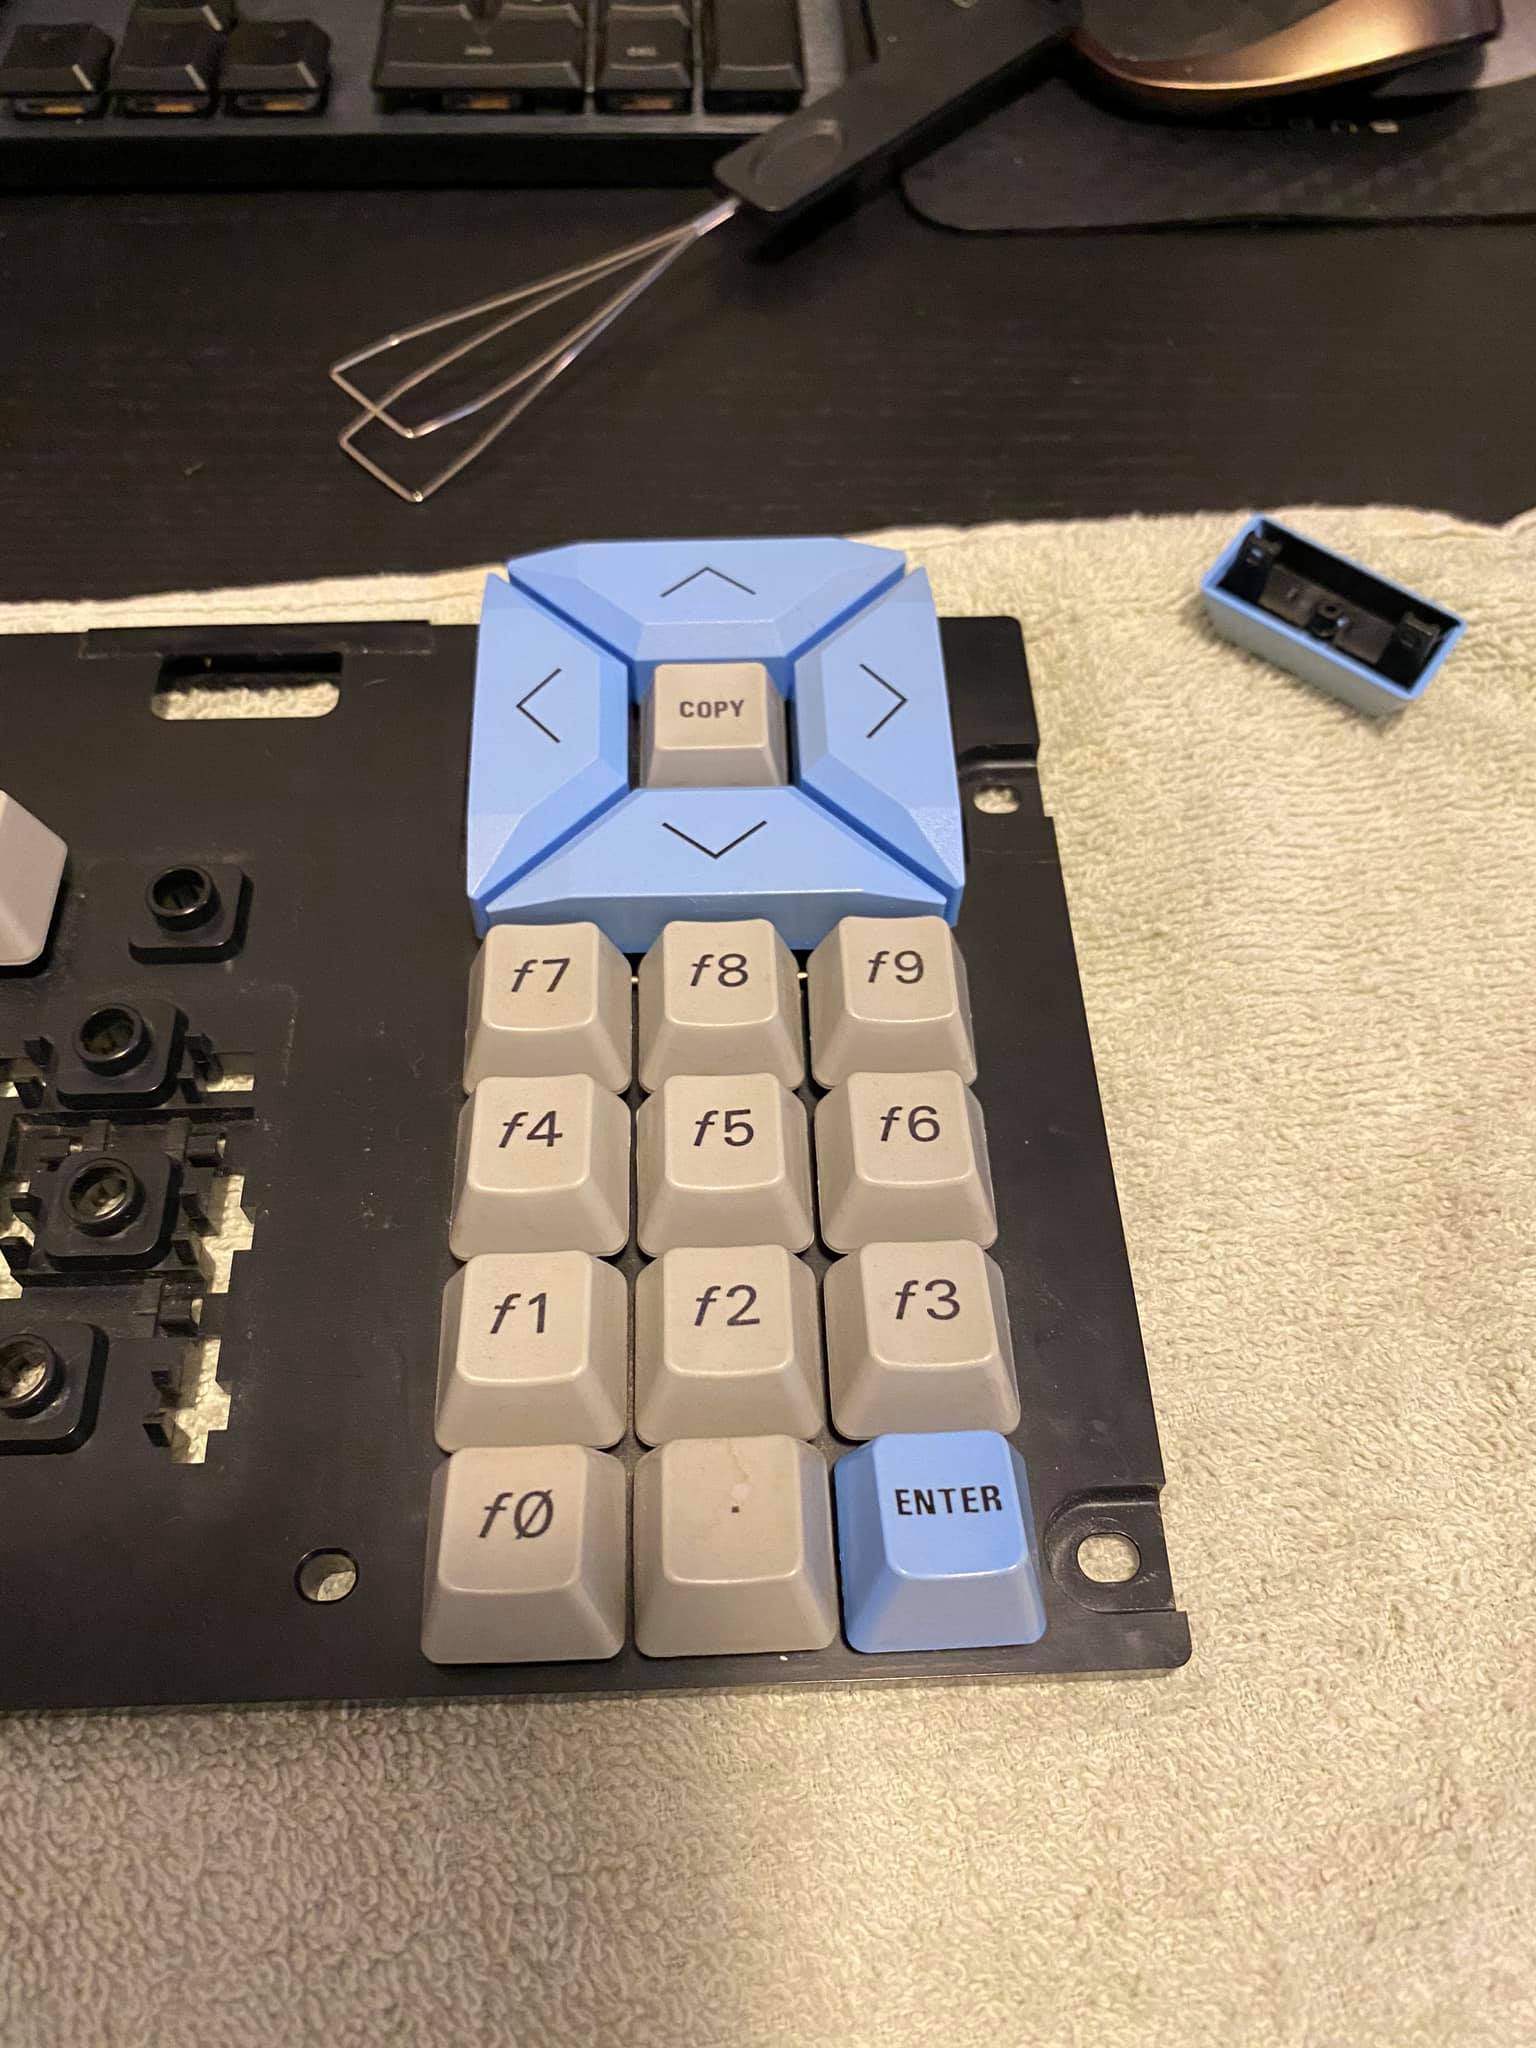
Finally ! The Enter key was difficult to get in place as was the Caps Lock key.
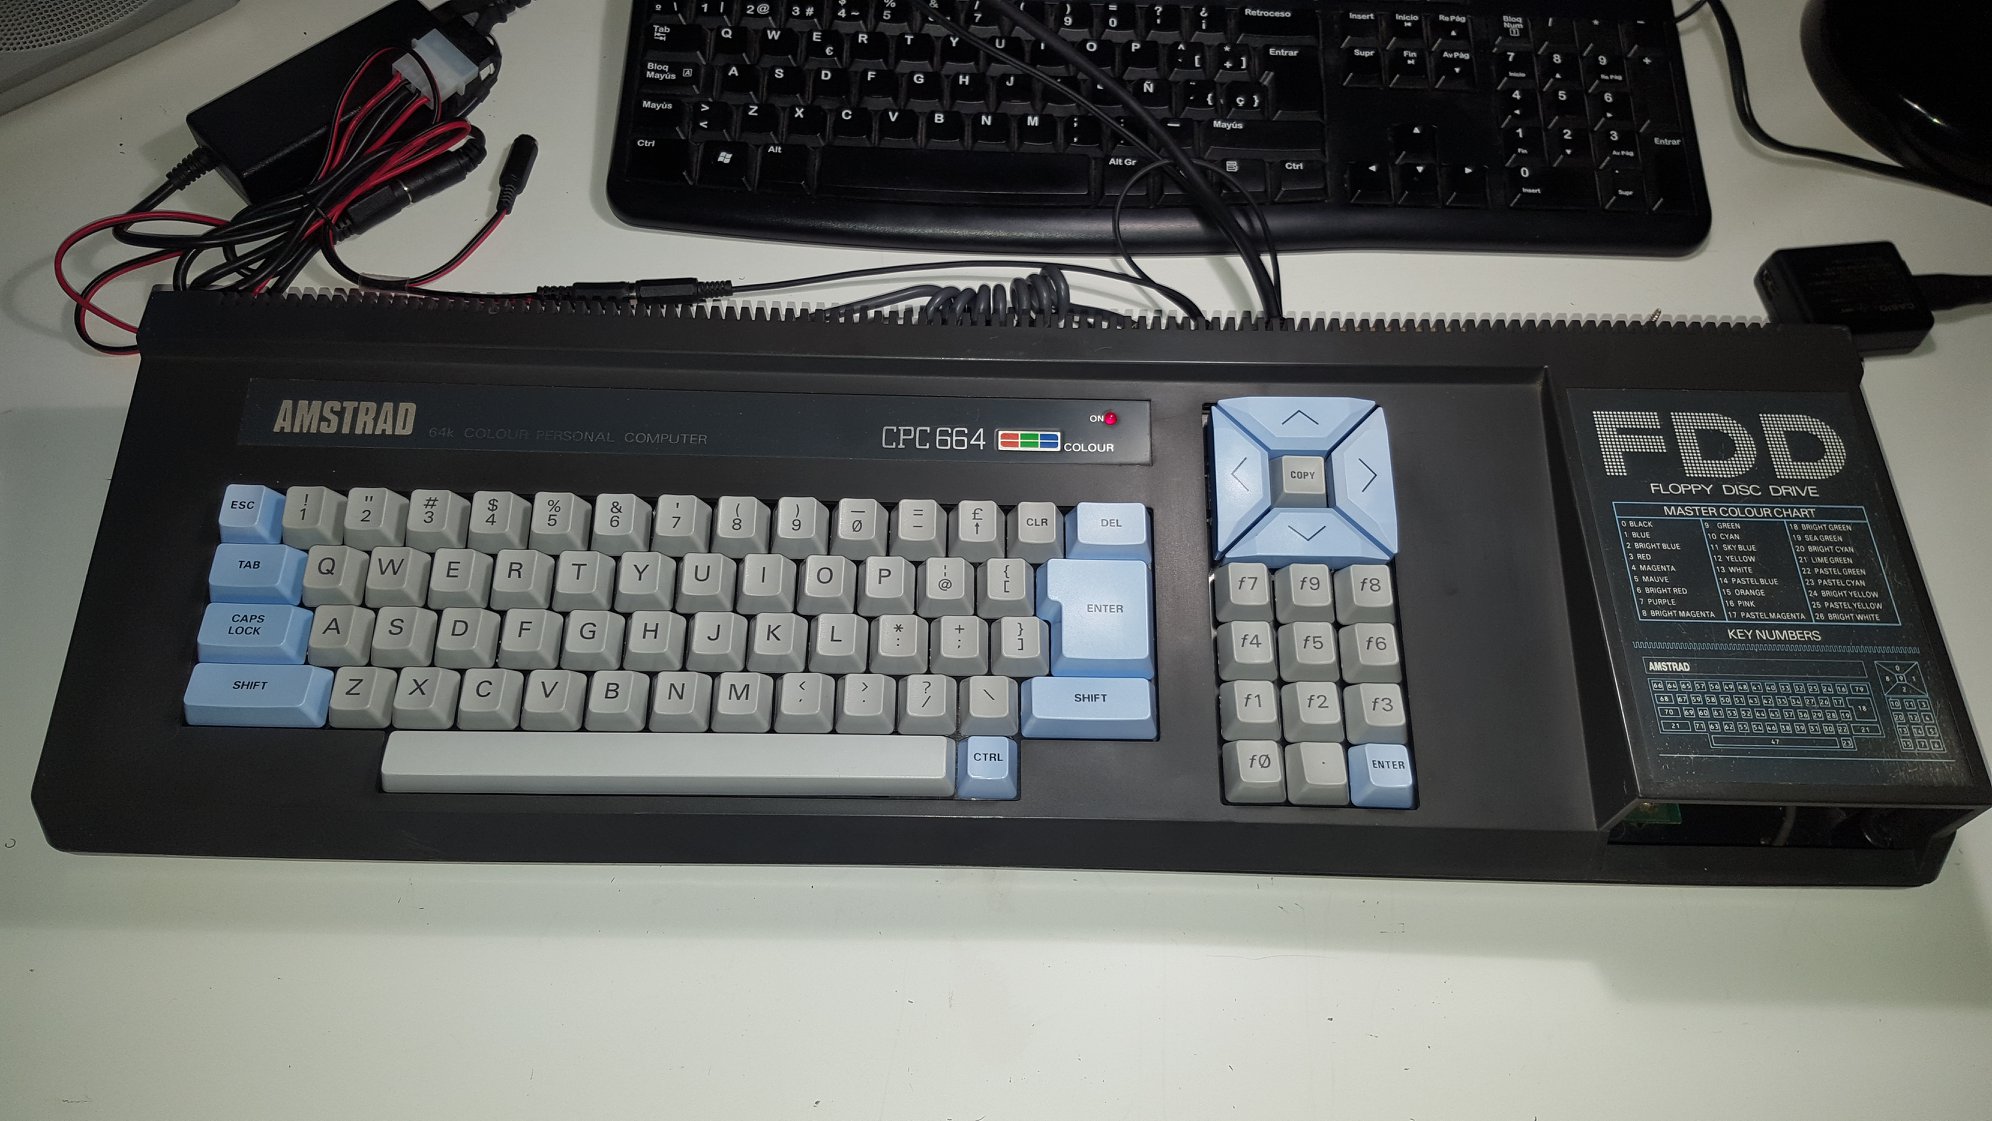
And the fully assembled and finished result is shown below.
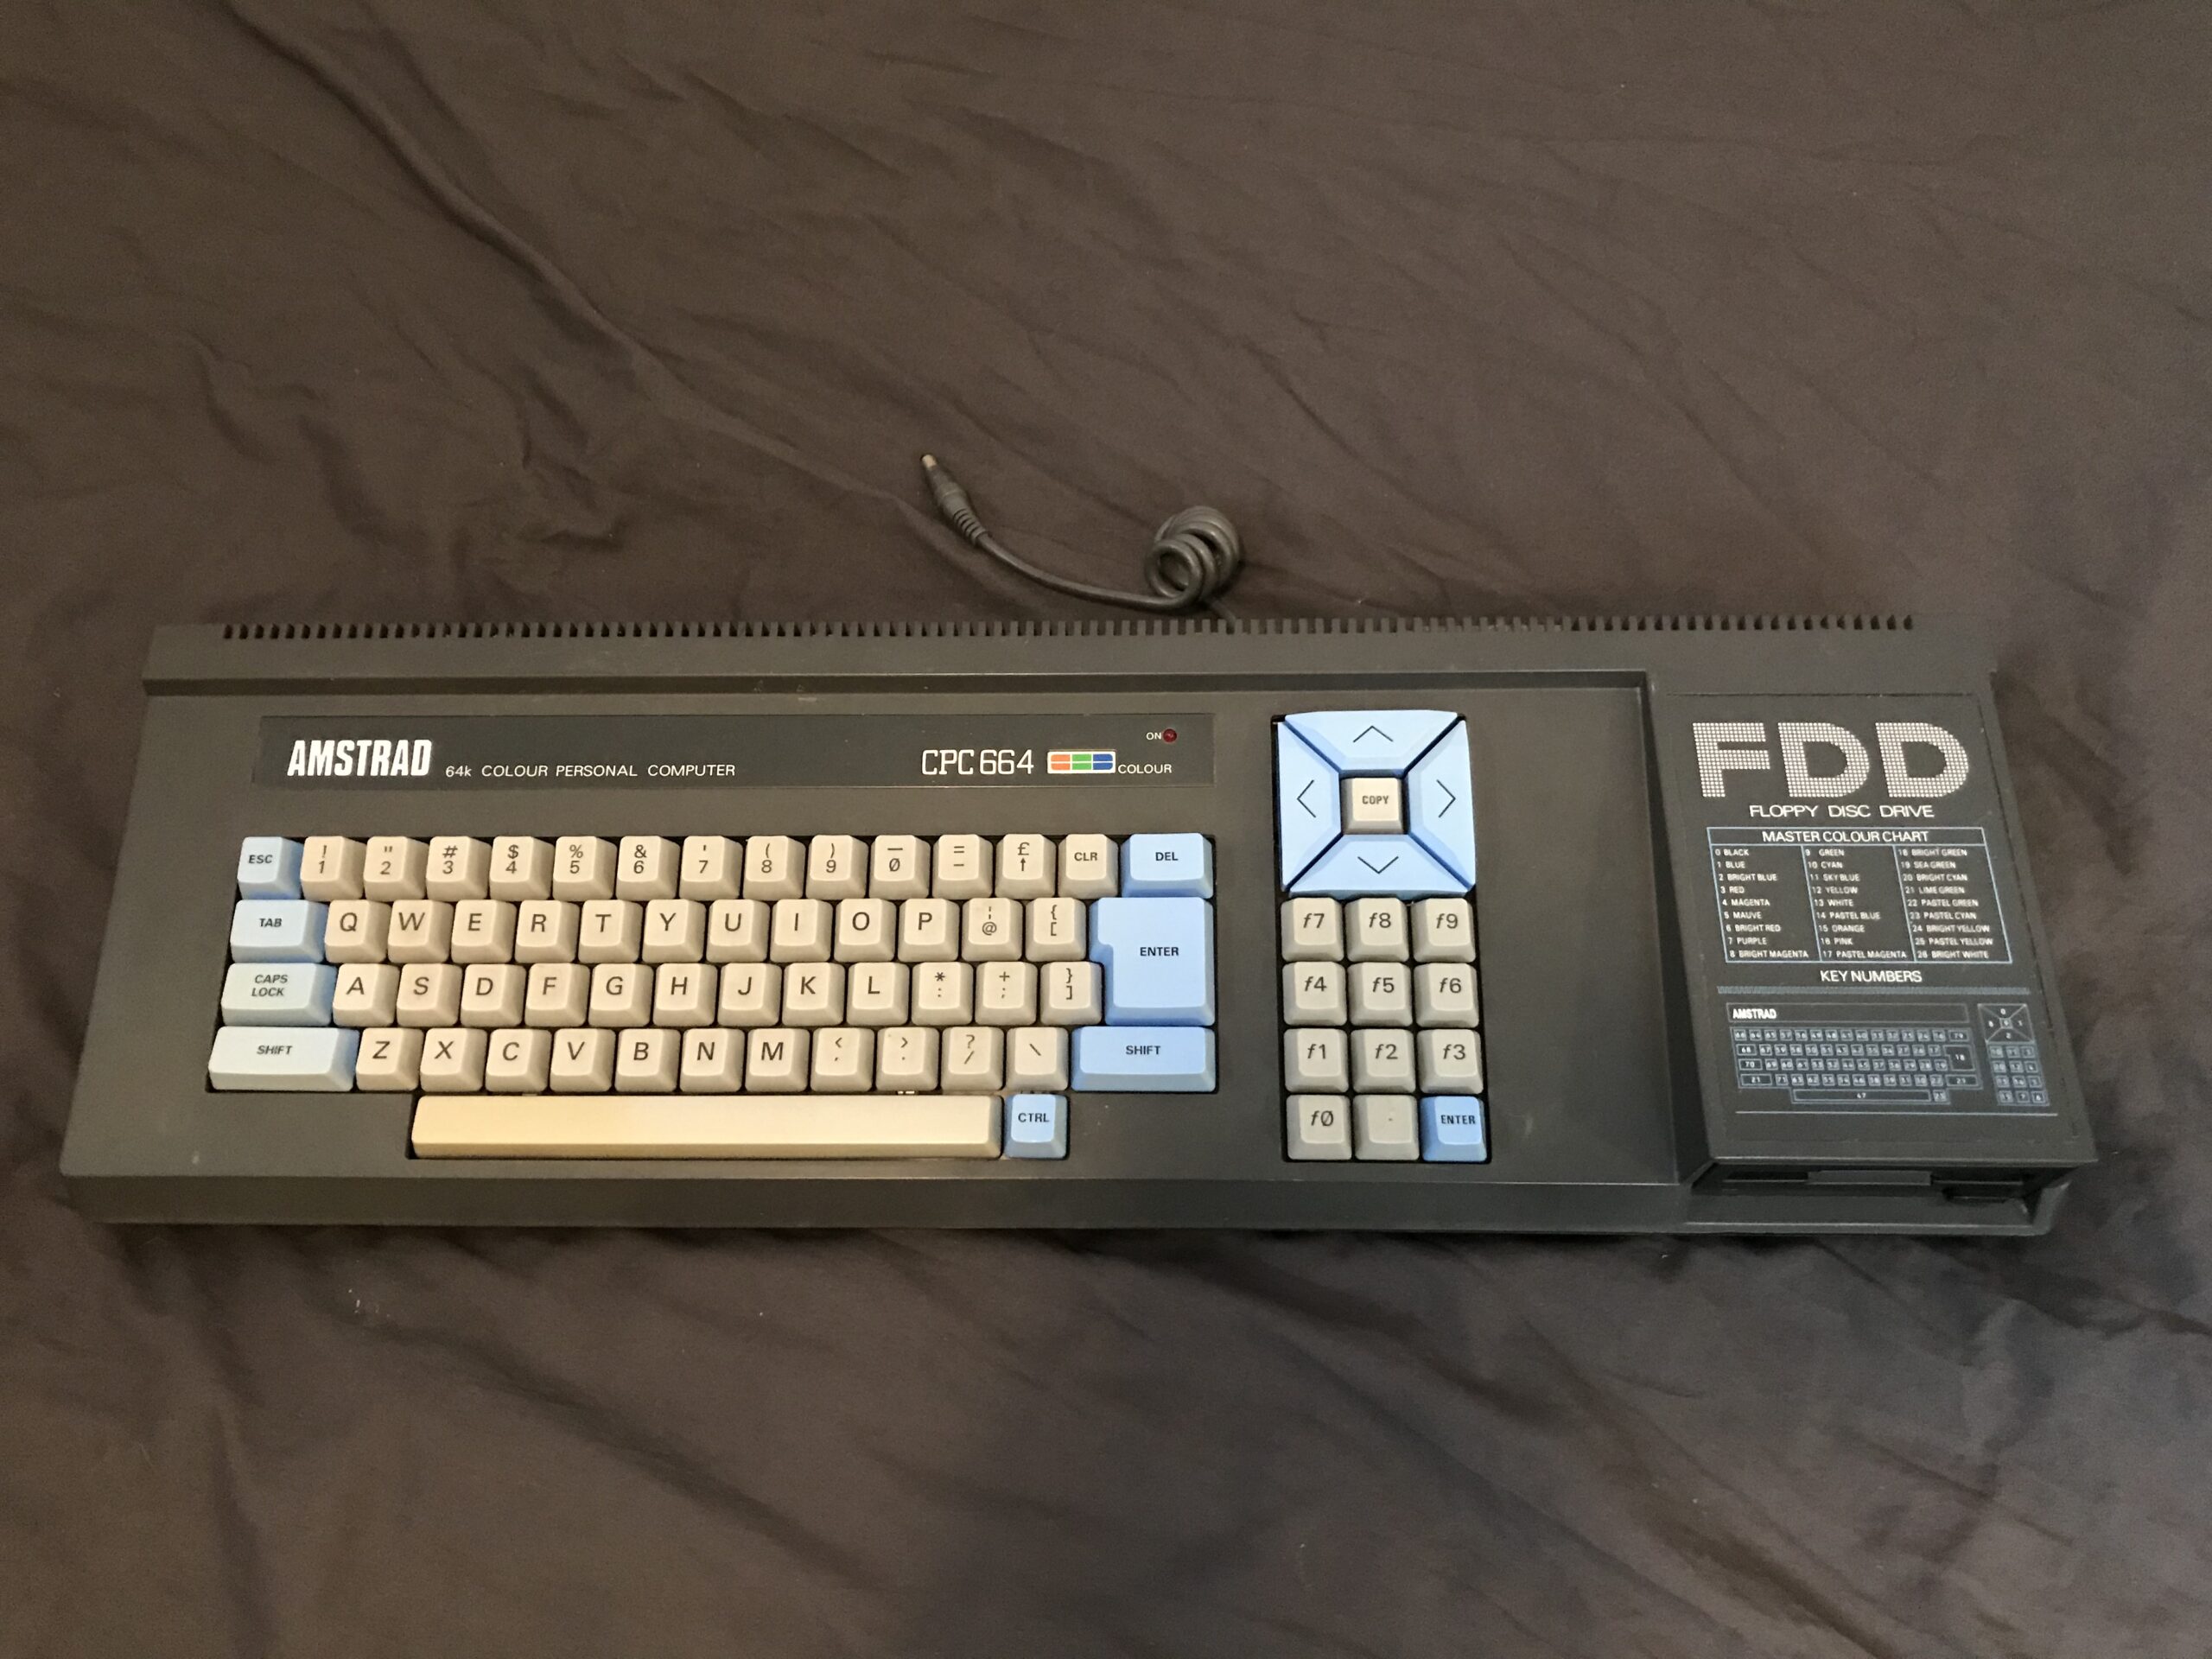
It’s by no means perfect, but it is better than it was originally, the blues are ‘more blue’ especially those on the left side and it’s not bleached out.
Pingback: My 3rd 664 ! and this one is lovely !! | Amstrad noob