So today i decided to try out the new keyboard membrane from Rich Mellor!
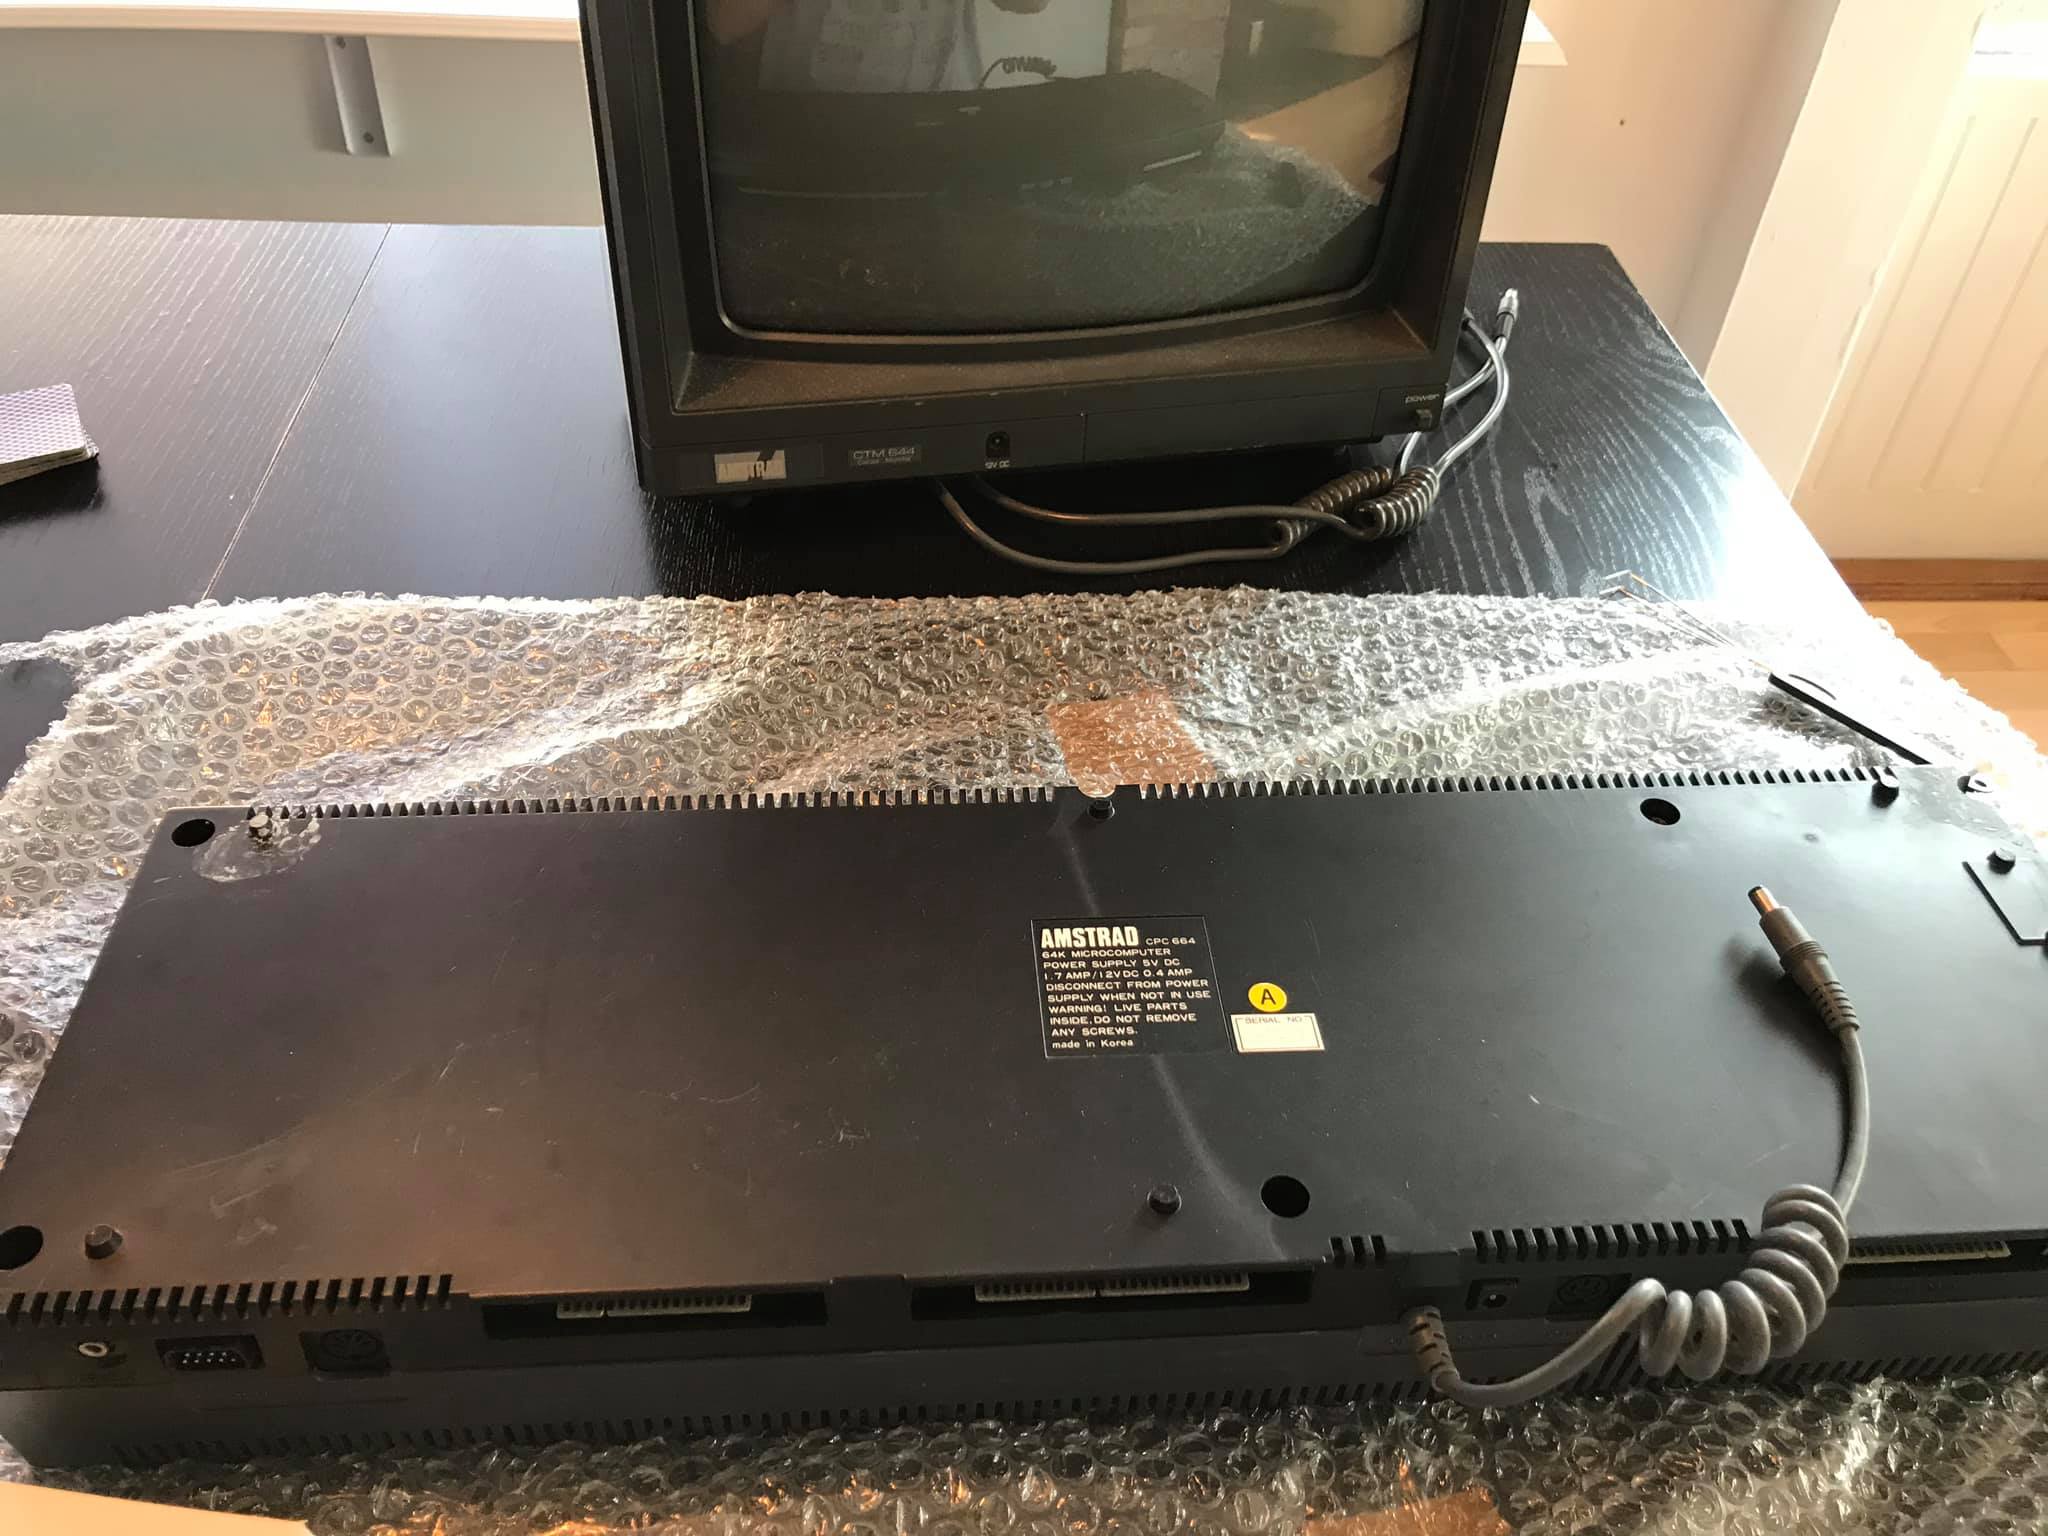
It works perfectly but my CPC 664 has a video issue (probably the CRTC chip). I don’t feel in the mood for de-soldering that chip from the motherboard and then re-soldering it to verify, and I don’t have a new CRTC chip so i transplanted the base unit from a known working base unit CPC 664 (my first one) that i had and now this one is working 100%, new drive belt and new keyboard membrane and replaced motherboard (or base unit).
To replace it, place the CPC upside down on some protective cover. And remove the six or so screws holding the base unit together.
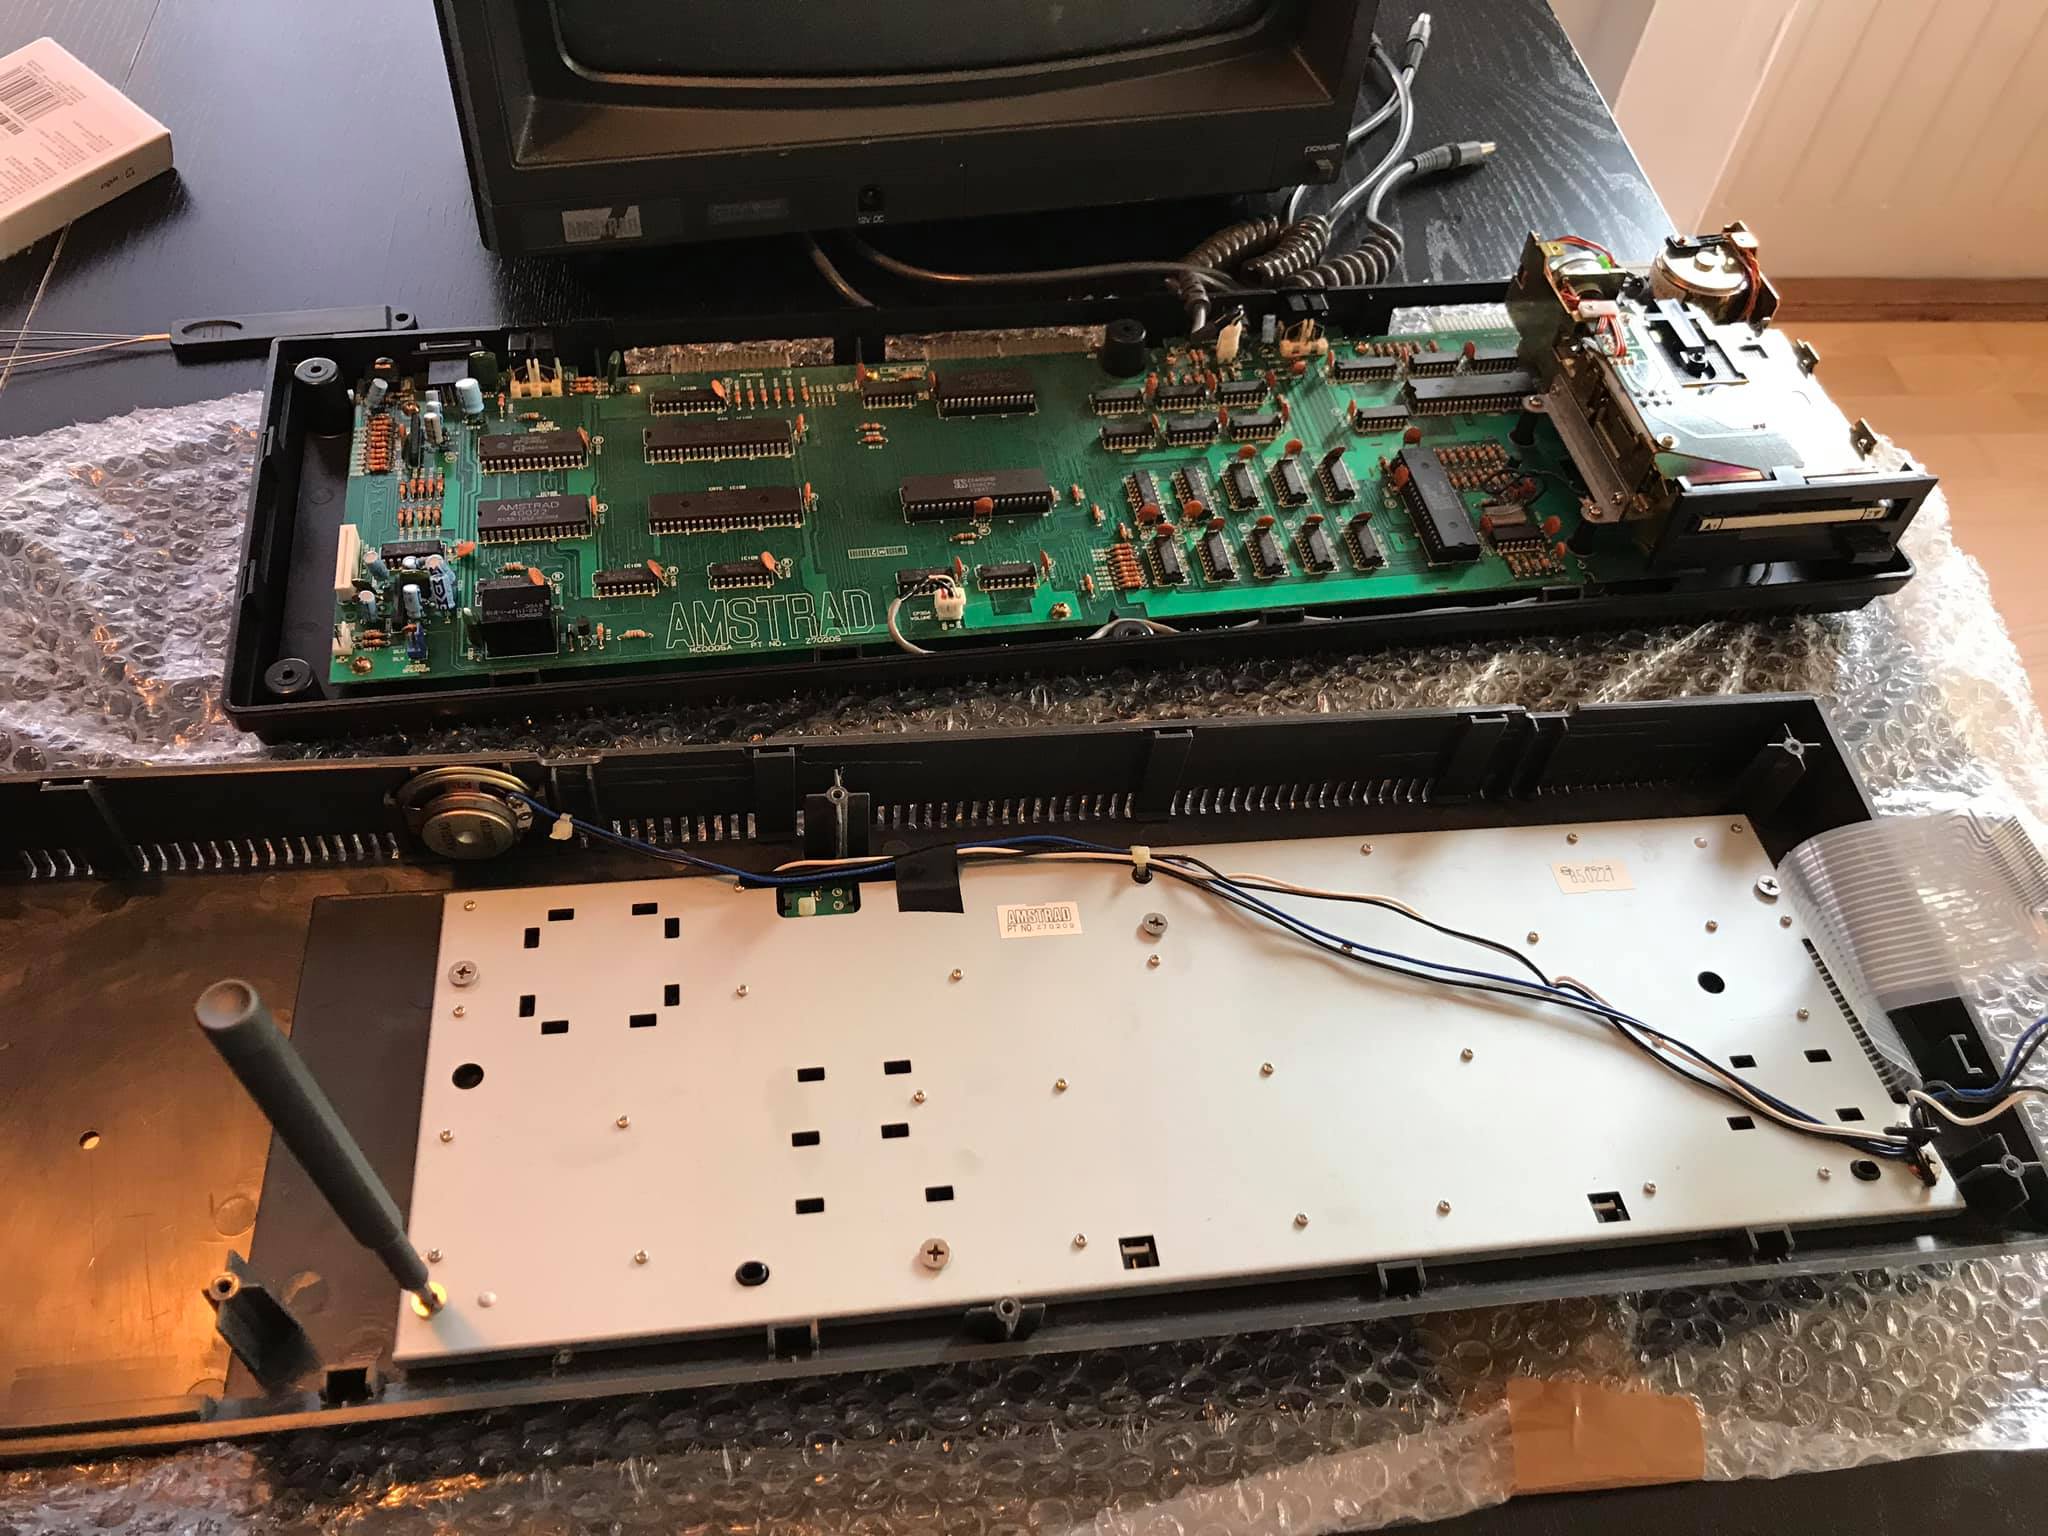
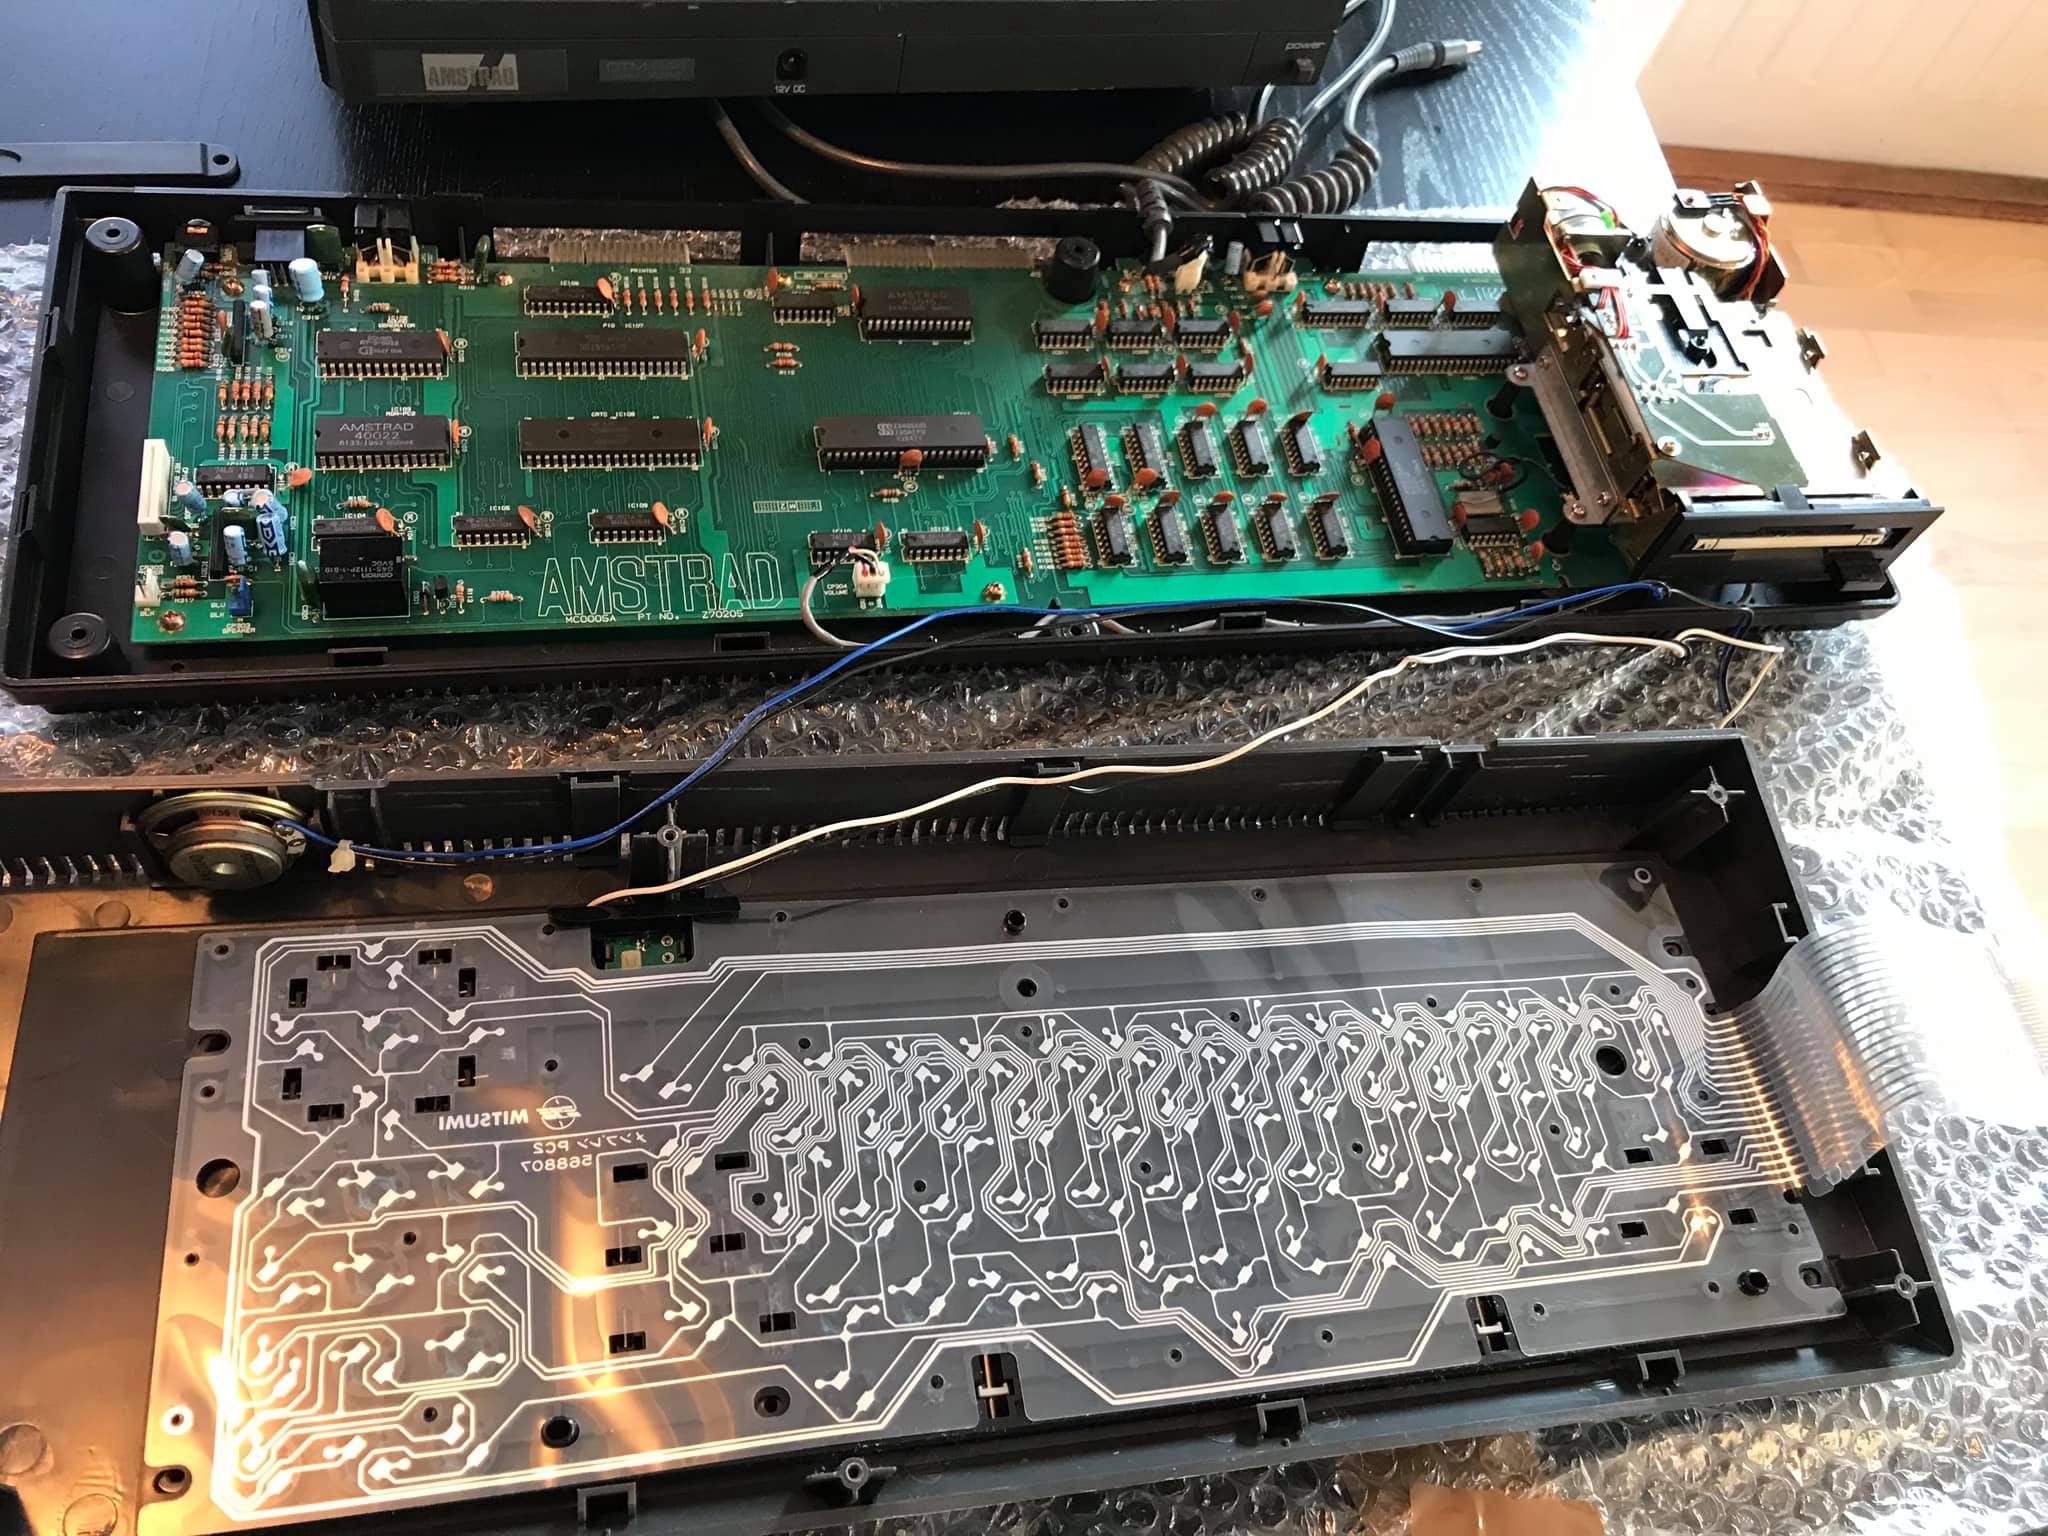
here the unit is open and the cables disconnected from the motherboard, next you have to remove all the screws (both big and small ones) from the back of the keyboard. 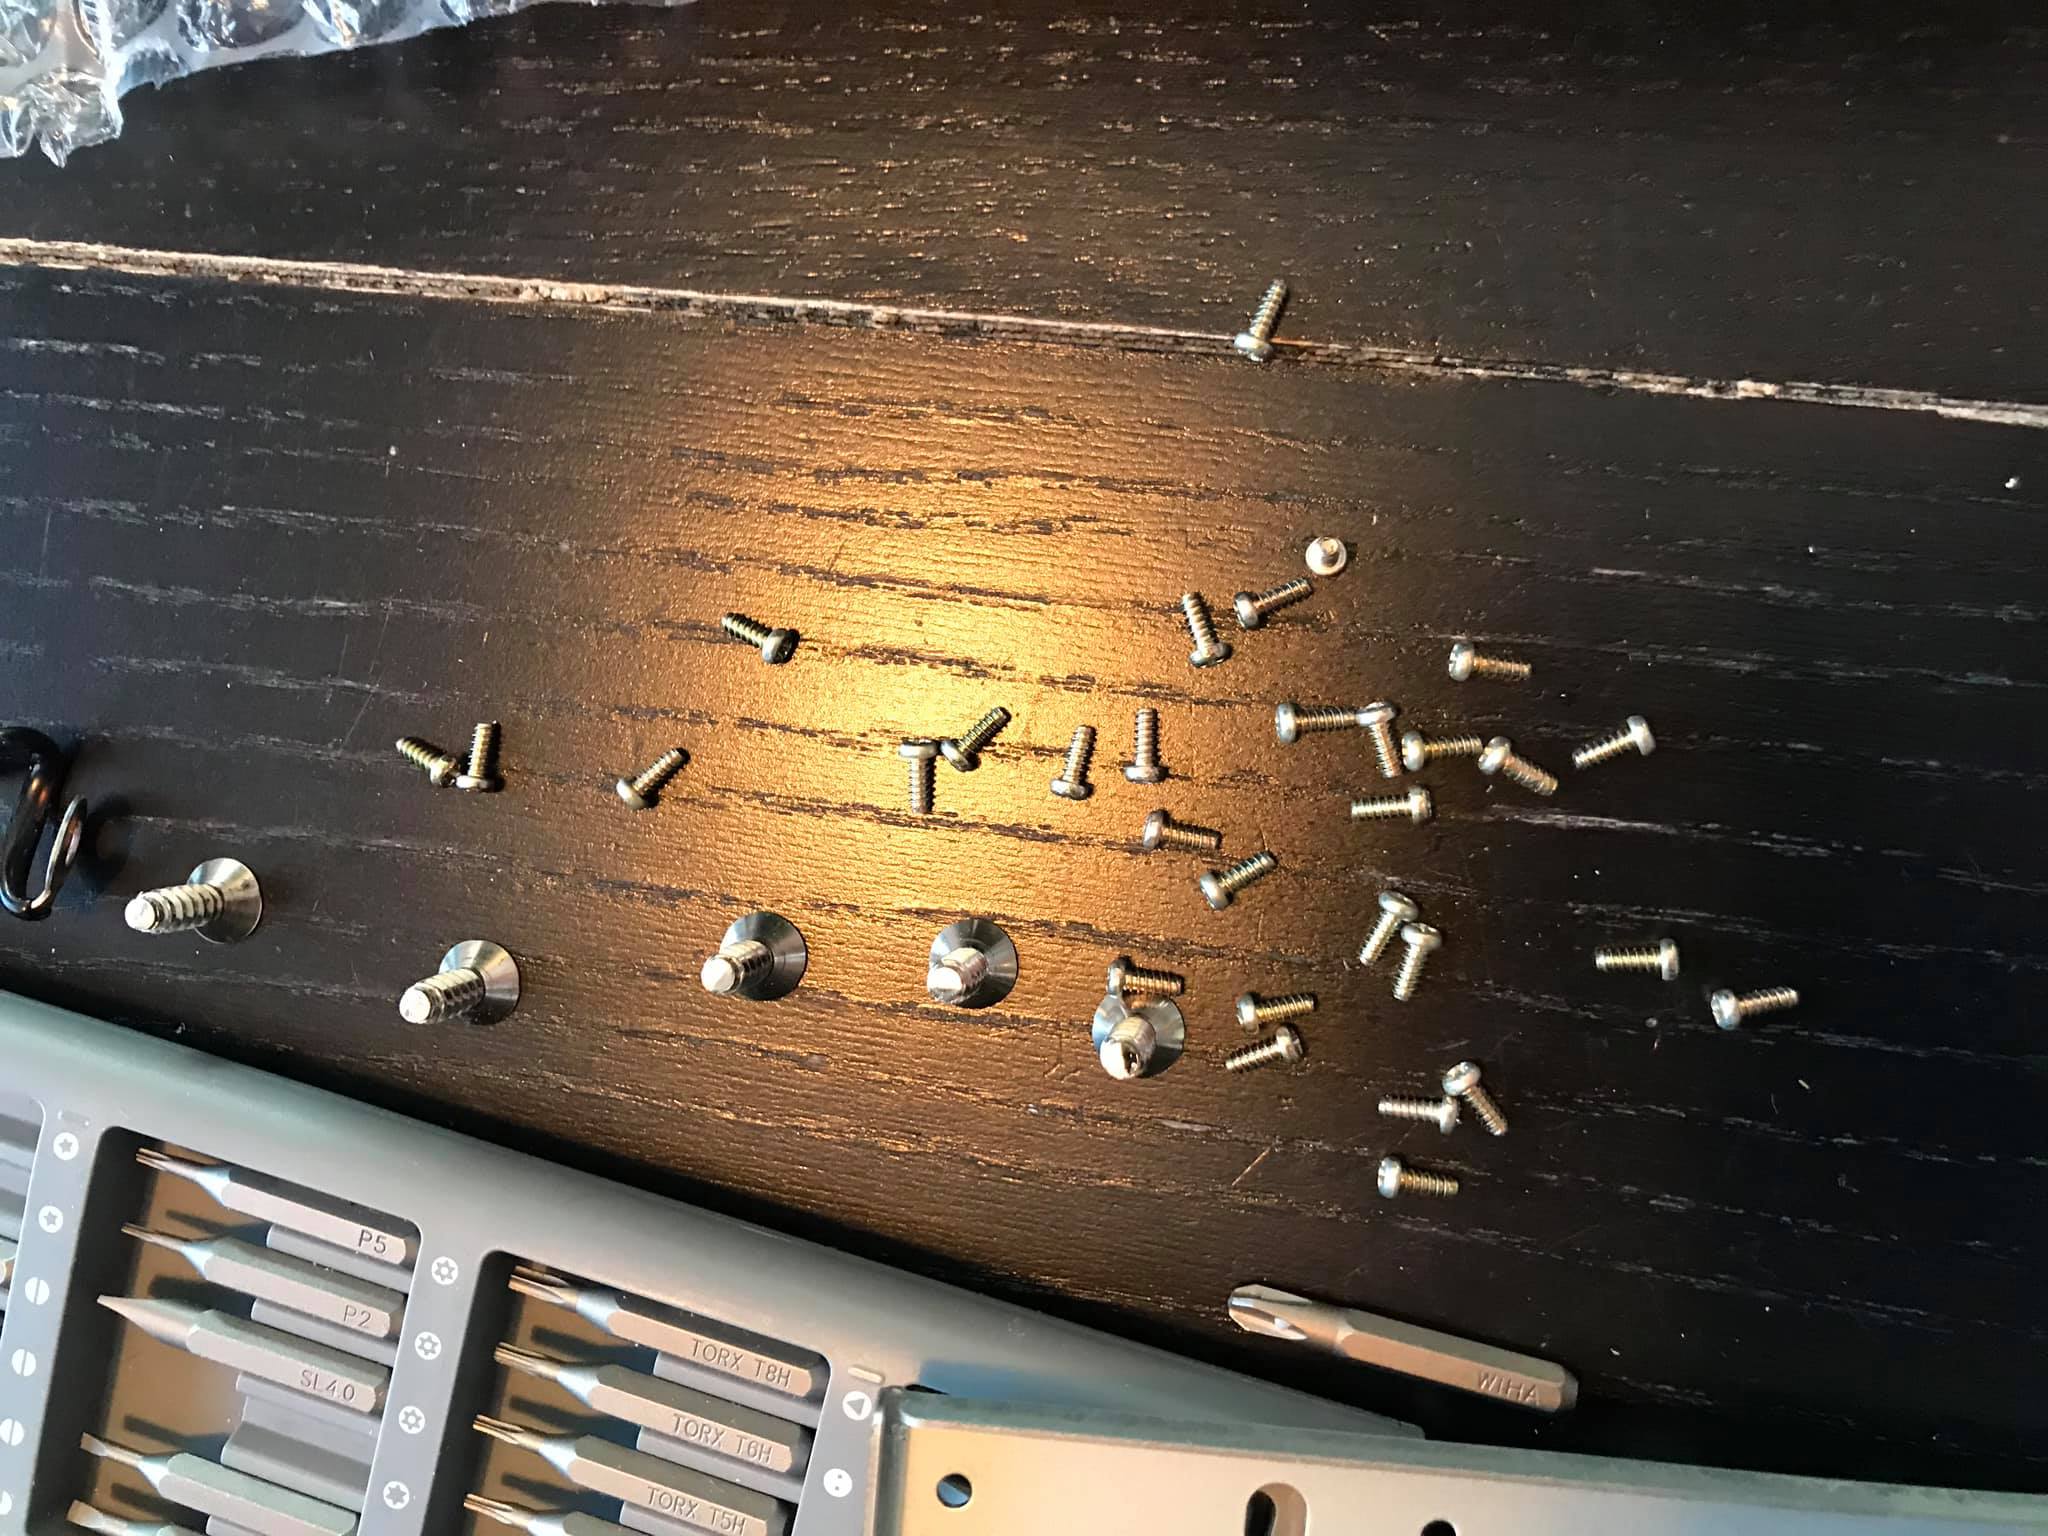
Once they are out, you can remove the metal plate.
In the photo below you can see the original keyboard membrane still in place.
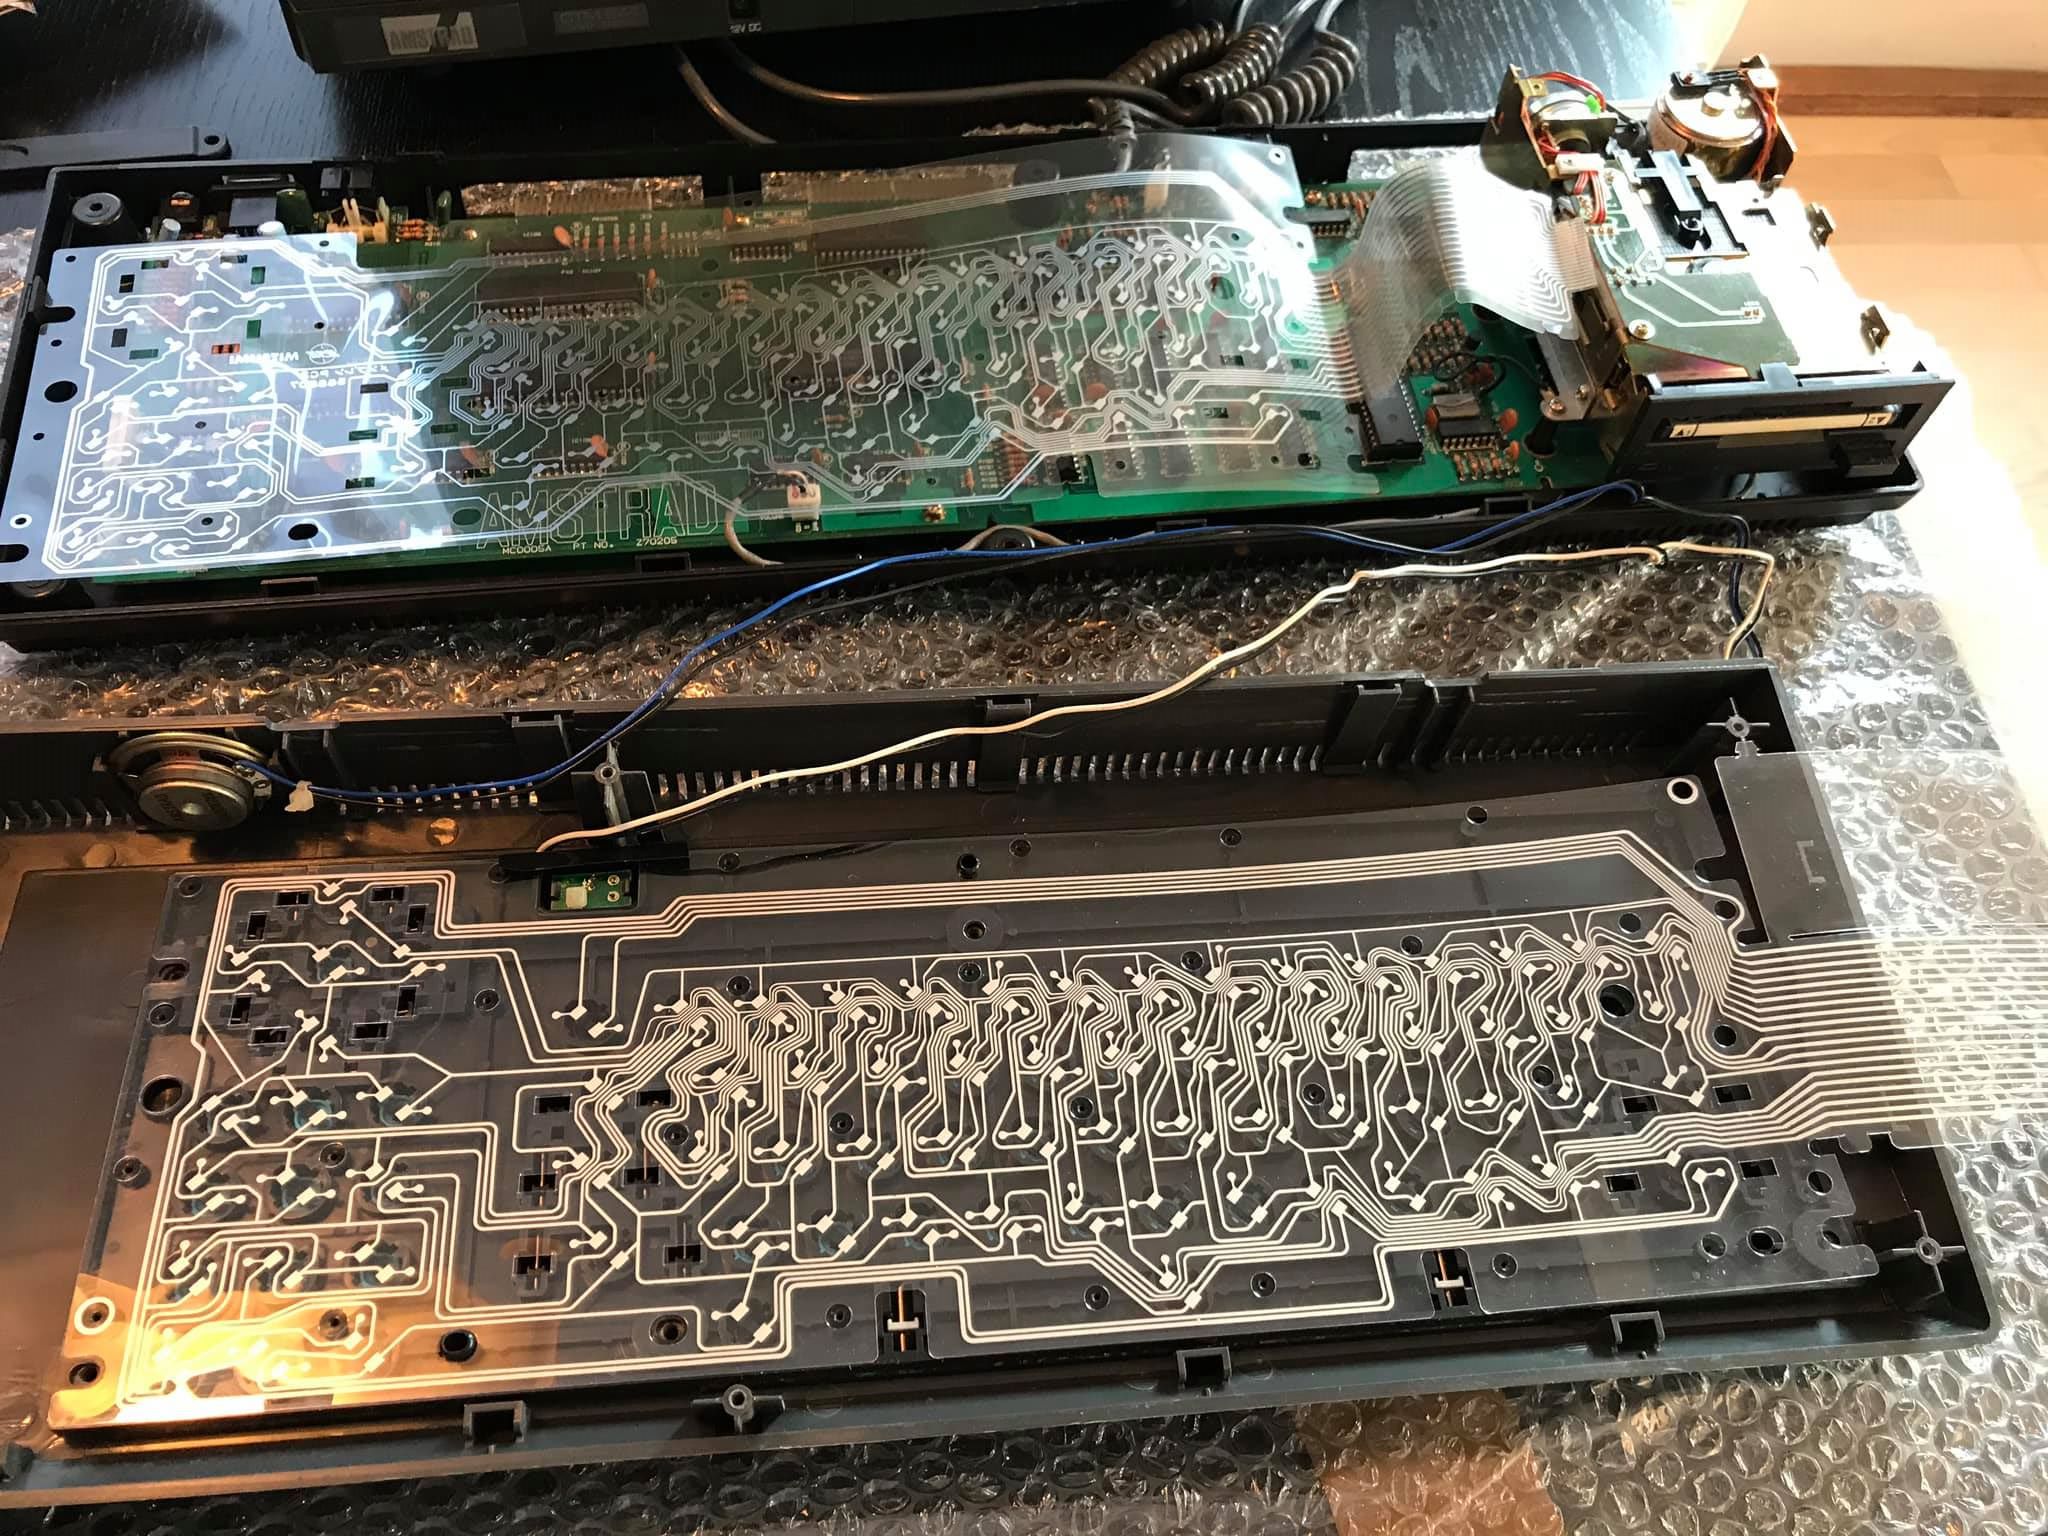
And here’s the new keyboard membrane in place.
After replacing the keyboard membrane with the new one, i tested all keys, and they worked perfectly !
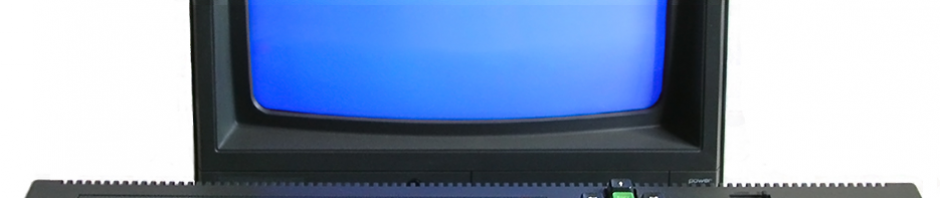
However you can see the video is chopped around the screen (I had this issue before).
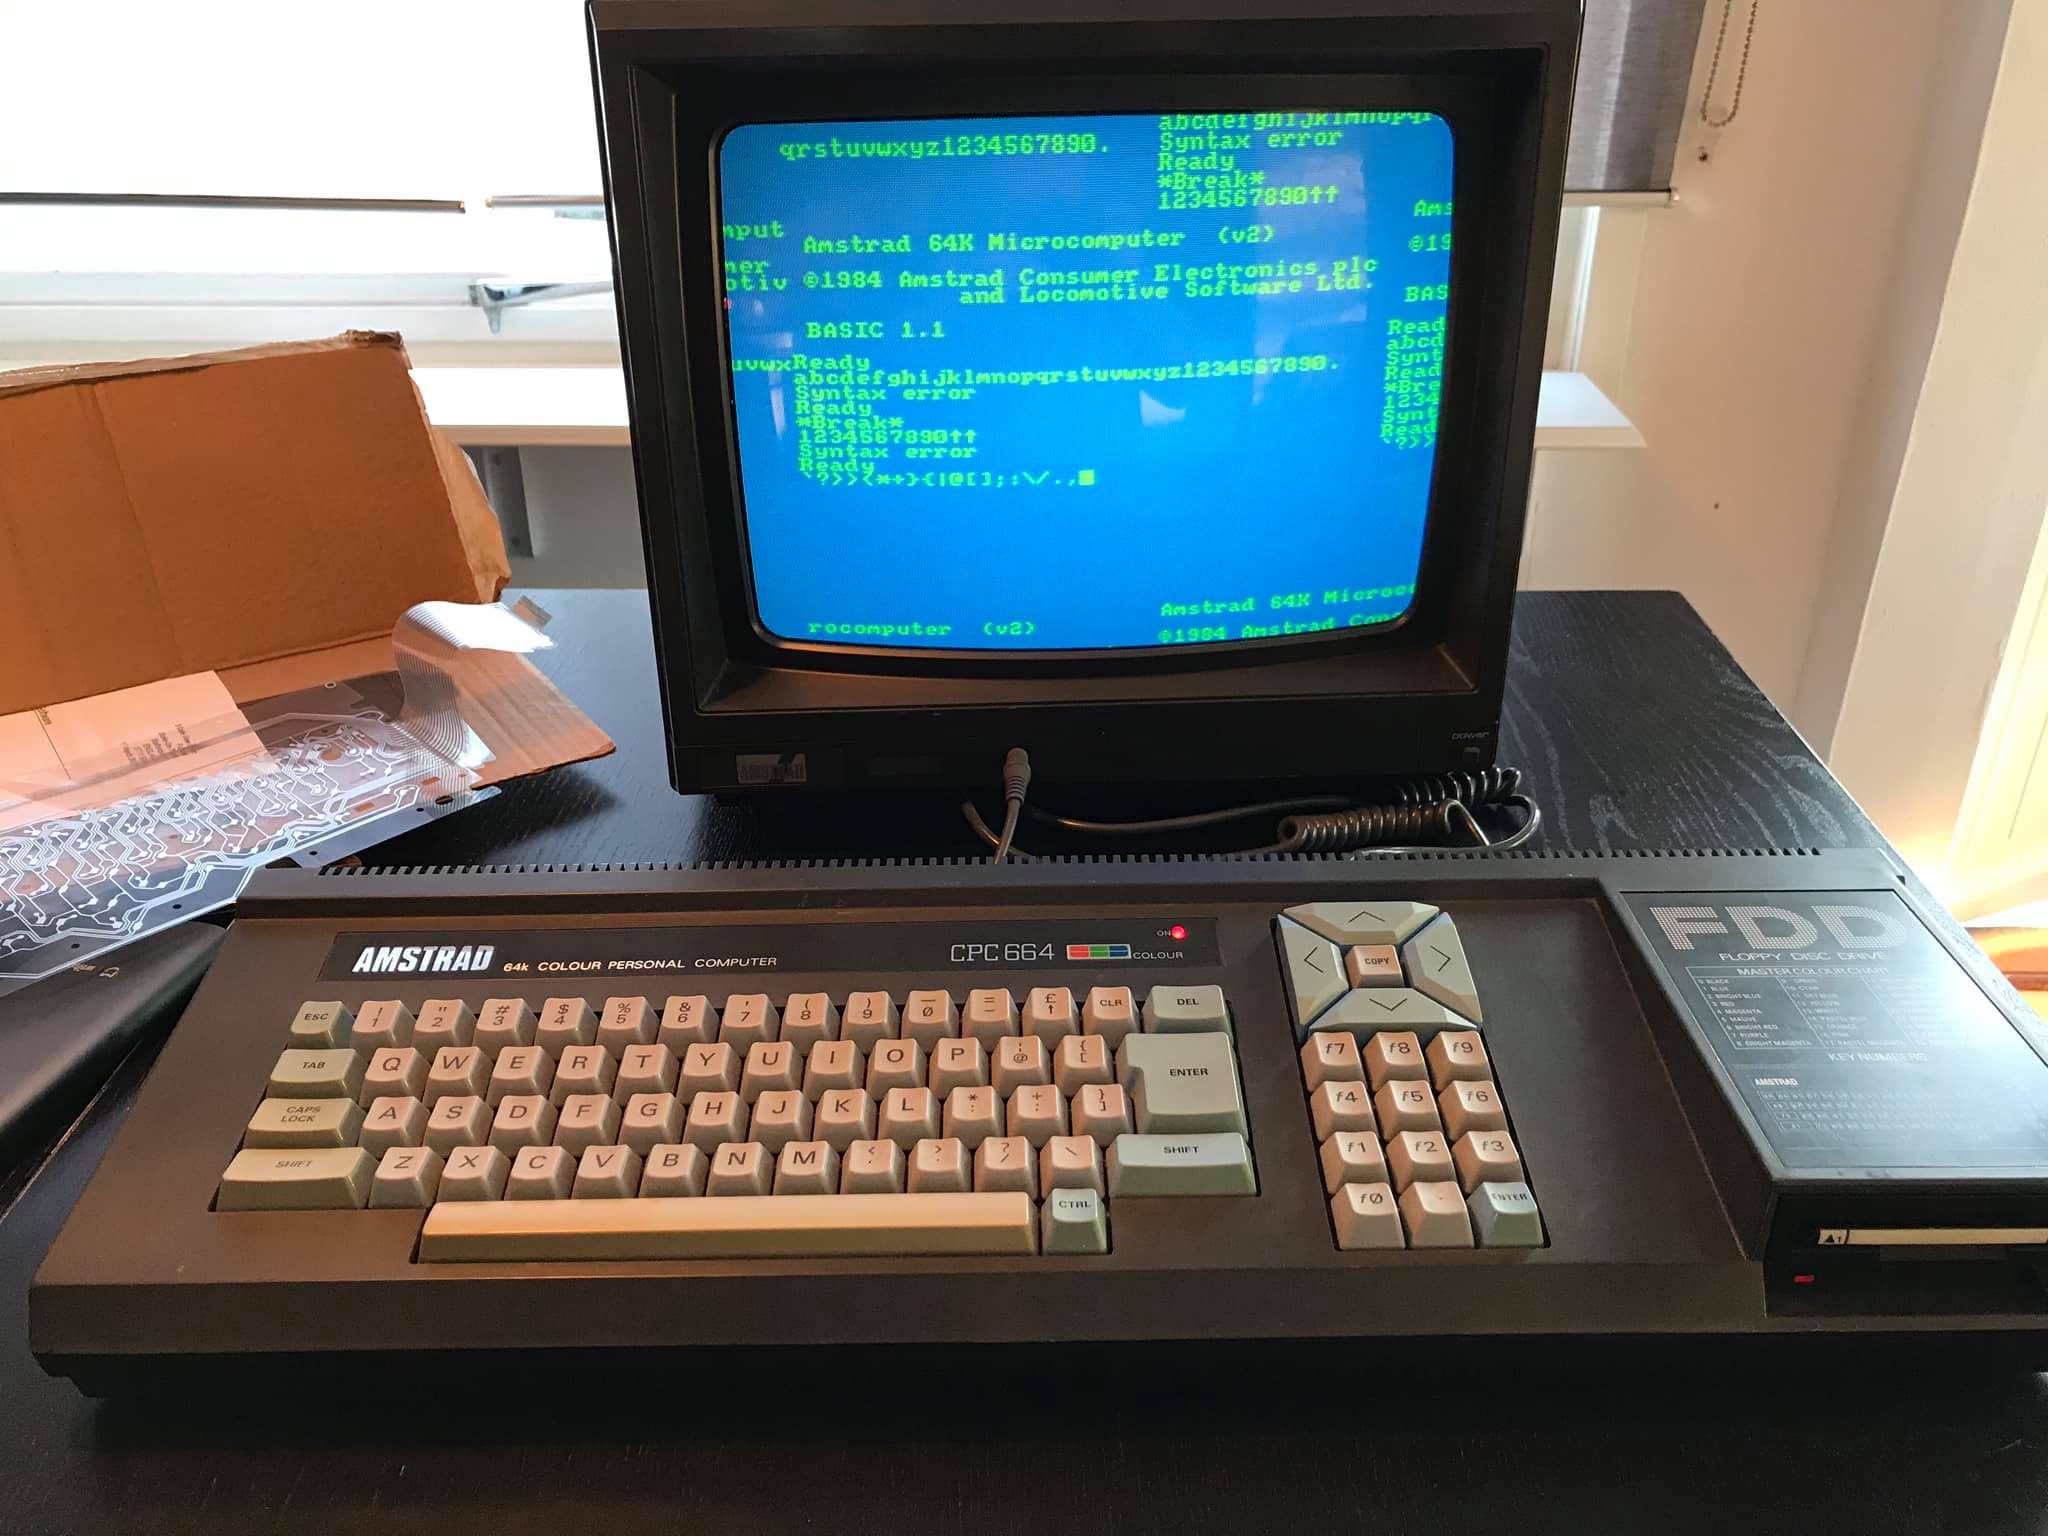
I then tested to see if the FDD was still working, and it was. But again, video is off as you can see…

So I got my second (my first actual CPC 664) that has working video but non working keyboard, fdd and broken plastics).
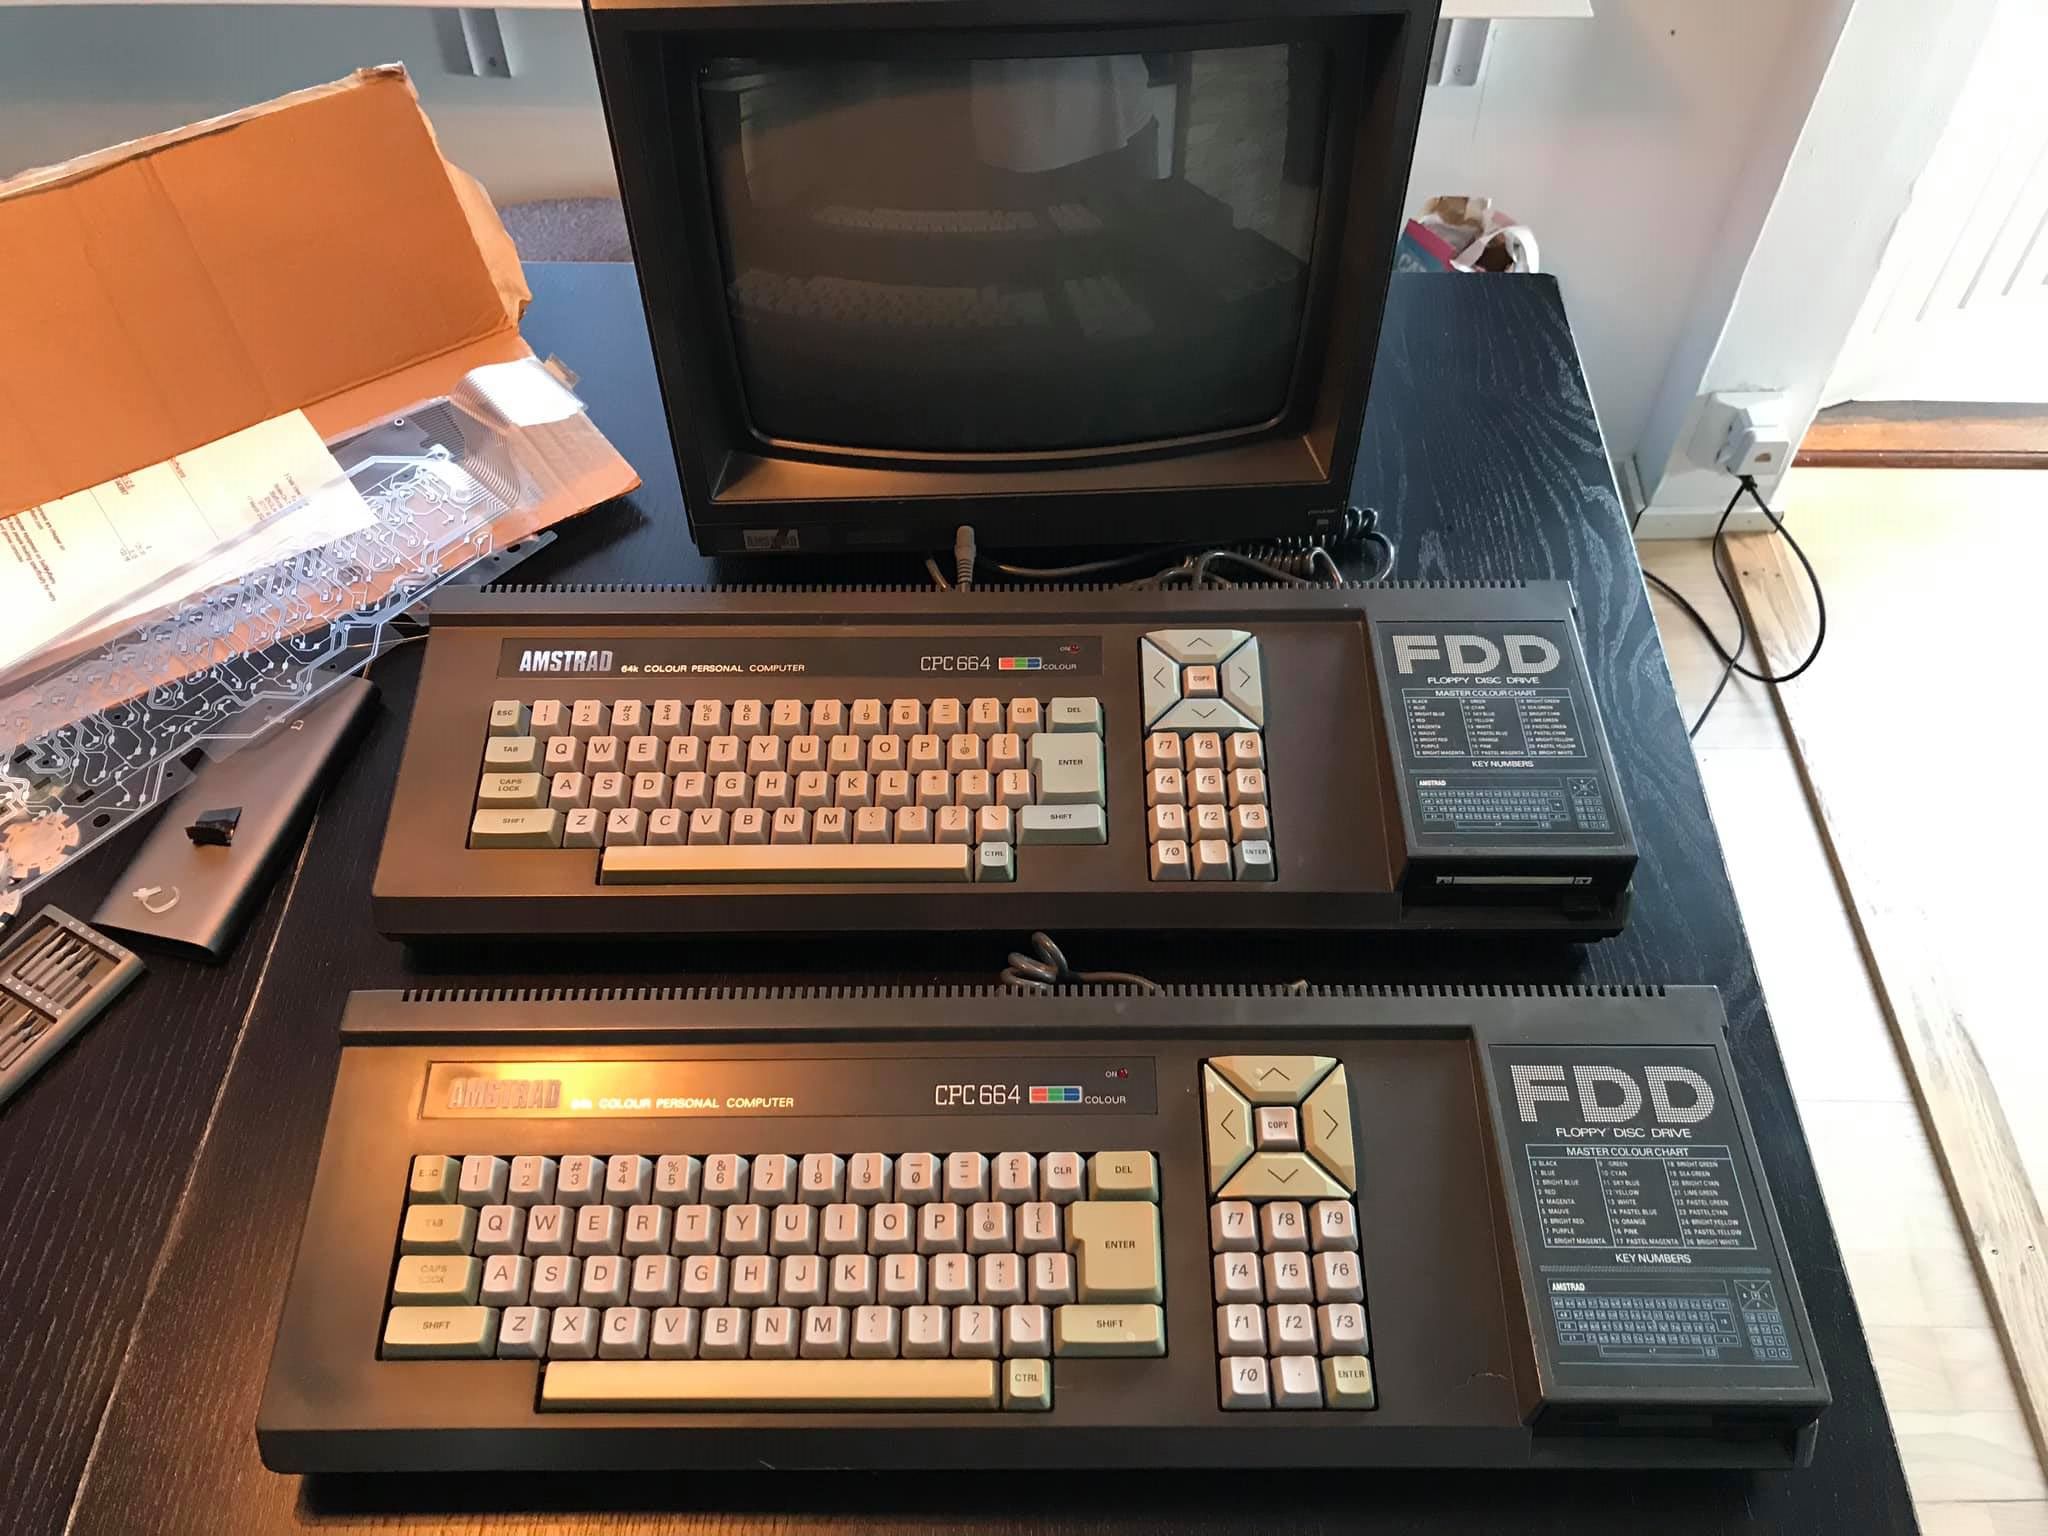
And swapped the FDD and base unit with my ‘new’ CPC 664. The results speak for themselves ! Working keyboard, working FDD and working video !
Awesome !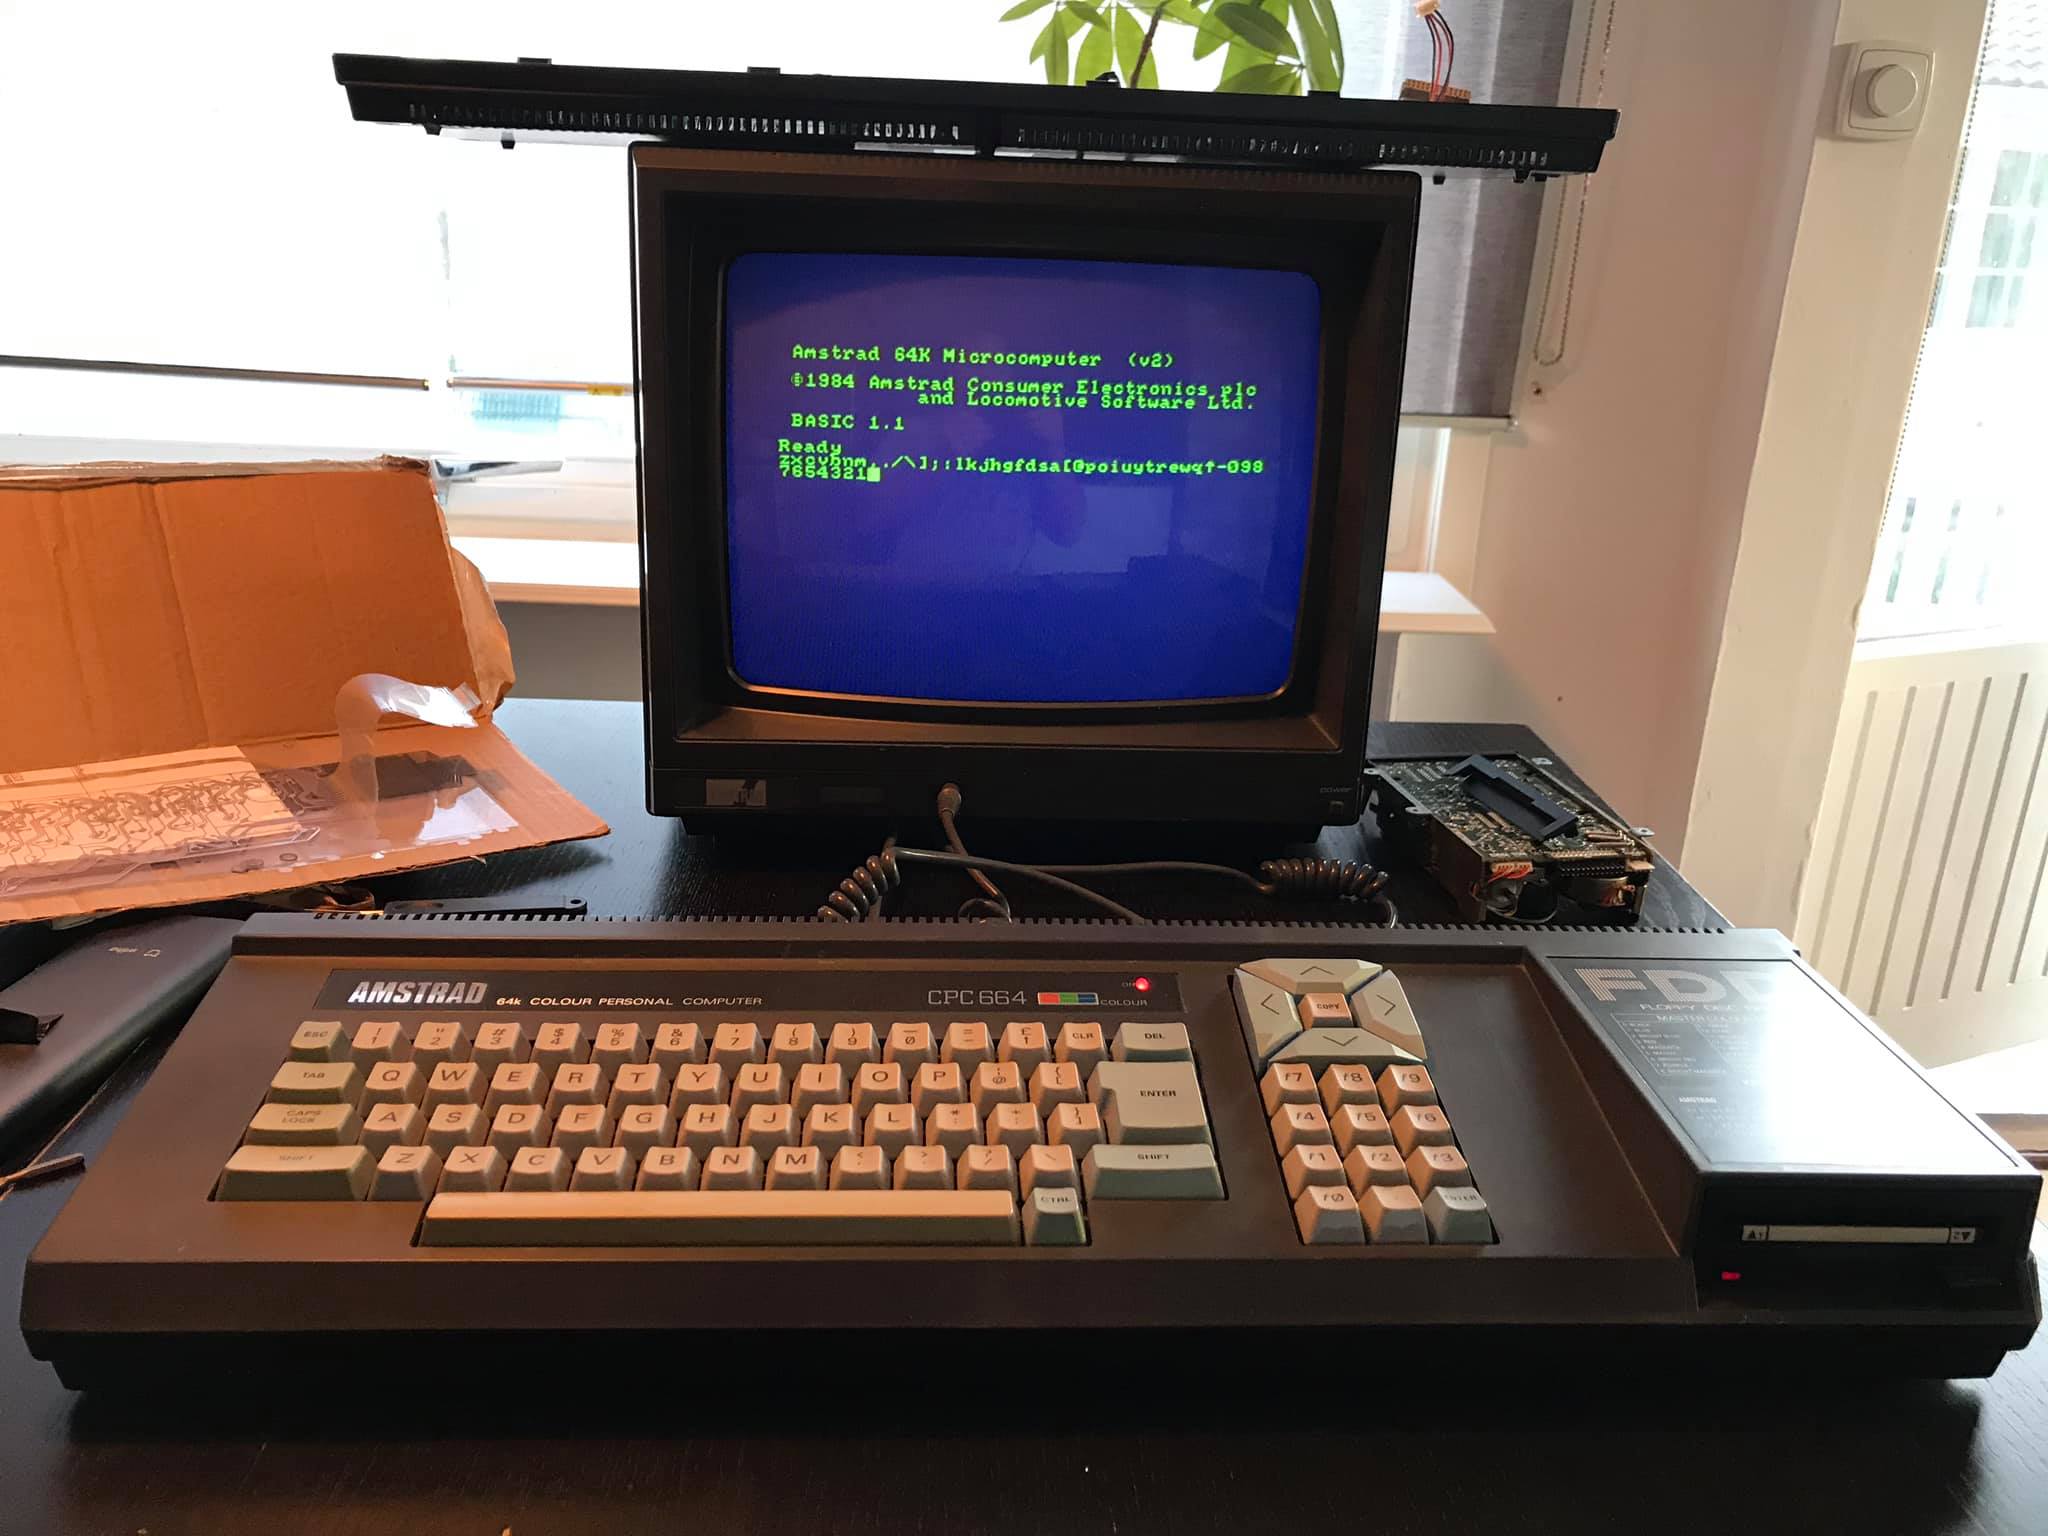
Pingback: Replaced the FDD drive belt and keyboard membrane on my first CPC 664 | Amstrad noob