Introduction
This is part 7 of a blog series I’m doing to catalog some of the programs I wrote back in 1988 on the Amstrad CPC 6128, starting with a disc sector editor I wrote called Disced. I’m doing this because I like doing it, it brings back memories of how I started my career with computers back in the 80’s, long before Internet (as we know it today) or mobile phones.
I’ve found that the more I spend time on this, the more it interests and fascinates me. I still can’t believe I was programming this stuff back in 1988 without any internet, and only using a few books, a MAXAM rom (containing a text editor and and assembler/disassembler), and lots of trial and error.
Other parts of this series, including this one are listed below.
- Disassembling my old code part 1 – Getting started with WinAPE
- Disassembling my old code part 2 – Setting screen mode & Soft 968
- Disassembling my old code part 3 – Text operations
- Disassembling my old code part 4 – Set cursor position & disc cache
- Disassembling my old code part 5 – Get Shift key and set translate
- Disassembling my old code part 6 – Processing disc activities
- Disassembling my old code part 7 – Drawing rectangles <—- you are here
- Disassembling my old code part 8 – Processing HEX in the left pane
Another week has gone by and it’s time to look at where we are with Disced. I try to spend a few hours a week just looking through the code, cleaning it up and finding out what a particular section does, before blogging about it.
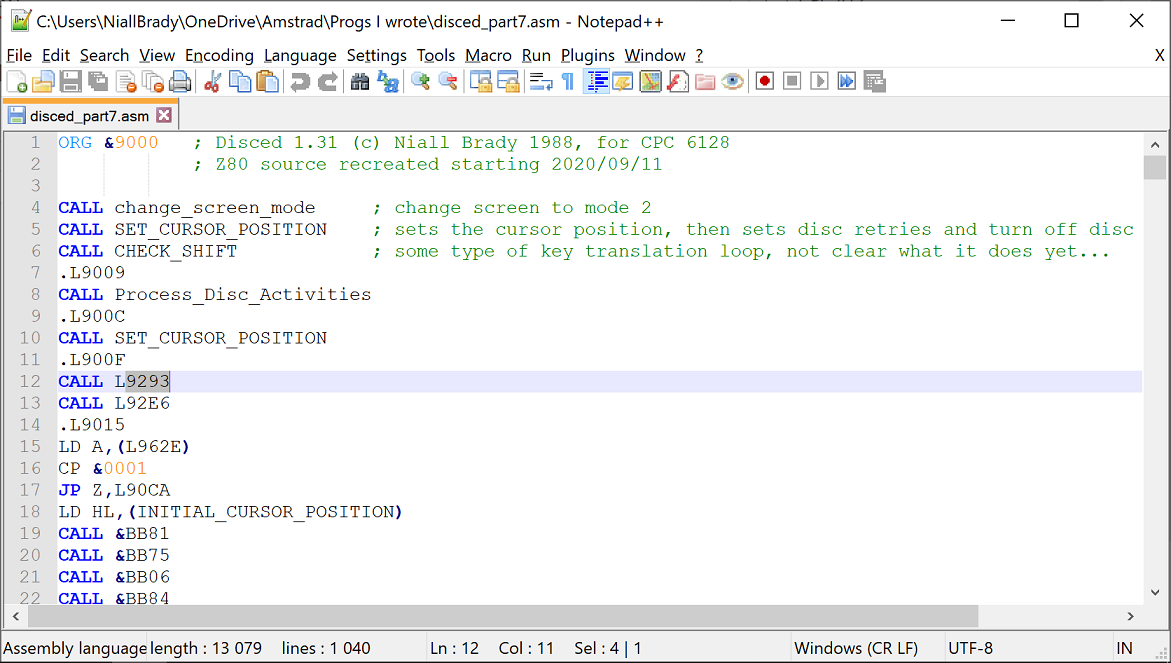
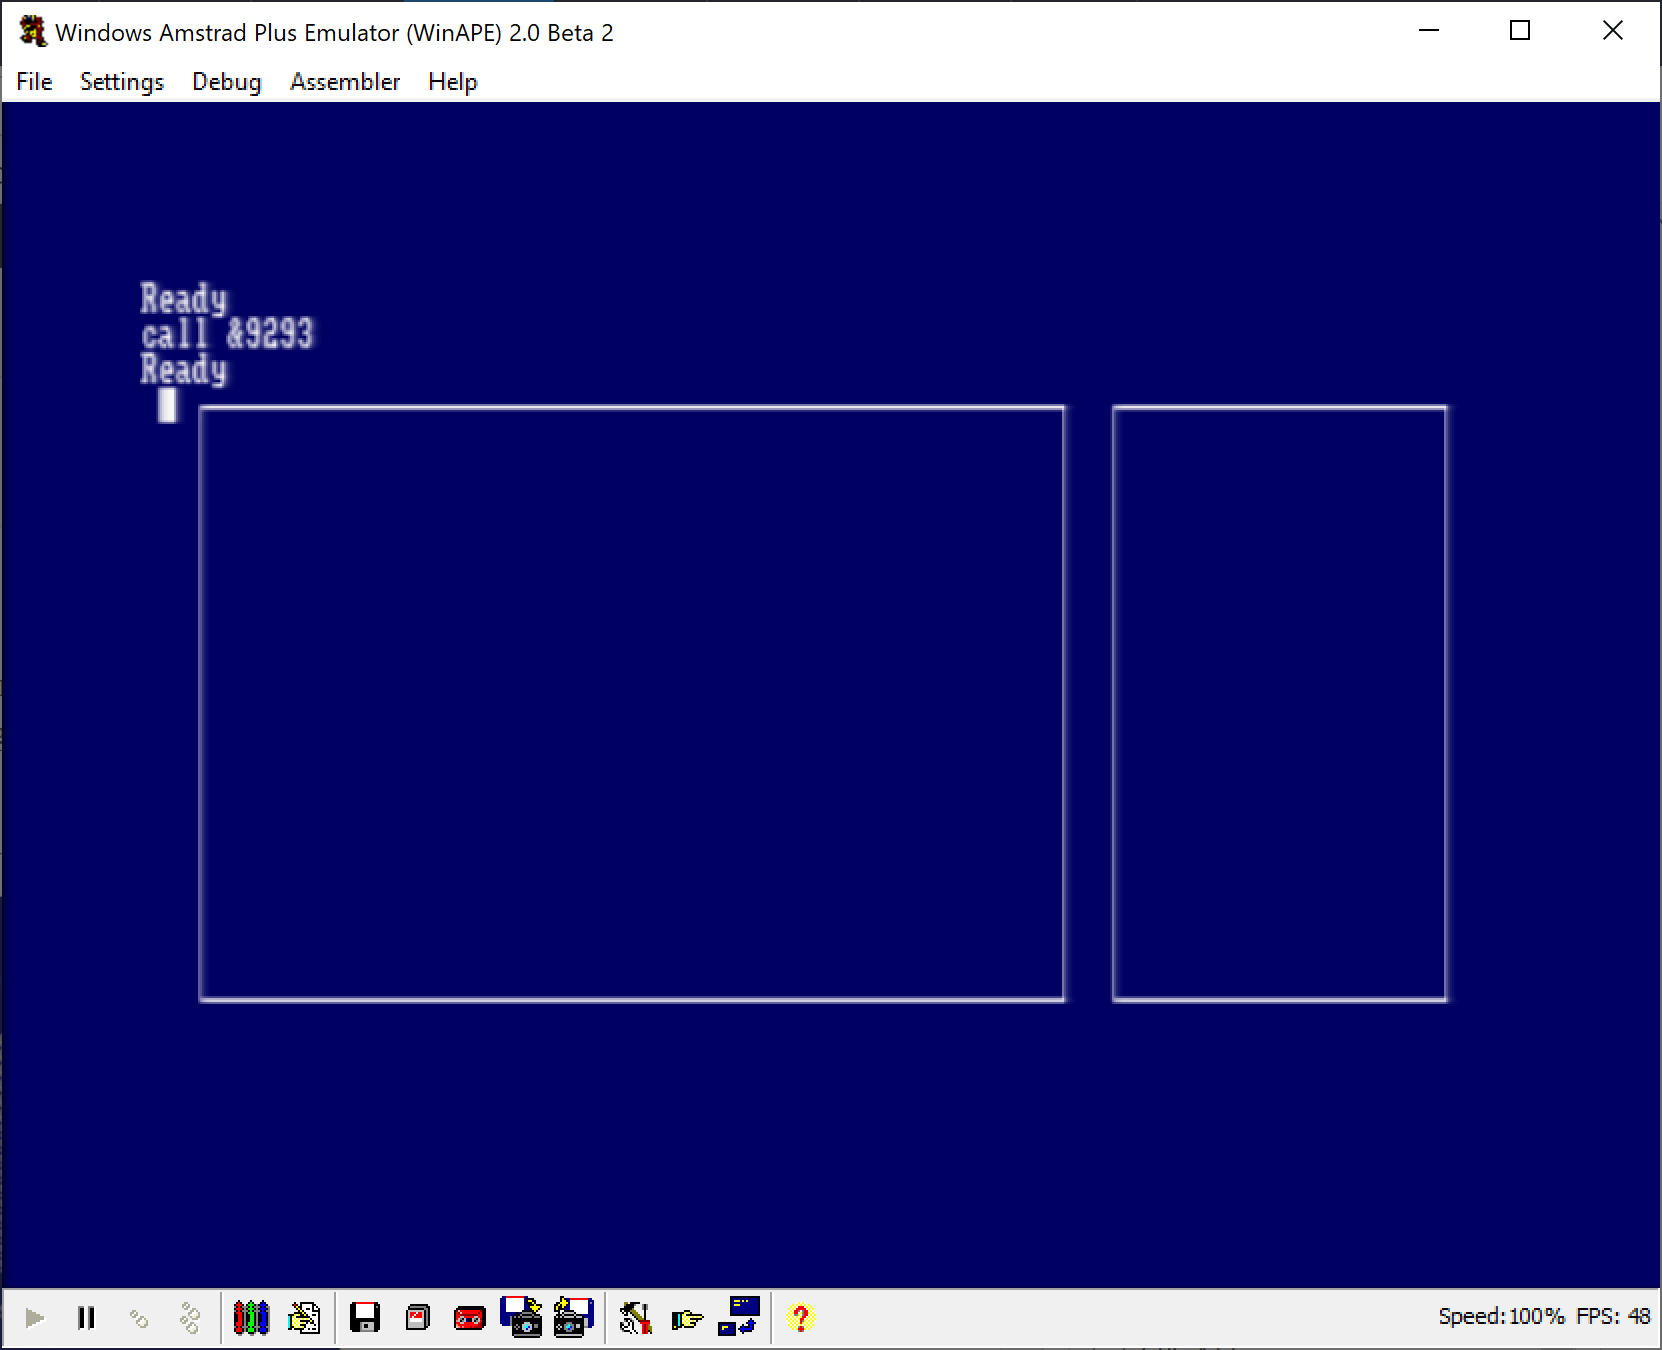
The first few routines have been dealt with and soon we’ll get on to what looks like key press handling (probably in the next part, or soon after), but before that we’ve got a call to label 9293.
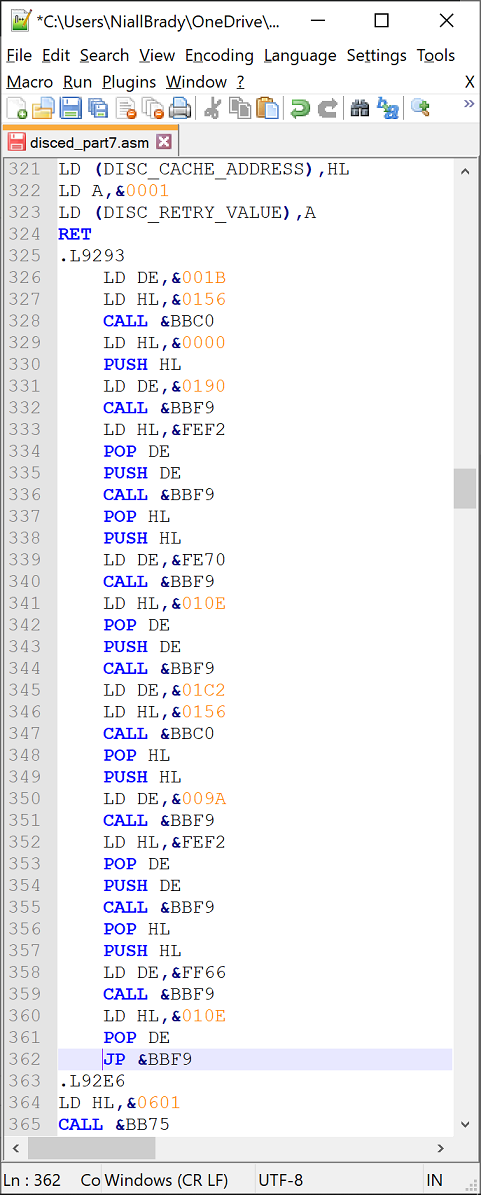
 So let’s take a look at that routine. It’s quite lengthy and right now I’ve no idea what it does. I’ll need to determine what the firmware calls are in order to figure that out. There are two firmware calls used in this routine (function ?) and they are shown below.
- &bbc0
- &bbf9
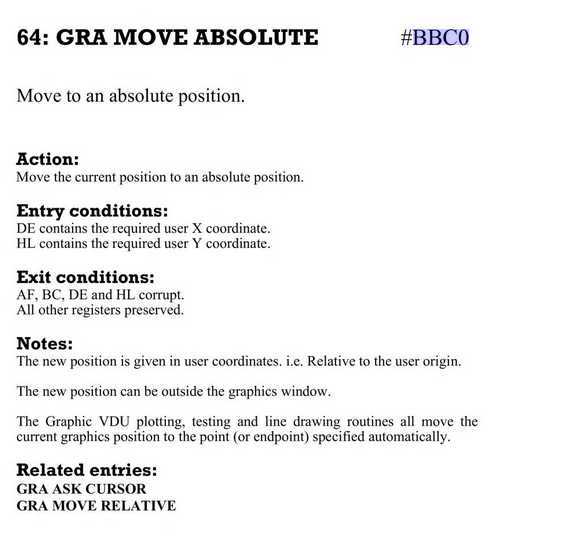
So the first firmware call is to &bbc0 and Soft 968 tells us that it is called 64: GRA MOVE ABSOLUTE, to move (graphics) to an absolute position based on what is in the DE and HL registers. DE points to the X co-ordinate and HL points to the Y co-0rdinate.
It looks like this entire section is drawing the initial graphics (rectangular boxes around the left/right panes). But let’s dig deeper.
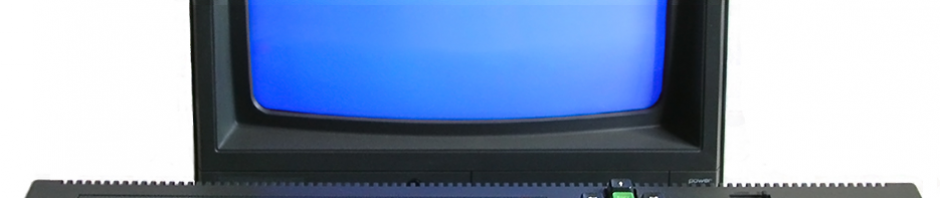
To verify this, I hacked the code and removed the call by replacing the machine code with 00 (NOP, or NO Operation bytes). And then I called Disced again (call &9000), and sure enough, there are no drawn lines !

This is much easier to see when I call the routine directly from the CPC. So now we know exactly what this routine (L9293) does.
But let’s look at it further to see what the other firmware call is used for, and why are there so many PUSH and POP commands used in this routine.
The other firmware call used in this routine is &bbf9 or 83: GRA LINE RELATIVE.
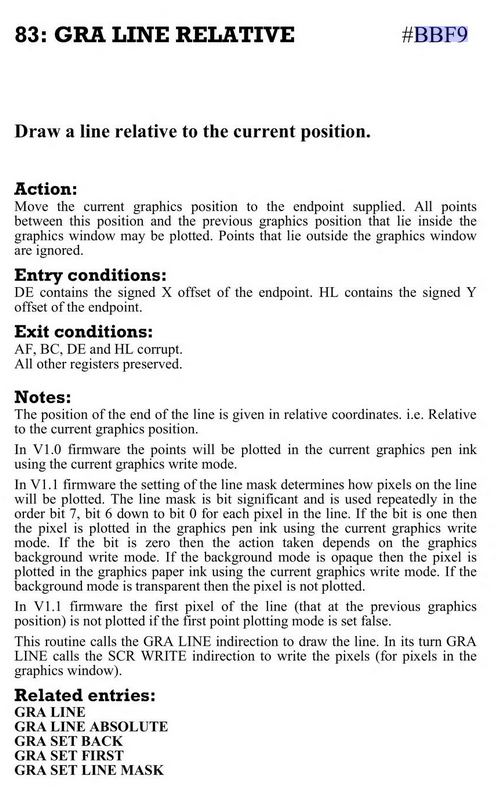 So again the two 16 bit registers DE and HL are used to pass co-ordinates to this firmware call, and calling it corrupts the contents of those registers and others. But why all the PUSH/POP commands.
Normally, loading DE or HL with values uses 3 bytes, so LD HL,&0000 in source code becomes 21,00,00 in machine code. However, PUSH HL (save HL to the stack) uses one byte E5. That value stored in the stack is later retrieved with POP DE (again, one byte).
This is a neat trick to save coding space (bytes) and it also speeds things up, as less bytes to execute means it will be faster to execute.

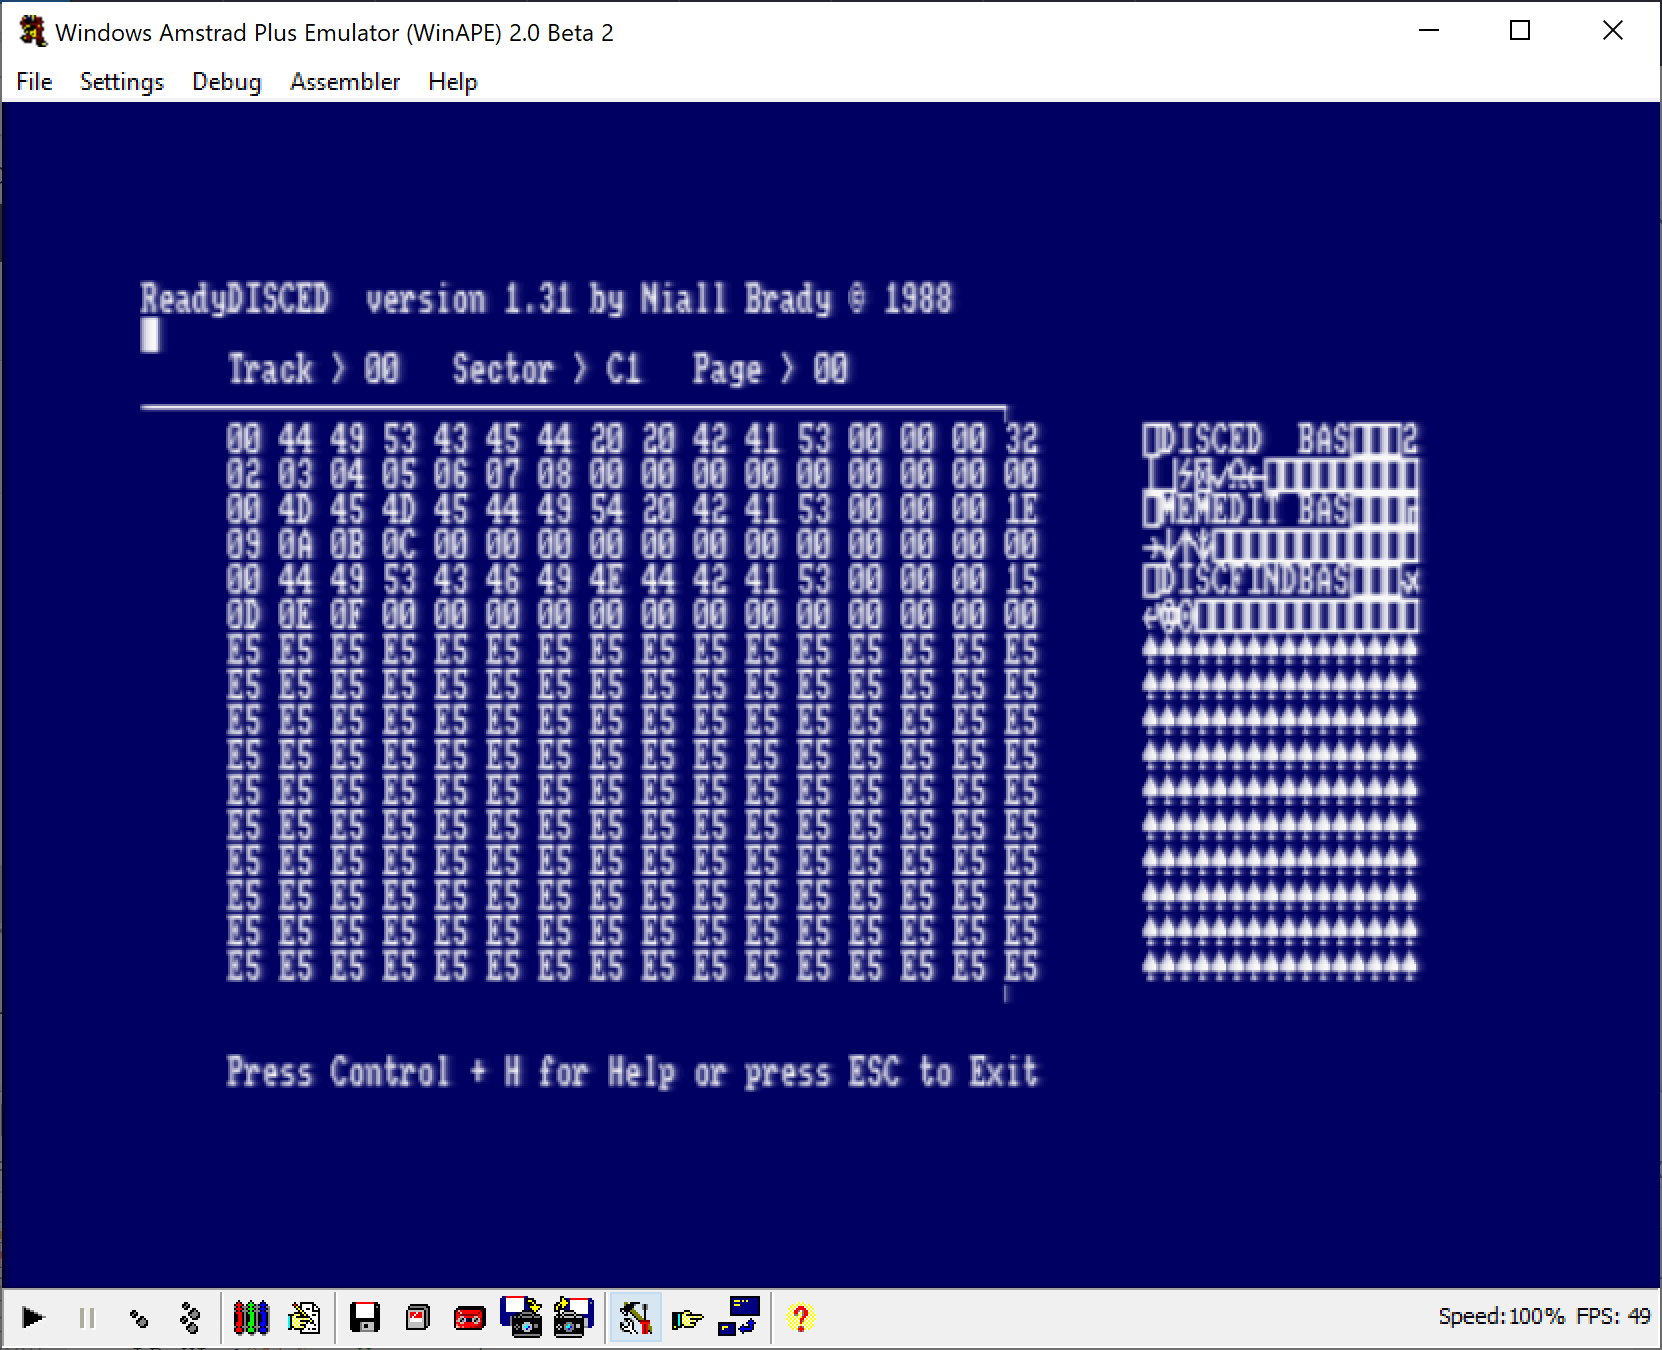
To get a better understanding of which bit of the routine was used for drawing a particular line, I modified the code to ‘move’ the starting point, and exited the routine after only two sections, the result was the left most pane had two lines which are obviously not in the right place, but that was just to see how changing certain values affected the output.
You can just barely make out the second line (vertical) starting at the top right corner of the left pane.
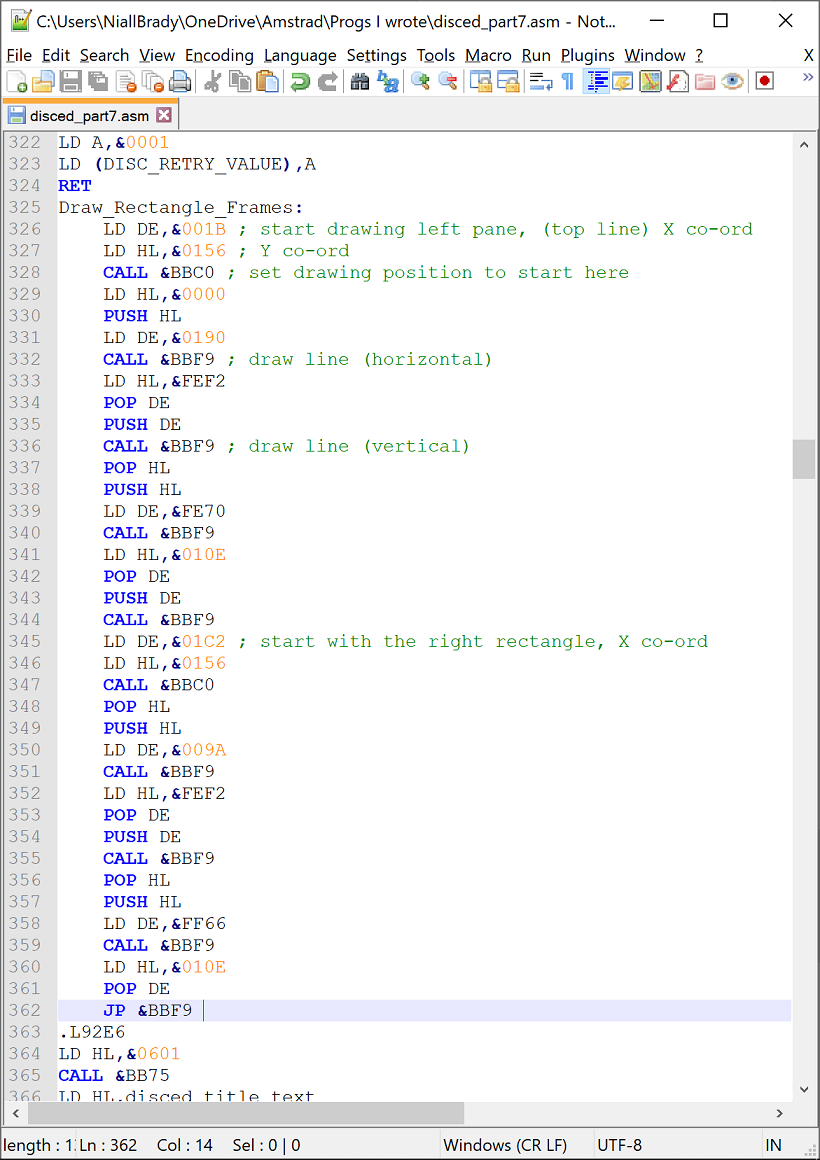
 And after my discoveries today and edits here is the routine in all it’s glory.
Resources used in this part
- Soft 968 – https://archive.org/details/SOFT968TheAmstrad6128FirmwareManual/page/n205/mode/2up?q=bbc0
- Learn Z80 Assembly – https://www.youtube.com/watch?v=zPXmvoZz9Nk
Pingback: Disassembling my old code part 8 – Processing HEX text in the left pane | Amstrad noob