Introduction
This is part 9 of a blog series I’m doing to catalog some of the programs I wrote back in 1988 on the Amstrad CPC 6128, starting with a disc sector editor I wrote called Disced. I’m doing this because I like doing it, it brings back memories of how I started my career with computers back in the 80’s, long before the Internet (as we know it today) or mobile phones.
Below are a list of previous blog posts on this subject.
- Disassembling my old code part 1 – Getting started with WinAPE
- Disassembling my old code part 2 – Setting screen mode & Soft 968
- Disassembling my old code part 3 – Text operations
- Disassembling my old code part 4 – Set cursor position & disc cache
- Disassembling my old code part 5 – Get Shift key and set translate
- Disassembling my old code part 6 – Processing disc activities
- Disassembling my old code part 7 – Drawing rectangles
- Disassembling my old code part 8 – Processing HEX in the left pane
- Disassembling my old code part 9 – Assembling the code <—- you are here
First of all apologies for the delay in updating this series, I’ve been very busy with real work and other things have taken priority. Don’t worry though, if you are following this series I do intend to finish it no matter what it takes and no matter how long it takes, so please be patient. We’ll get there in the end and hopefully both you and I will have learned a few things along the way.
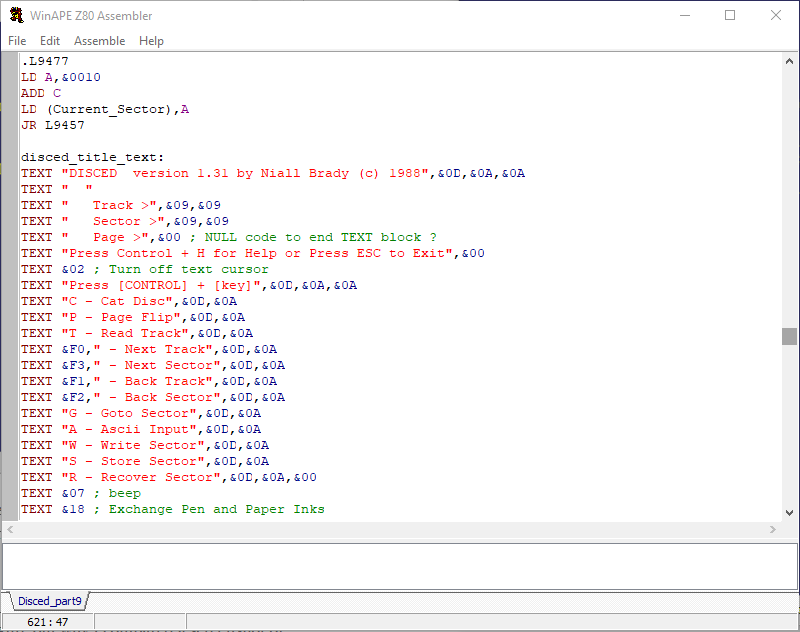
Looking at the code I currently have in Notepad ++ I’m unsure if MAXAM would even let me assemble it in it’s current configuration, it’s been THAT long since I actually assembled any Z80 code that I’m obviously out of touch with it.
I won’t tackle MAXAM today, but I will attempt to make corrections to the current edited code using the built in Assembler in WinAPE. So let’s get started, and this is a good time to see if it would even compile in it’s current unfinished state.
Using the WinAPE Assembler
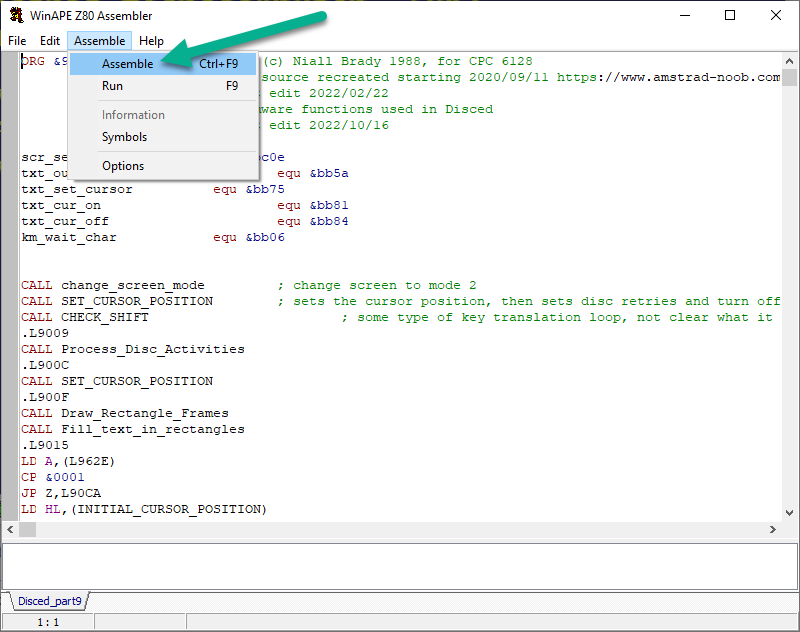
In WinAPE, click on the Assembler menu option and select Show Assembler F3.
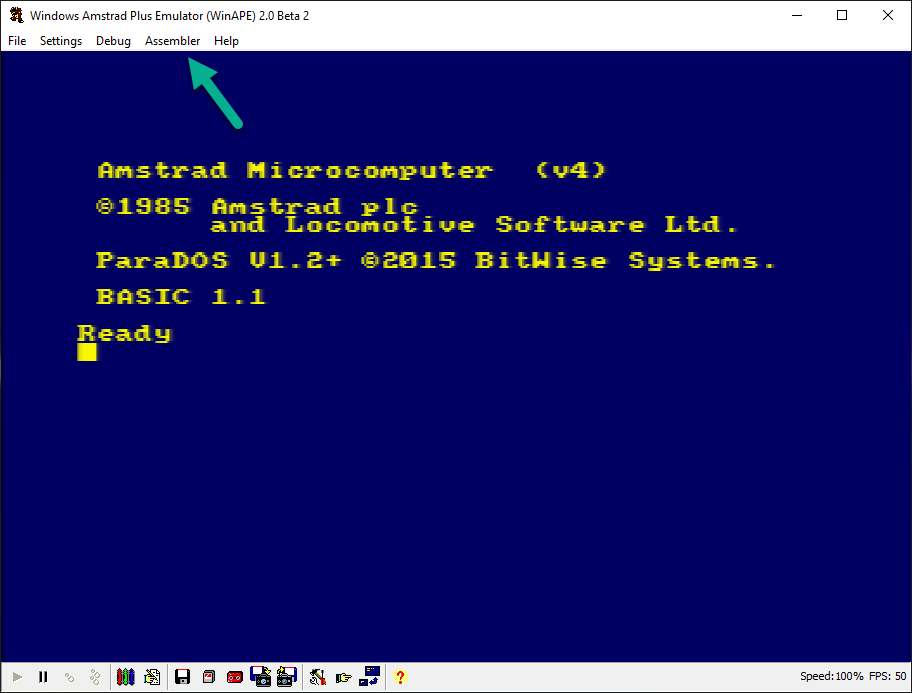
The Assembler window appears, and as we have not used it before it’s blank.
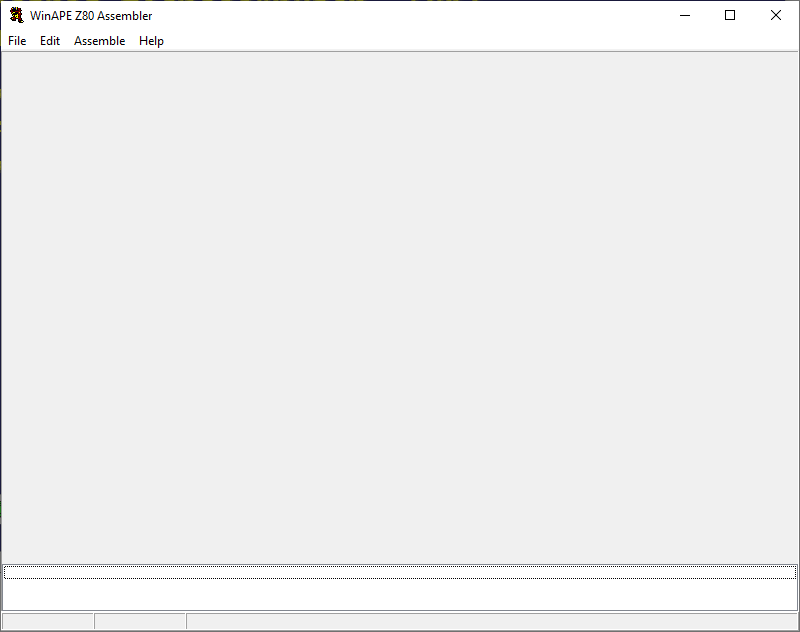
Click on File and load the current version of your saved assembly source code.
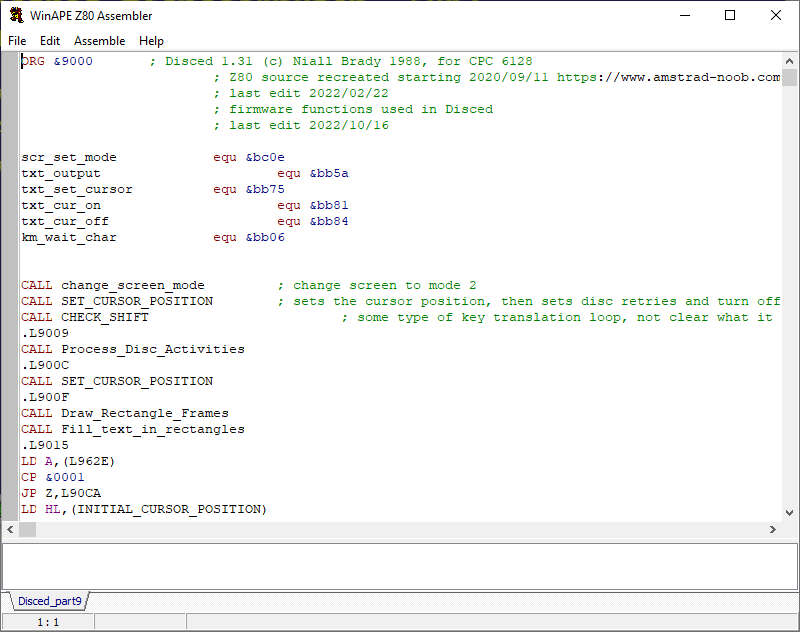
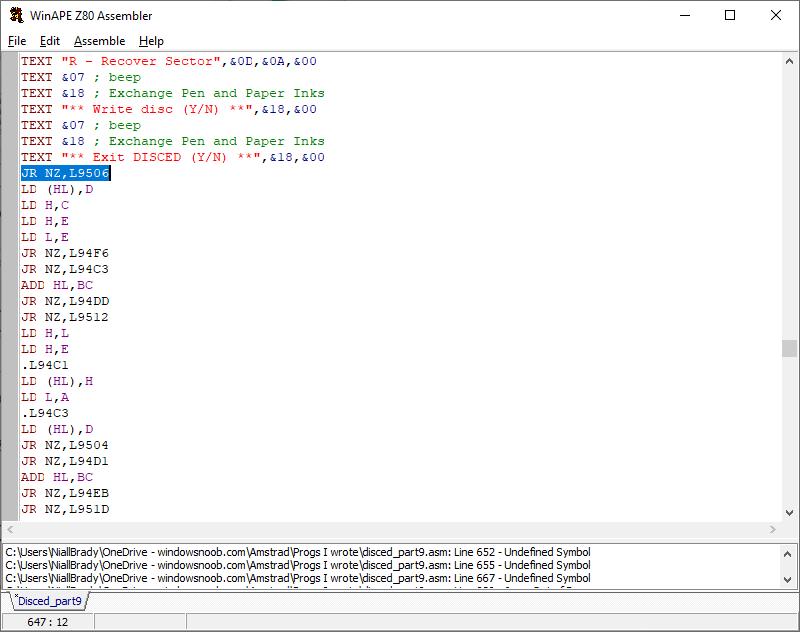
Now comes the fun part, as I’m out of practice obviously the current code has some issues. So let’s try and fix that. To start off, click Assemble, then click on Assemble within that drop down menu within the WinAPE Z80 Assembler window, this should highlight any issues it has with the source code.
straight away we can see some problems found, so let’s step through them one by one,
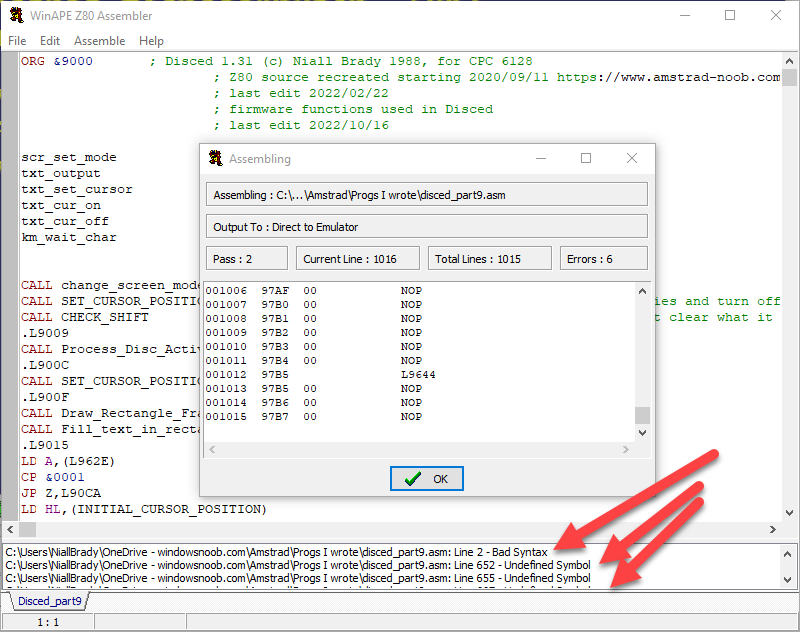
The first problem is in Line 2, and it becomes obvious when you look at how it interprets the website URL. Obviously it doesn’t like the colon, so let’s fix that.
Using the edit ability in the Assembler, move your cursor to the problem and correct the mistake, in my case I changed the URL from https://www.amstrad-noob.com to simply www.amstrad-noob.com.
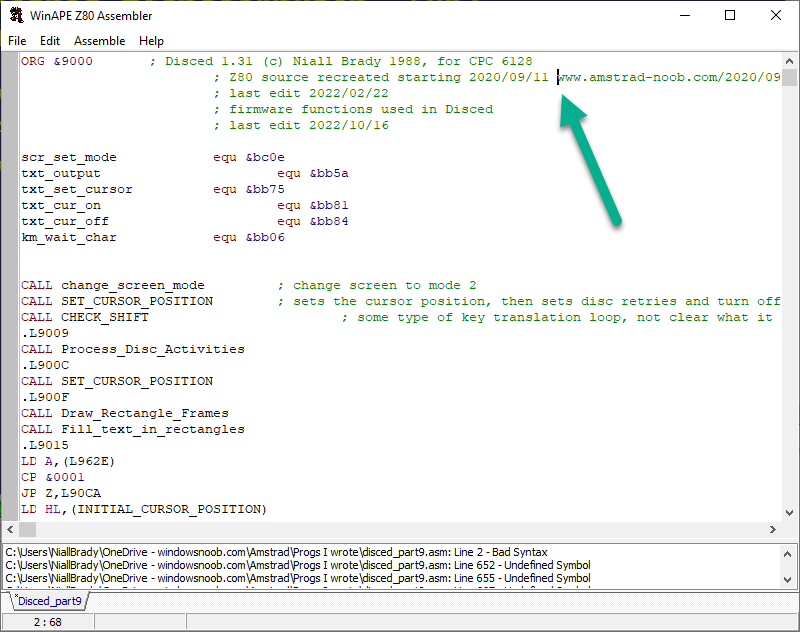
To prove that this has solved it, Assemble the code again. And sure enough after Assembling the code again, the Line 2 – Bad Syntax error is no longer present !
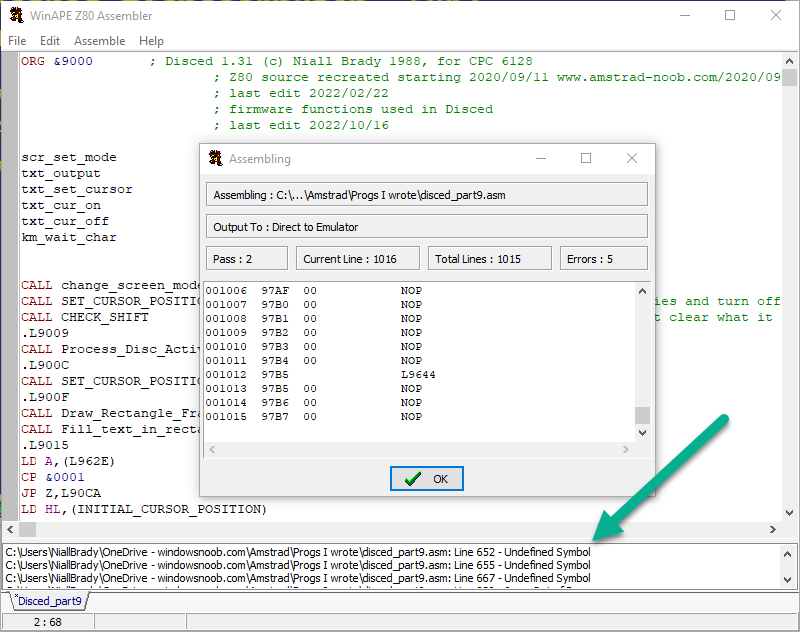 Next we need to find out what is wrong with Line 652 – Undefined Symbol. To speed that up, let’s use CTRL+G to go to the line number 652.
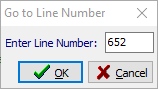
Tip: You can also double click on the line that has an error in the bottom pane and it will automatically go to that line number in the upper pane.
The remaining errors are all Undefined Symbol so I think (or hope at least) that I can ignore that for now. I can also see that from line 652 on-wards the code appears untouched or unfinished (i.e. it’s the direct dump from my original disassembly and therefore some text has not yet been converted to Ascii.
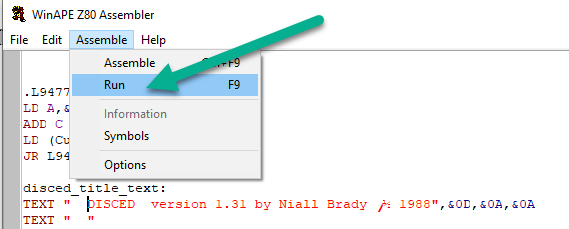
Running assembled code
For fun I decided to try Assembling the code and then running it. If you click on Run it will Assemble the code first and inject it to the memory space it should be at in this case &9000.
Next, by calling &9000 in the CPC from basic after assembling/run the code,

and pressing enter, it just hung with a blank screen, yikes. I needed to determine what broke it so I compared known good code (by running disced.bas) to my ‘broken’ assembled code.
I placed a RET (C9) before the disk_processing_activities function and that worked fine so i know the hang is caused in the disk_processing_activities function or via something it in turn calls.
To help me figure it out I compared a screenshot of the code in memory from the Assembly attempt (right hand side screenshot), to a known good working disced.bas injected code (left hand side screenshot), there were several differences marked here.
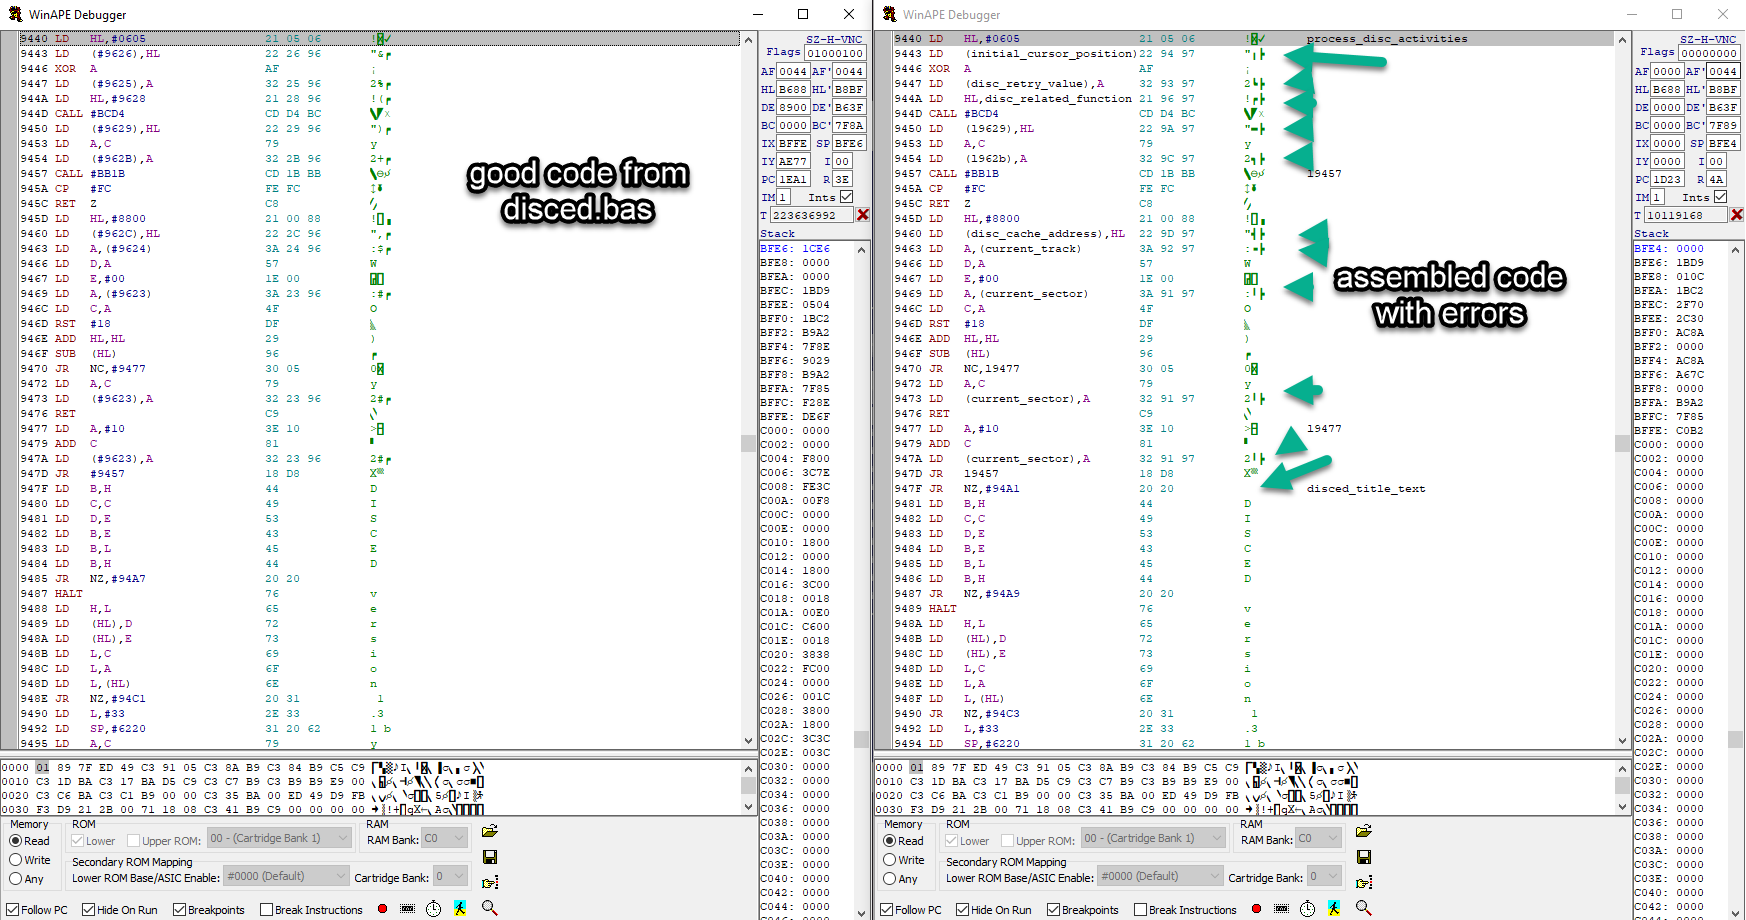
So that leaves me with some minor edits that I can make to the code, the most obvious is 2 remove the 2 added spaces that appear in the code in-front of the Disced title text, so let’s try that. I can also see that the (c) symbol is not showing correctly in the source code.
Here’s the code side-by-side again after I removed the 2 spaces and re-assembled it, at least it now matches up, but again the addresses to some of the other functions is way off, so I need to dig deeper.
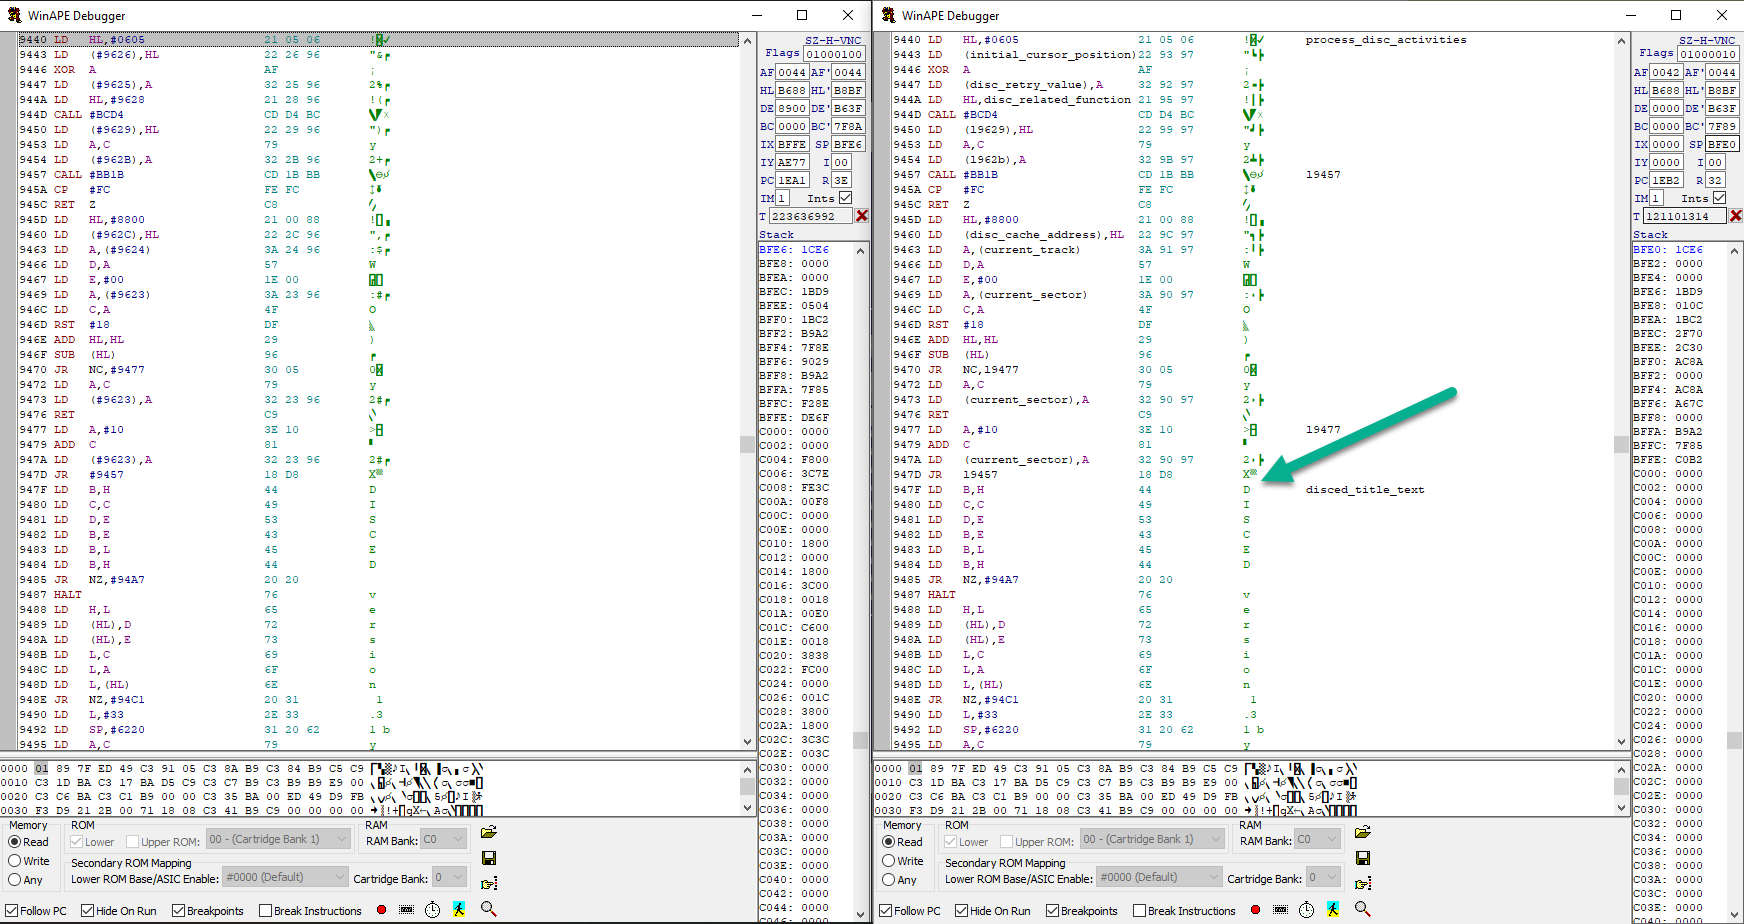
At the start of the disk_processing_activities there a mention of initial_cursor_position and that address in the good code was &9626, so I used my comparing trick (take a screenshot of the area with known good code, and then compare that screenshot with the assembled code).
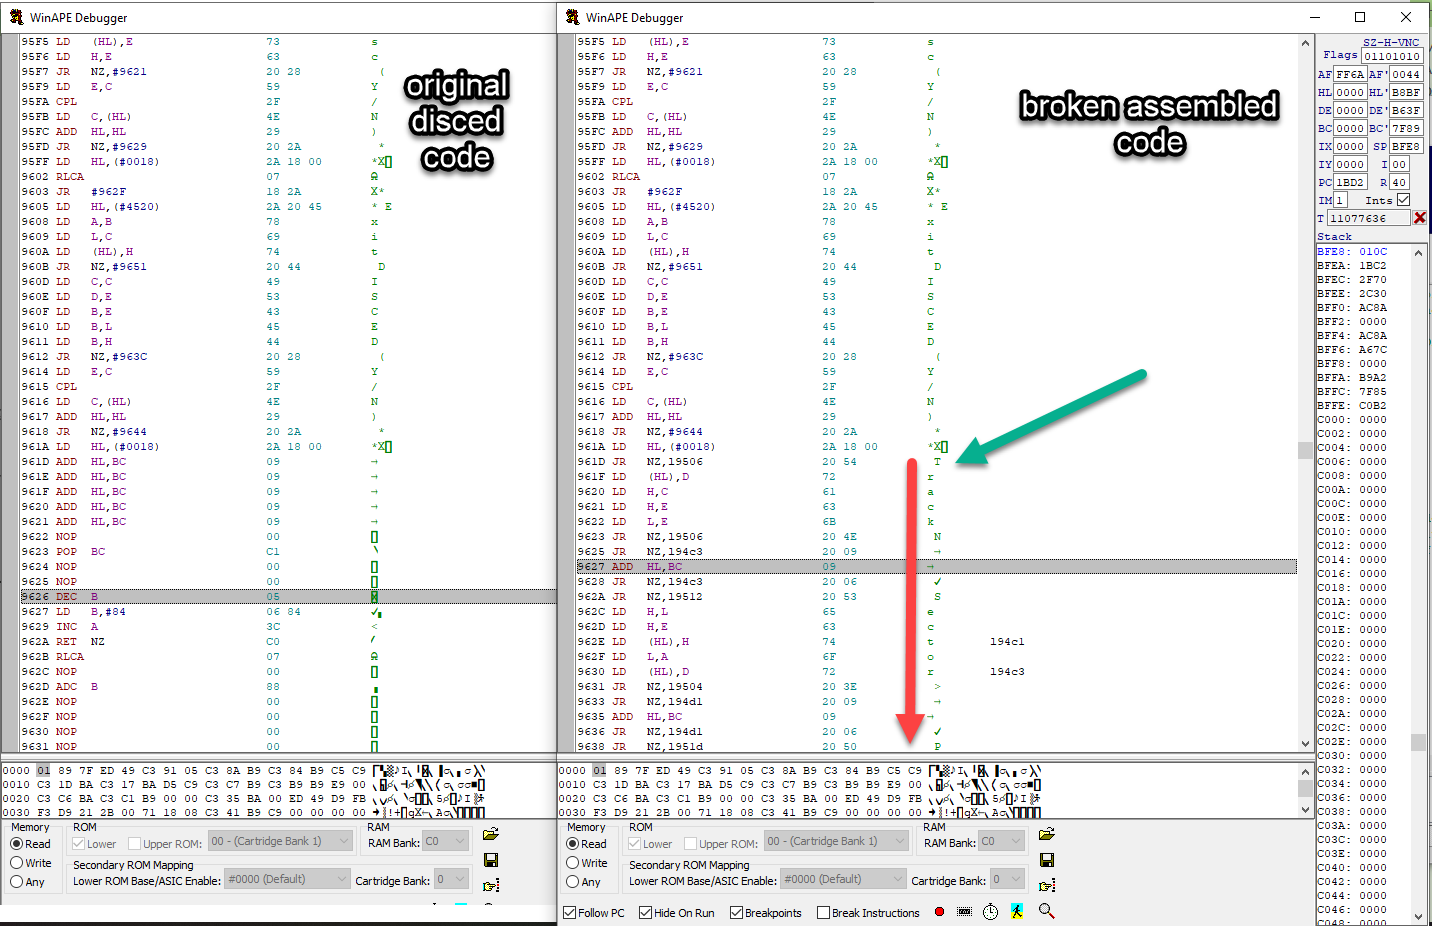
At this point I’m not sure what the issue is, but I can see that everything from &961A is different in the assembled code so I need to look at the source code again.
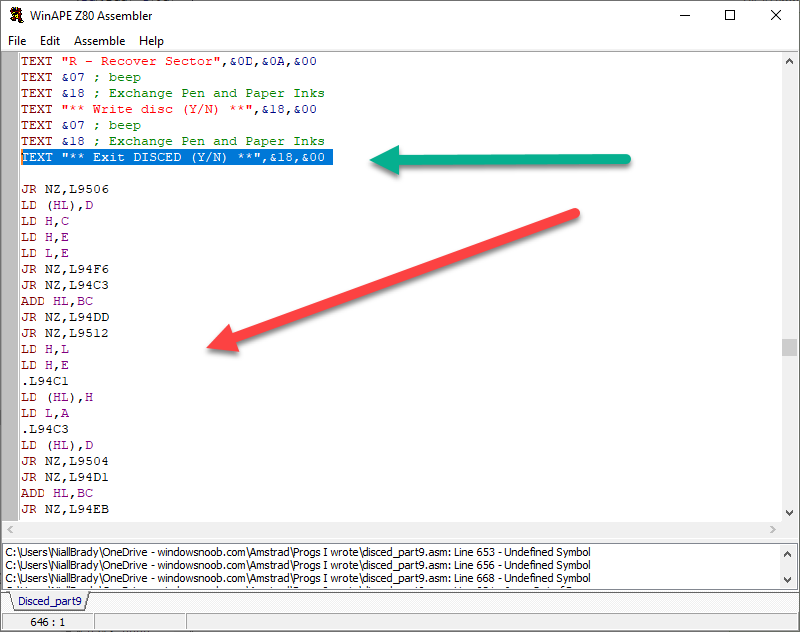
Looking at it makes it clear where the problems are, after the initial “Exit DISCED Y/N” text, the remaining ‘code’ is gibberish, in other words I haven’t converted it yet to it’s real ‘code’ and/or ‘text’.
We’ll deal with that in the next part, until then, adios !