Introduction
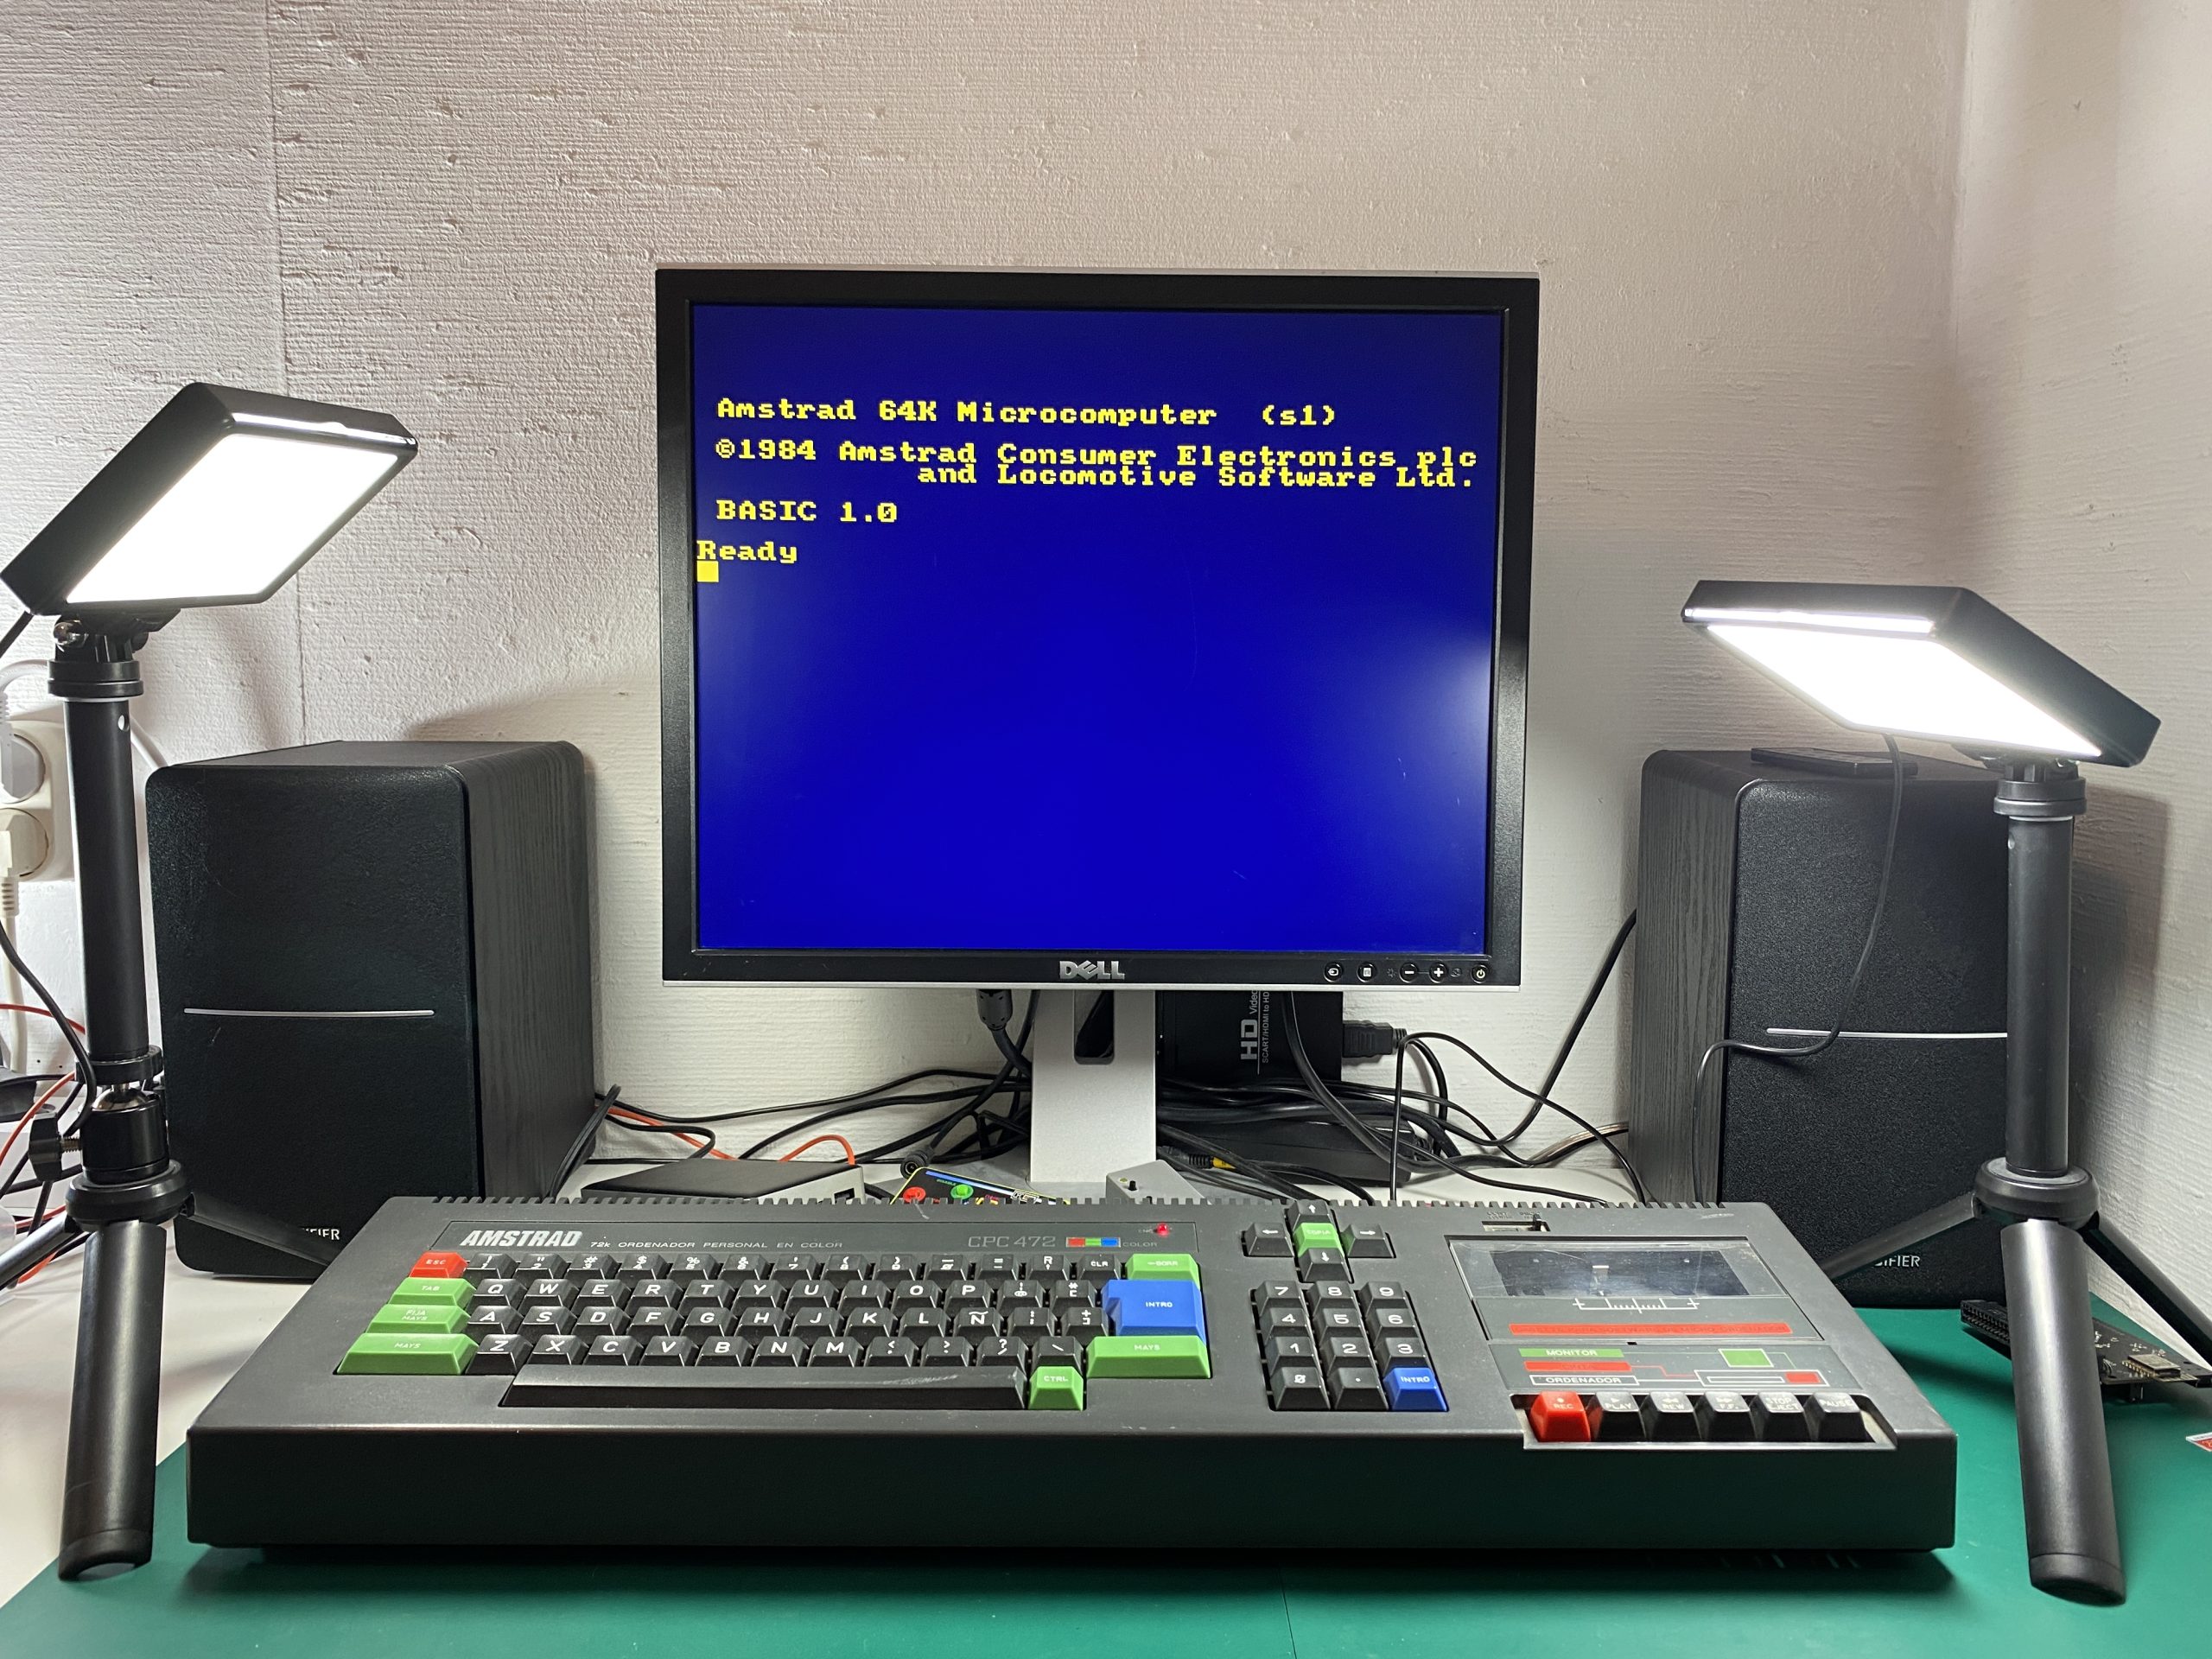
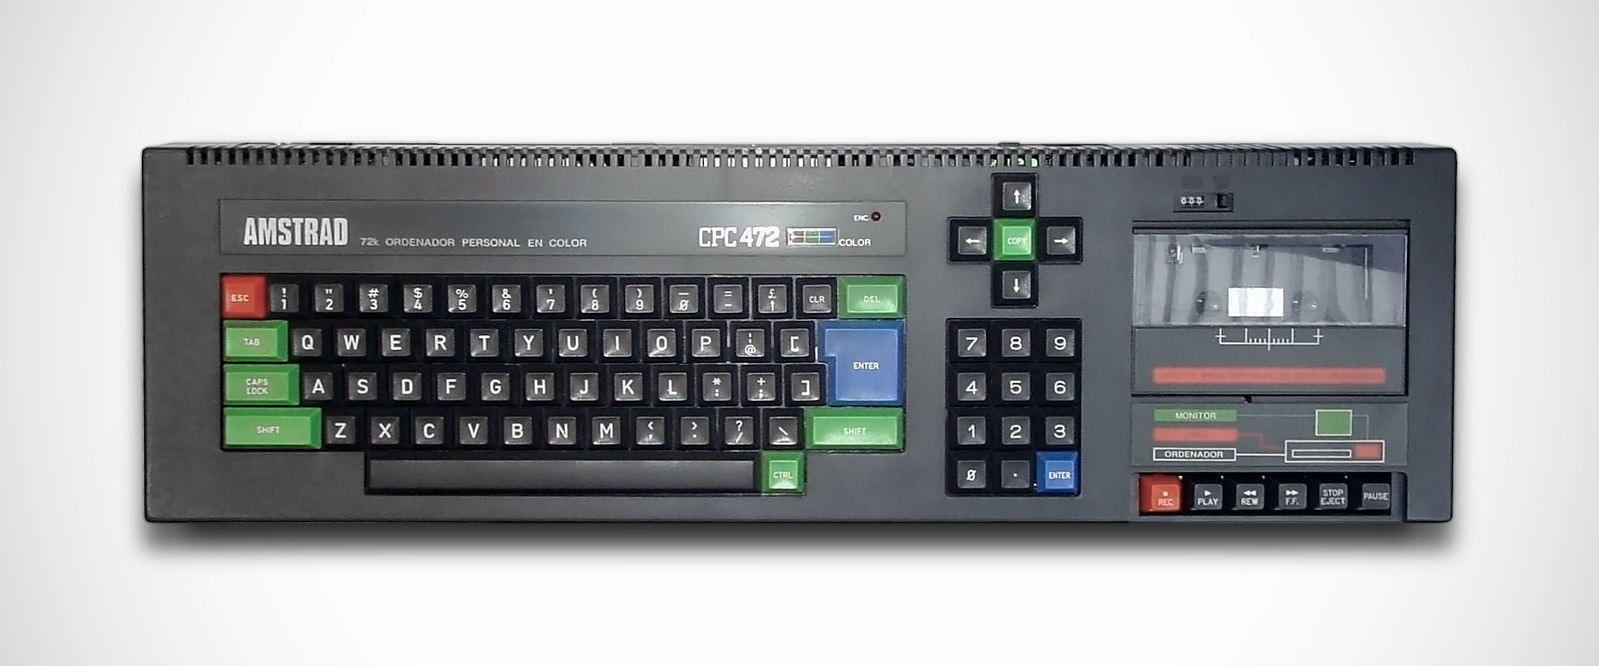
In this video I took a close look at the Amstrad SSA 1 for CPC 464 explaining some of it’s main features.
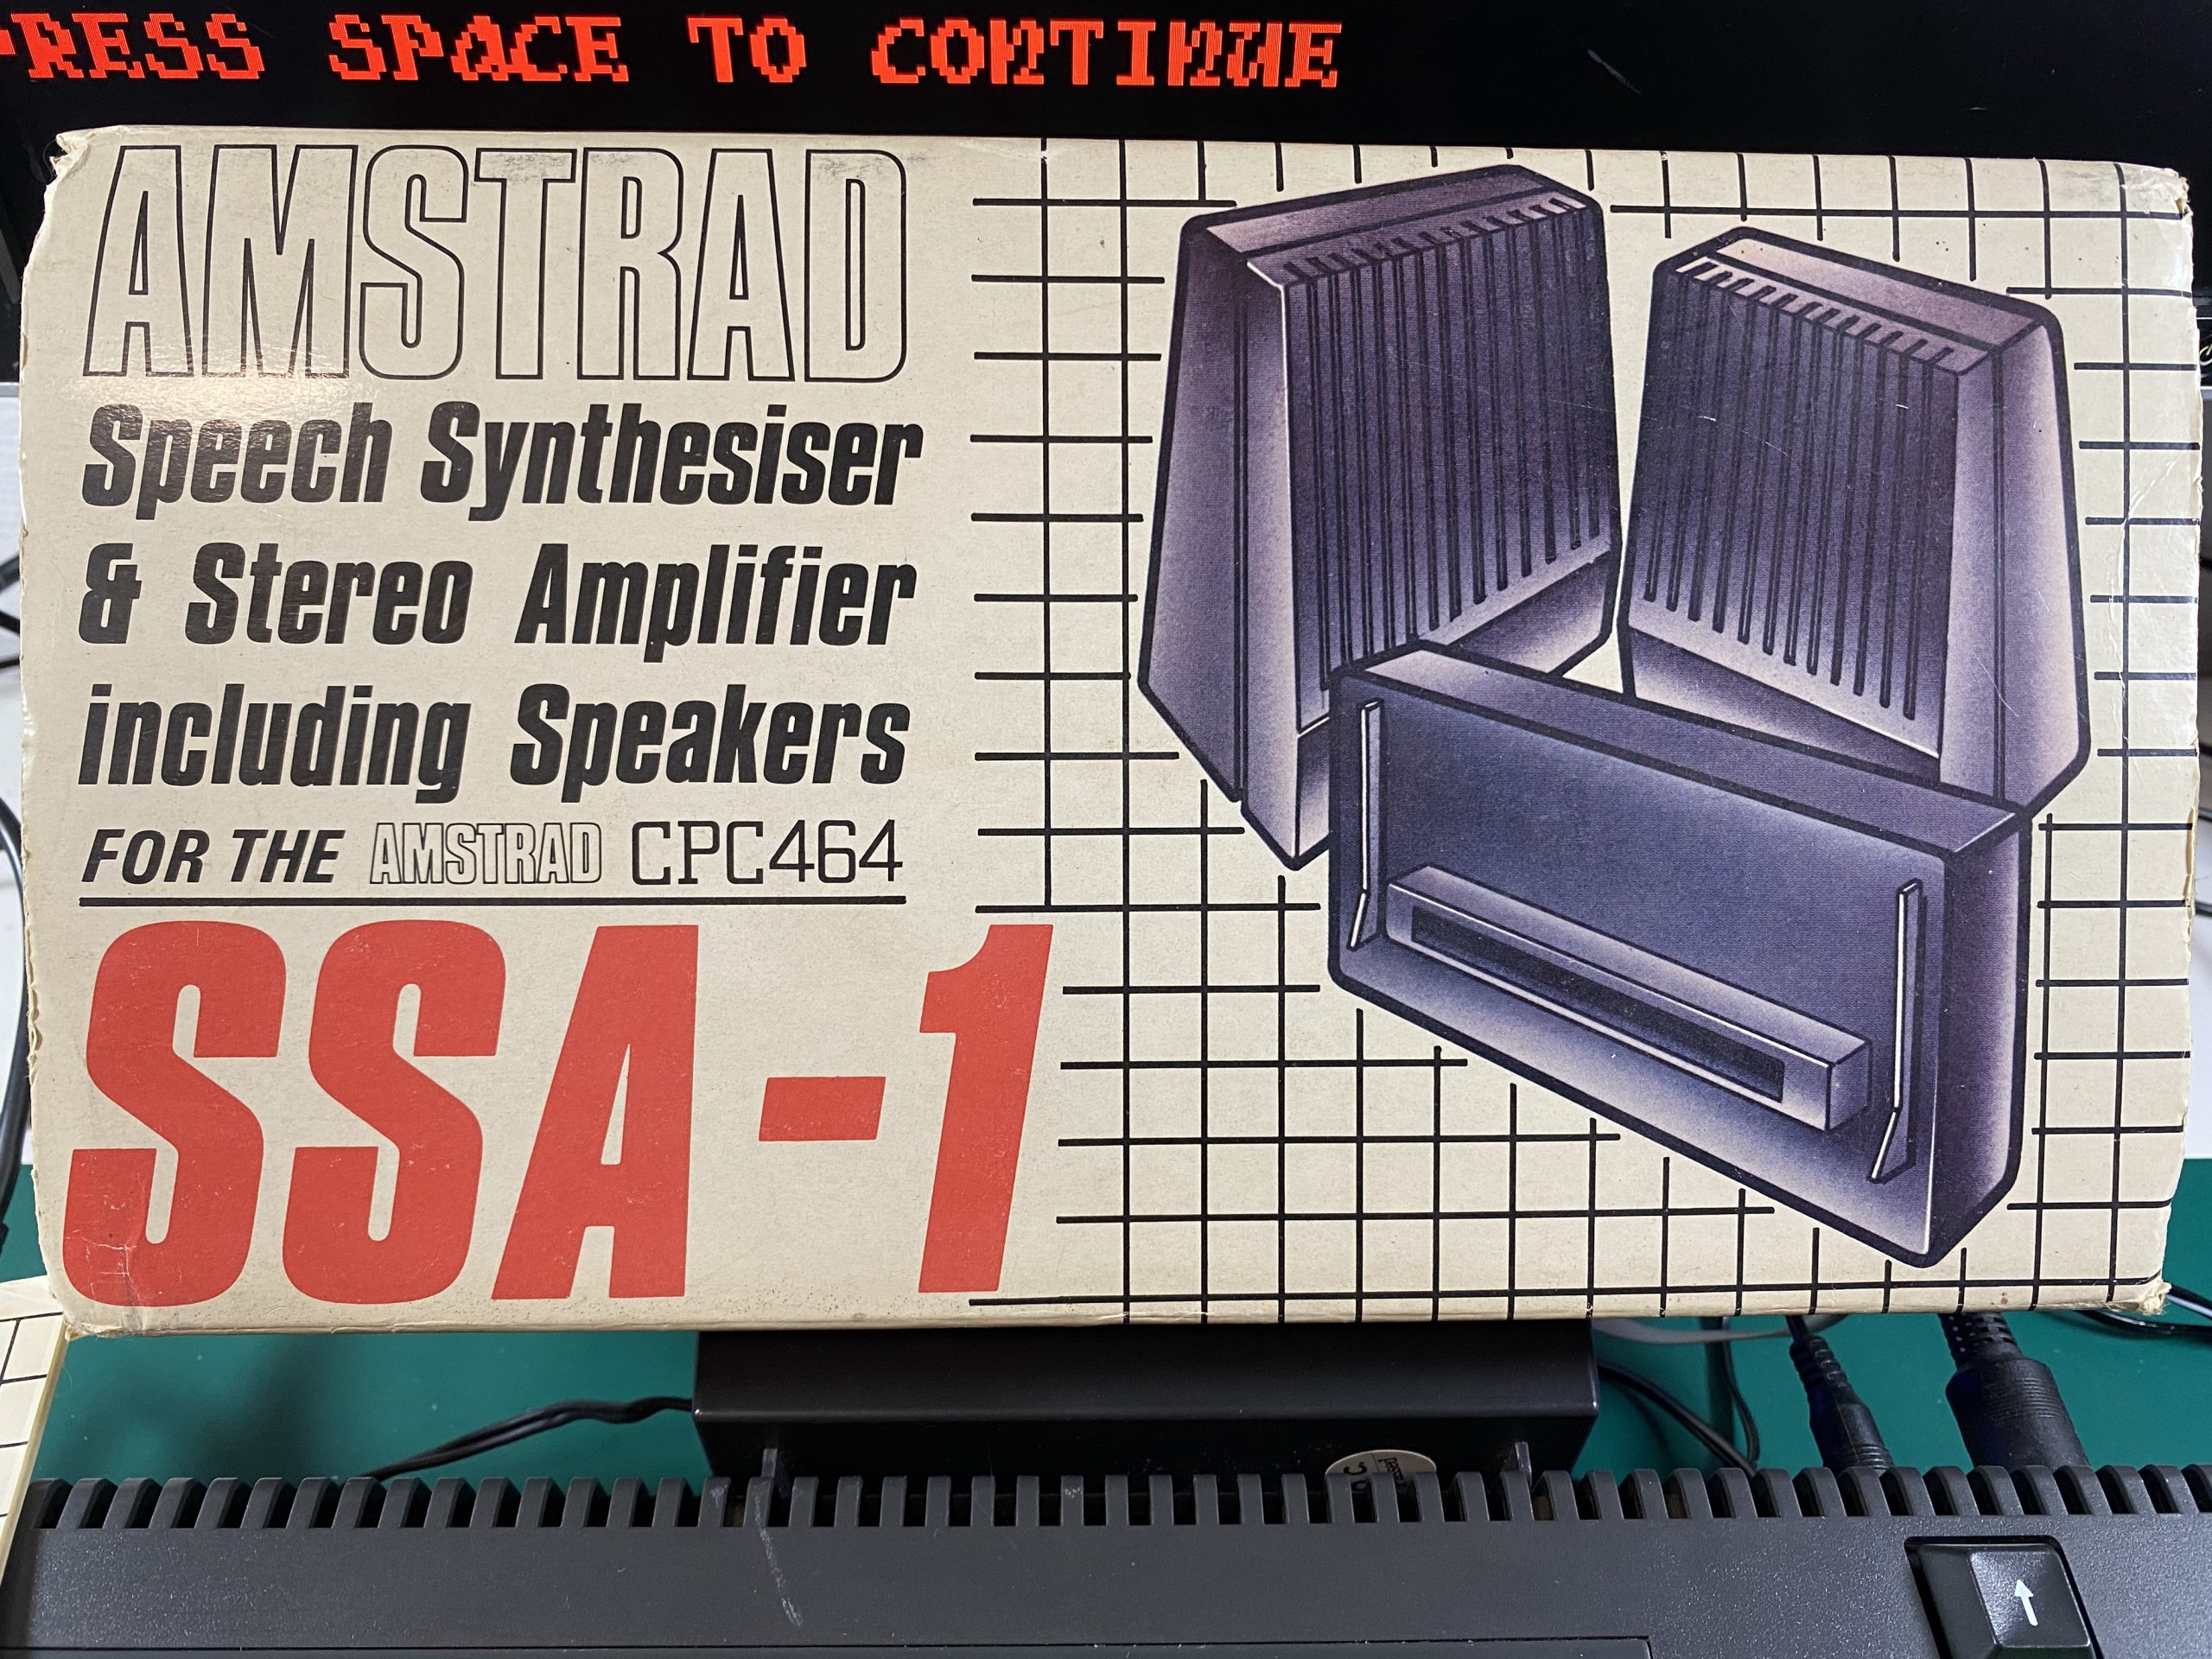
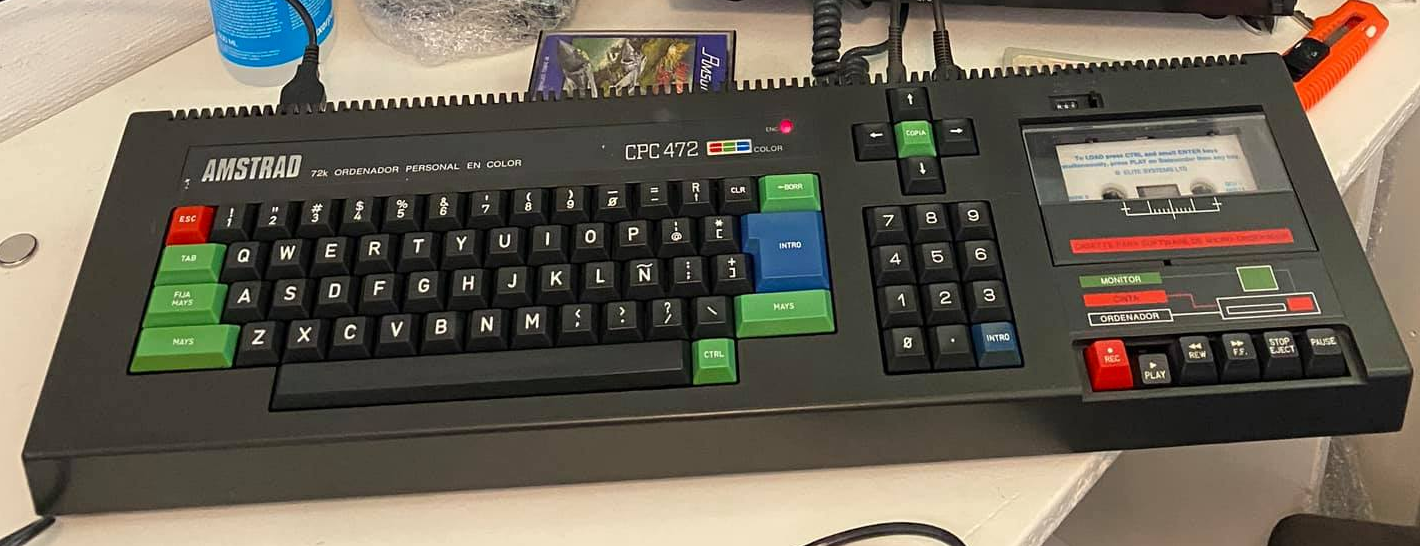
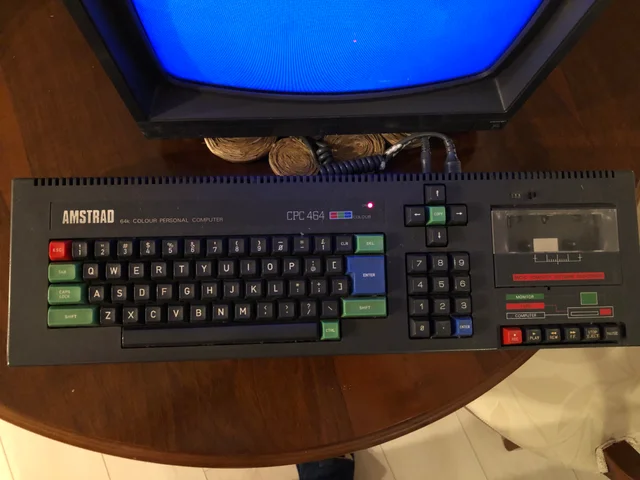
The Amstrad SSA-1 is a Speech Synthesiser & Stereo Amplifier including speakers but it’s only compatible with the CPC 464.
Here’s the video:
In the video I also referred to the SSA-1 software (a basic file and a BIN file) and you can download that software from a few places such as here. Below is the BASIC listing in full.
10 ssa1%=&FBEE: size%=&1434
20 d%=INP(ssa1%) AND &C0
30 IF d%<>&80 THEN 70
40 OUT ssa1%,4
50 d%=INP(ssa1%) AND &C0
60 IF d%=0 THEN 80
70 PRINT:PRINT"SSA1 not operational":PRINT:END
80 ON ERROR GOTO 120
90 |ECHO,1: PRINT
100 PRINT: PRINT "`S``S``A1 Software already installed.`": PRINT
110 |ECHO,0: END
120 IF ERR=28 THEN 140
130 PRINT"Loader terminated: BASIC error";ERR;"at line";ERL: END
140 MODE 1:PRINT TAB(10);"SSA1 SOFTWARE LOADER":PRINT:PRINT:PRINT:PRINT
150 SYMBOL AFTER 256
160 PRINT "Program length is ";HEX$(size%,4);" Hex"
170 PRINT: PRINT"Enter loading address, or just "
180 LINE INPUT " ENTER for top of memory > "; base$
190 IF LEN(base$)=0 THEN base=HIMEM-size%: GOTO 220
200 base=VAL(base$)
210 IF (base<16384) OR (base>HIMEM-size%-1) THEN PRINT :PRINT"Insufficient memory":GOTO 170
220 CLS: PRINT"Loading...."
230 FOR i=1 TO 5:READ ap(i): NEXT
240 PRINT CHR$(23)+CHR$(0);
250 INK 3,1
260 ORIGIN 320,48
270 DATA 27,7,62,53,4
280 DATA -1,112,20,116,16,208,40,128,20,116,-36,144,80,144,96,176,120,208,80,224,0,224,-112,192,110,152,88,80,32,0,0,0
290 DATA -120,208,112,268,106,304,100,320,90,334,82,344,74,348,0,350
300 DATA-80,224,72,288,88,304,106,304
310 DATA-32,192,52,208,76,208,96,192,76,176,52,176,32,192
320 DATA-64,80,56,96
330 DATA-120,224,132,232,140,230,142,192,132,128,120,128,108,140
340 DATA-1,290,72,288,-80,144,72,64,999,0
350 side=1 :GOSUB 640:x=54:y=192:GOSUB 700
360 RESTORE 280:x=0
370 side=-1:GOSUB 640:x=-74:y=192:GOSUB 700
380 DATA ap,ap,ap,oy,ap,oy,ap,cy,cy,stop
390 ORIGIN 320,124
400 x=50:y=8:xt=25:yt=4:xb=23:yb=6:onn=20:off=0
410 PRINT CHR$(23)+CHR$(1);
420 xt(1)=xt:yt(1)=yt:xb(1)=xb:yb(1)=yb
430 MEMORY base-1
440 LOAD "!ssa1.bin",base
450 CLOSEIN
460 SYMBOL AFTER 240
470 start=base+(PEEK(base)+PEEK(base+1)*256)
480 CALL start
490 LOCATE 1,23:PRINT"Load complete": INK 3,26
500 READ a$:IF VAL(a$)>0 THEN t=TIME:WHILE t+10*VAL(a$)>TIME:WEND:GOTO 500
510 IF a$="stop"THEN NEW: |SPOFF: END
520 IF UPPER$(a$)="CX" THEN xt=xt-4:xb=xb-4
530 IF UPPER$(a$)="OX" THEN xt=xt+4:xb=xb+4
540 IF UPPER$(a$)="CY" THEN yt=yt-2:yb=yb+8
550 IF UPPER$(a$)="OY" THEN yt=yt+2:yb=yb-8
560 IF a$="ap" THEN GOSUB 720
570 dxt=xt:dxb=xb:dyt=yt:dyb=yb:GOSUB 620
580 IF twoplus THEN dxt=xt(1):dxb=xb(1):dyt=yt(1):dyb=yb(1):GOSUB 620
590 xt(1)=xt:yt(1)=yt:xb(1)=xb:yb(1)=yb
600 twoplus=-1
610 GOTO 500
620 MOVE x,y:DRAW dxt,dyt,3:MOVER -2,0:DRAW -dxt,dyt:MOVER -2,0:DRAW -x,y:DRAW -dxb,dyb:MOVER 2,0:DRAW dxb,dyb:MOVER 2,0:DRAW x,y :RETURN
630 STOP
640 WHILE x<999
650 READ x,y
660 IF x=999 THEN 680
670 IF x<0 THEN MOVE ABS(x)*side,y ELSE DRAW x*side,y,3
680 WEND
690 RETURN
700 MOVE x,y:DEG:FOR n=1 TO 360 STEP 10:PLOTR 2*SIN(n),2*COS(n):NEXT n:RAD
710 RETURN
720 apoint=apoint+1:|SPOUT,ap(apoint)+128:RETURN
730 |SPOUT,ap(apoint)+64
740 RETURN
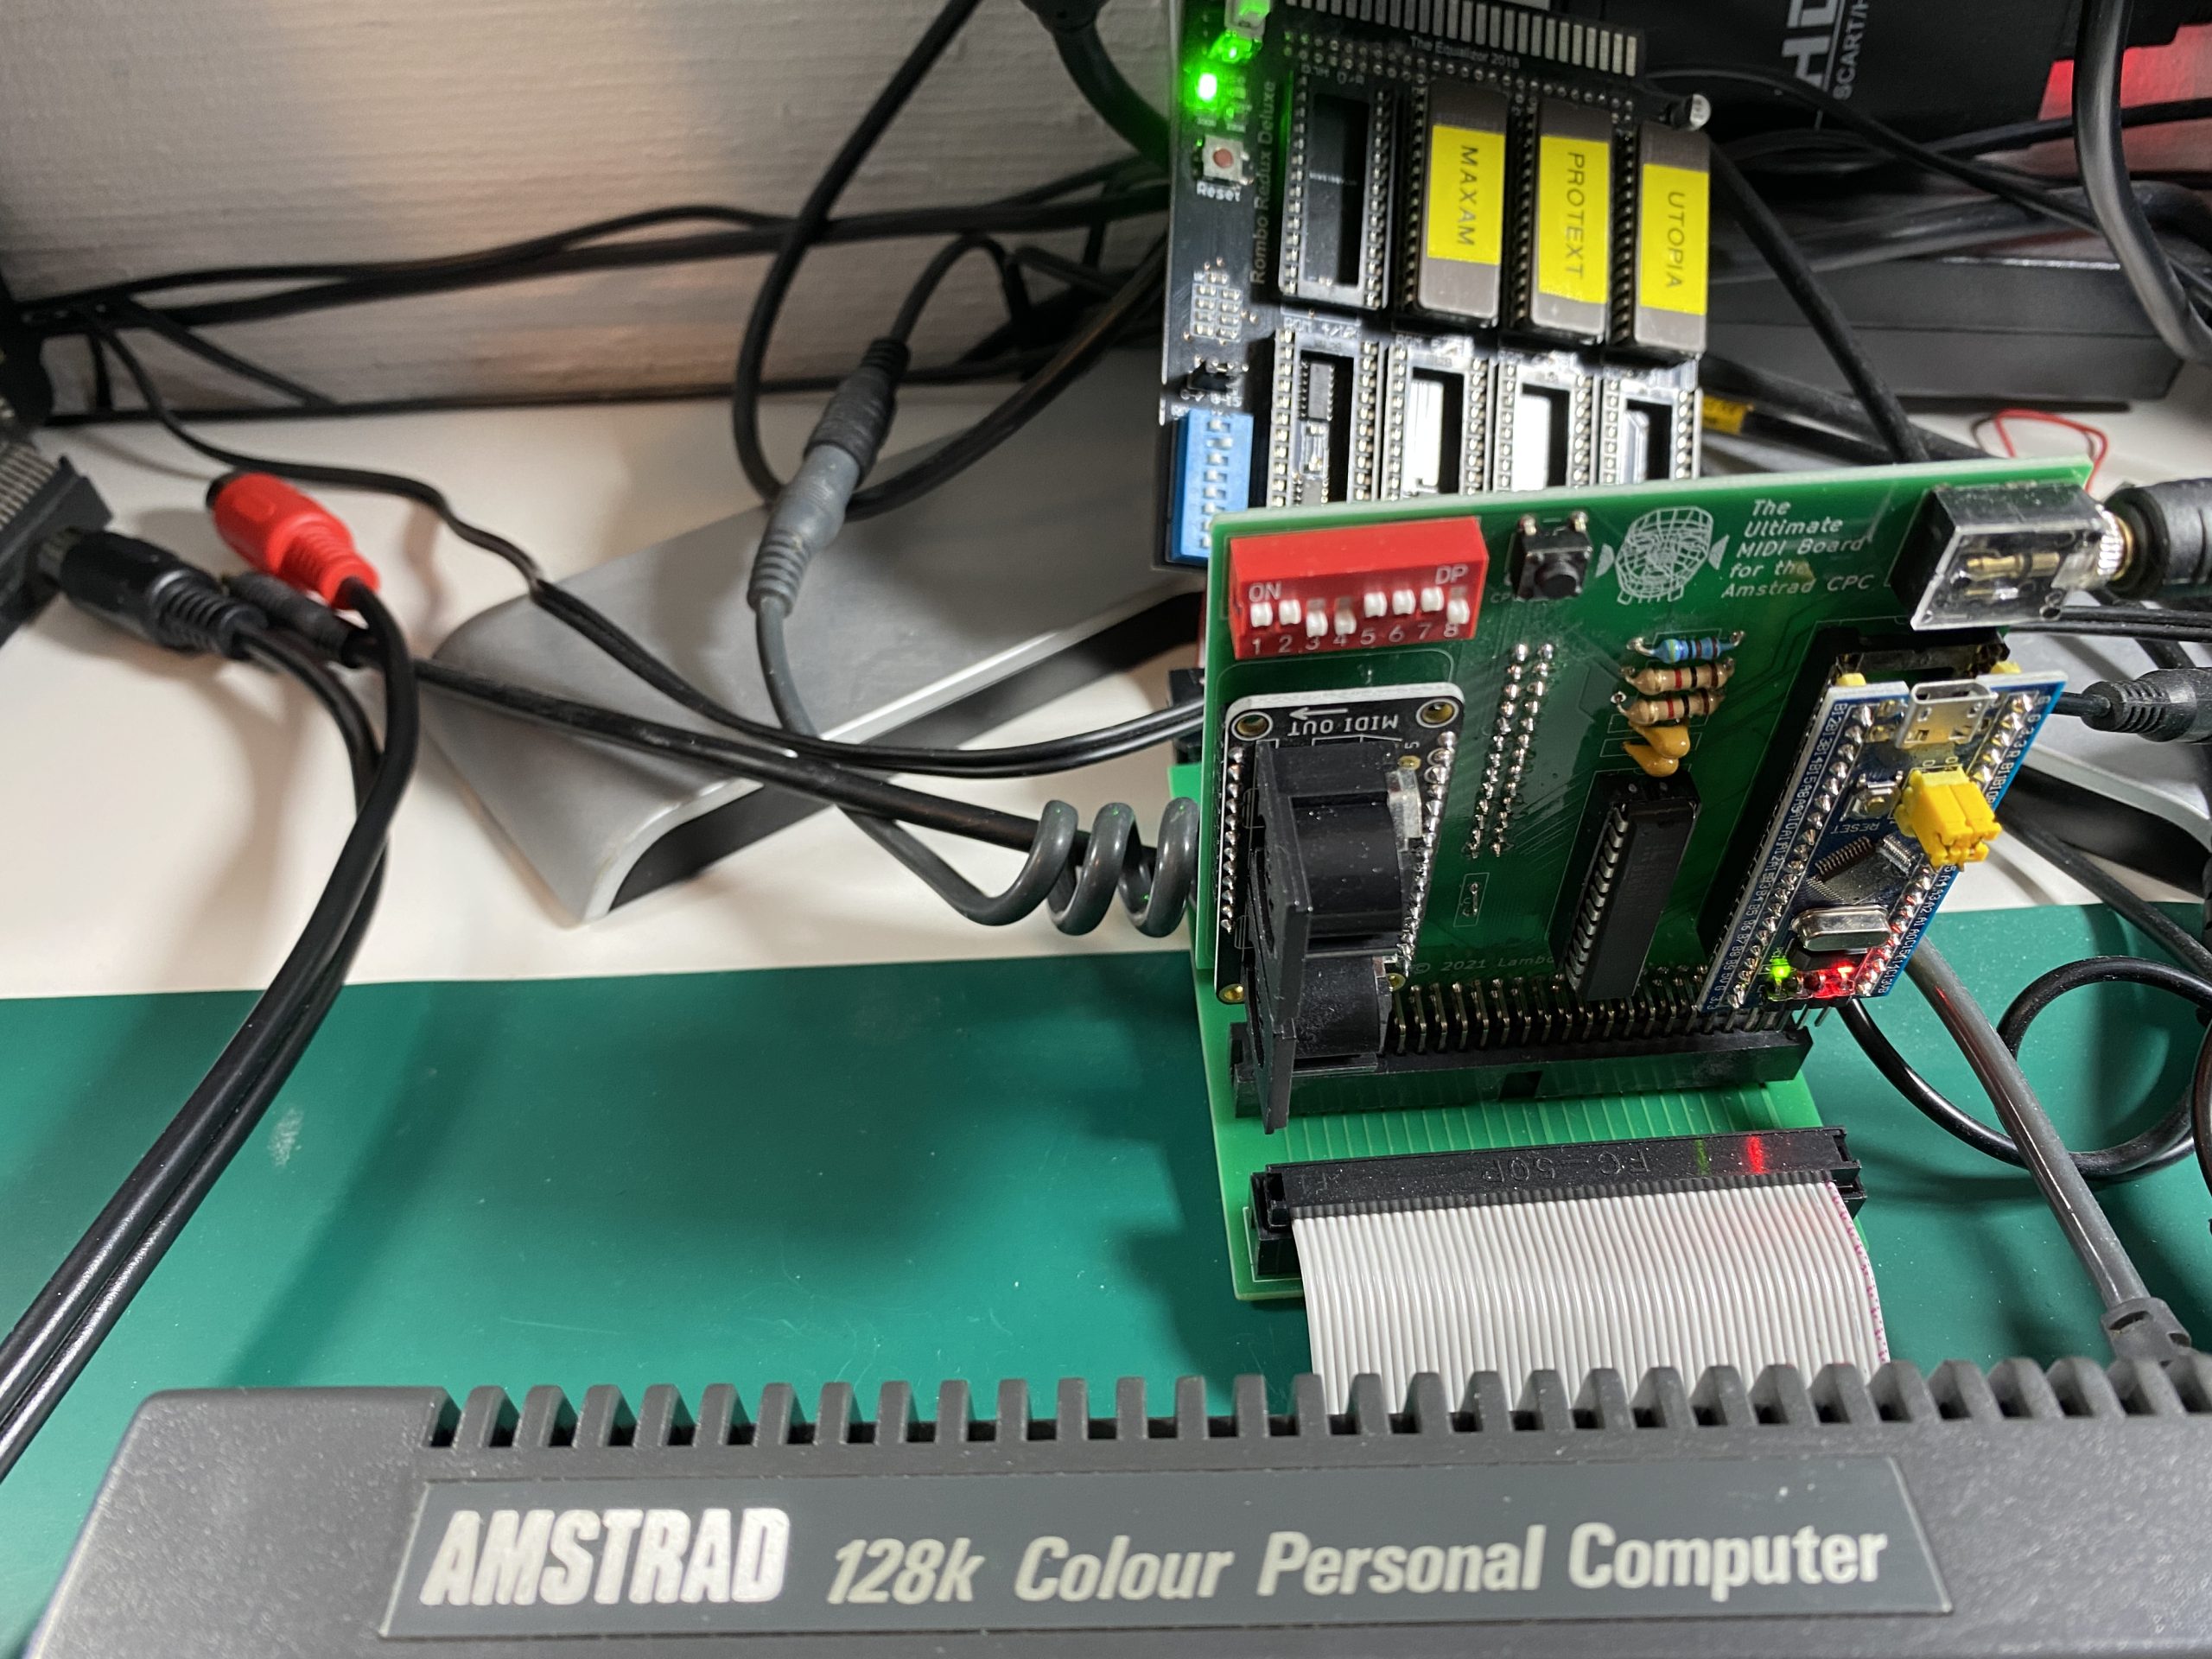
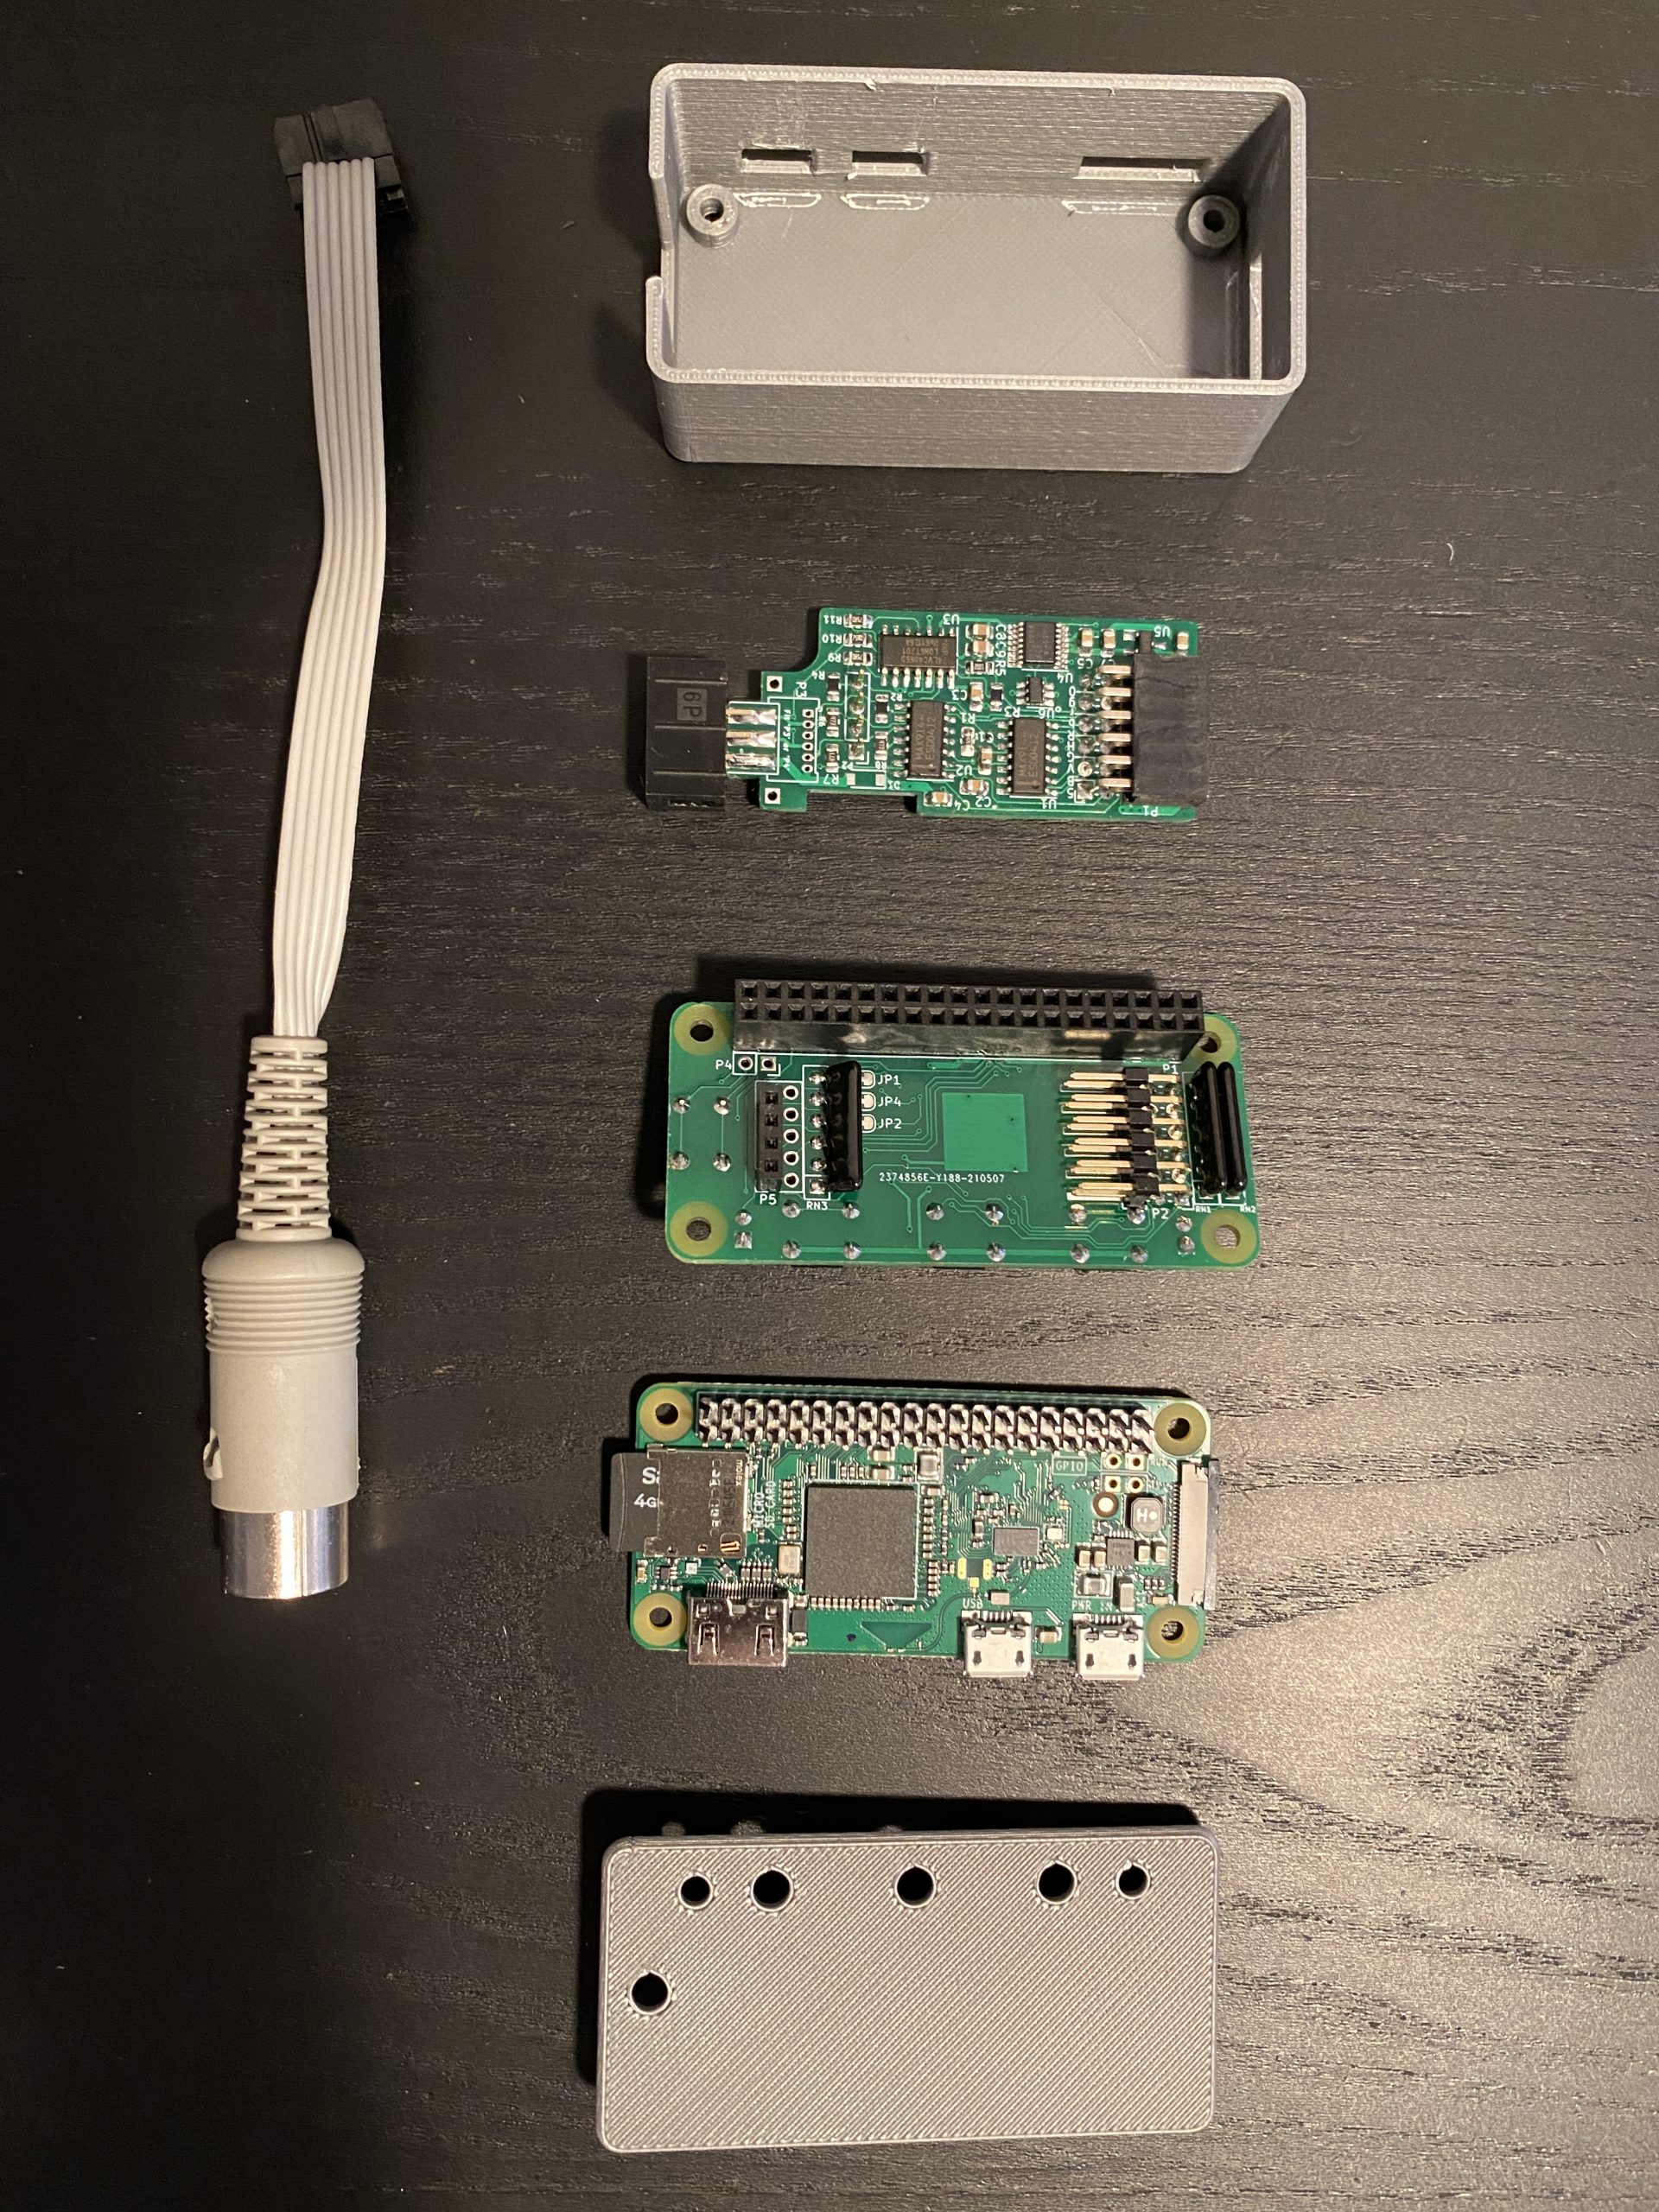
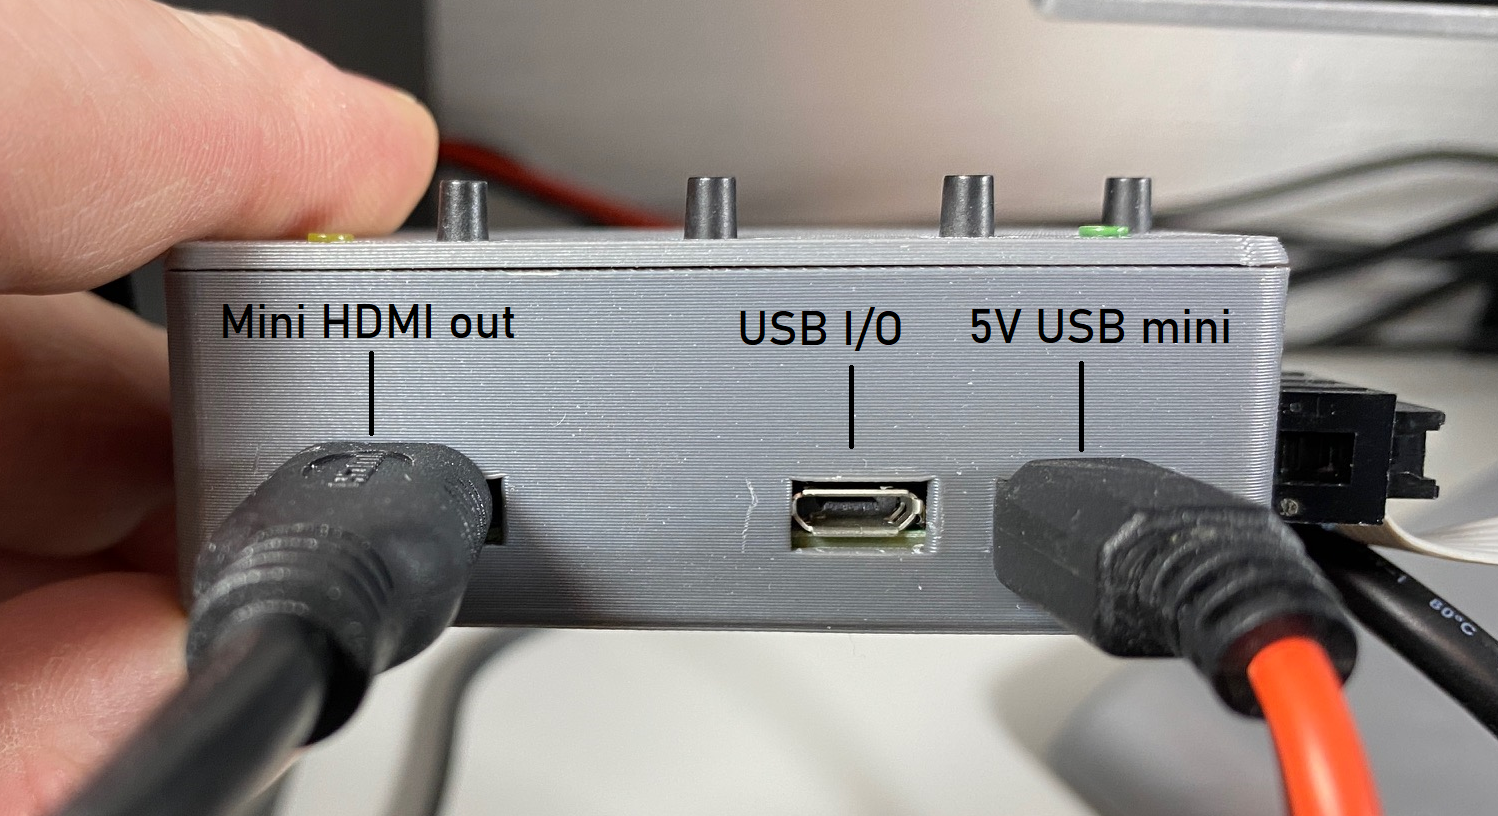
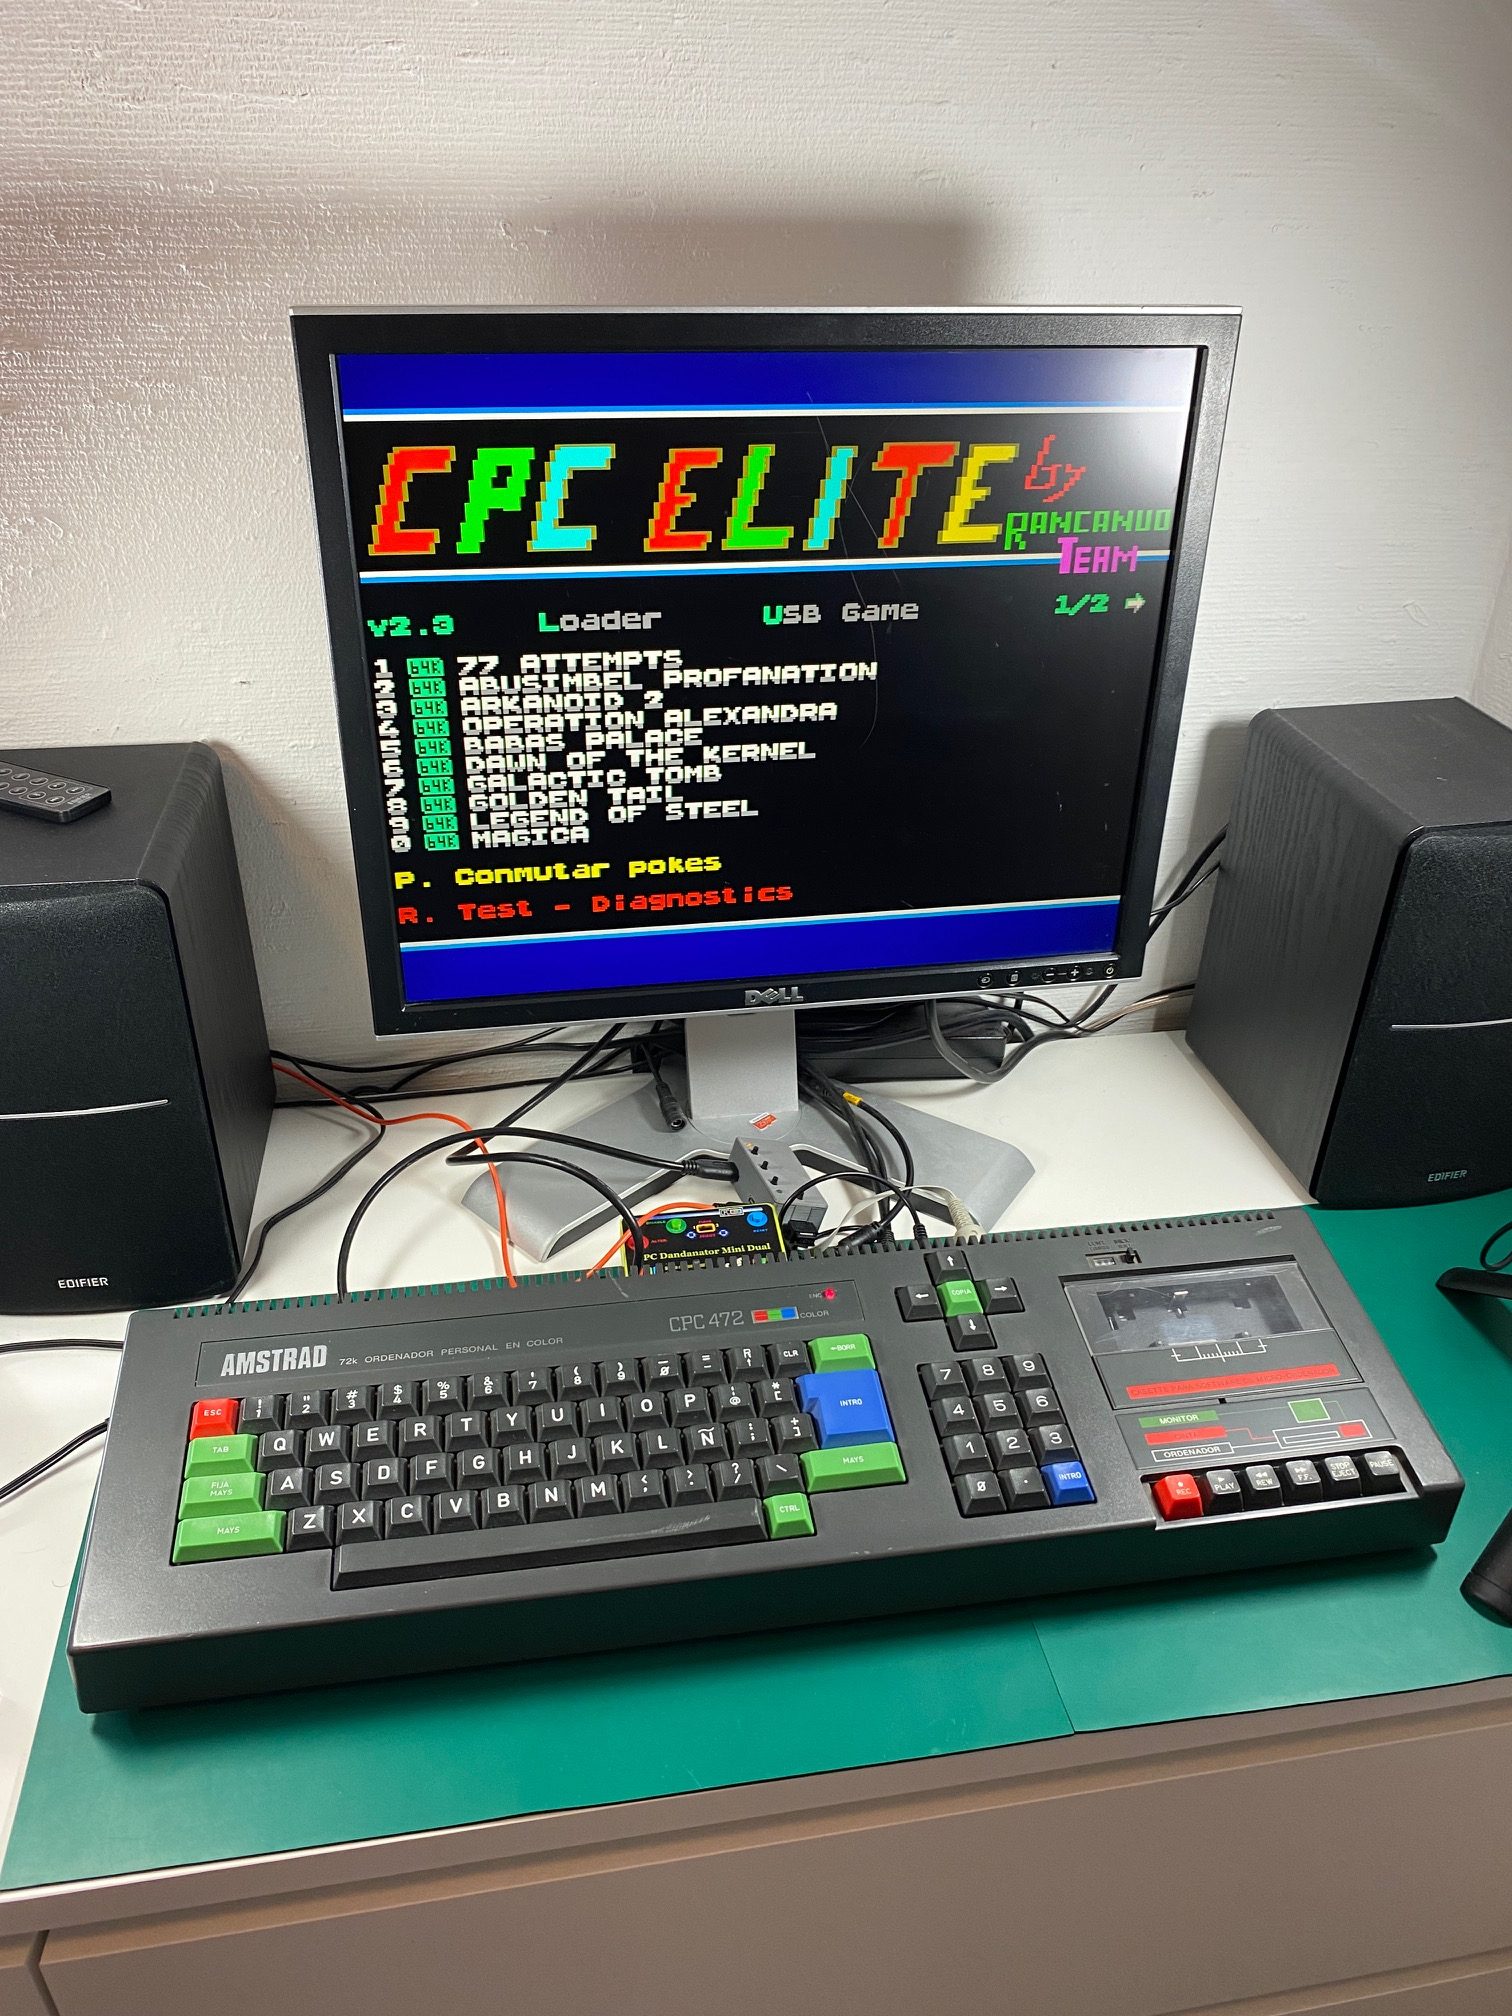
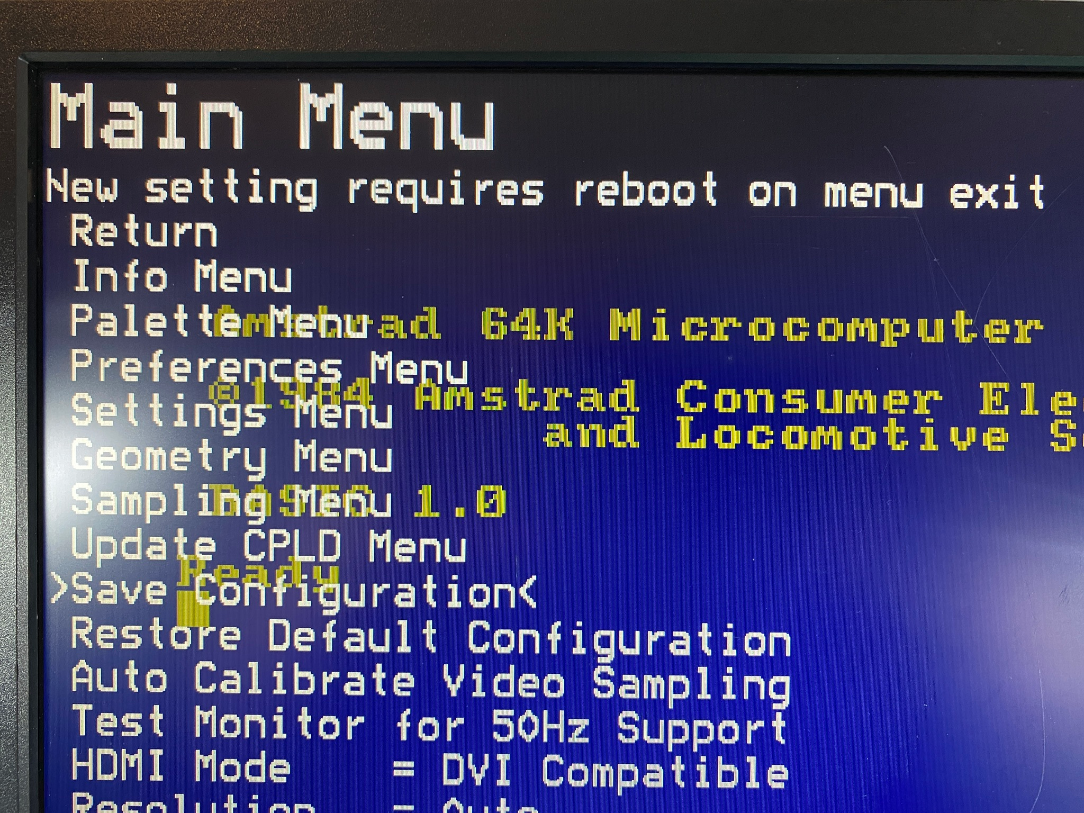
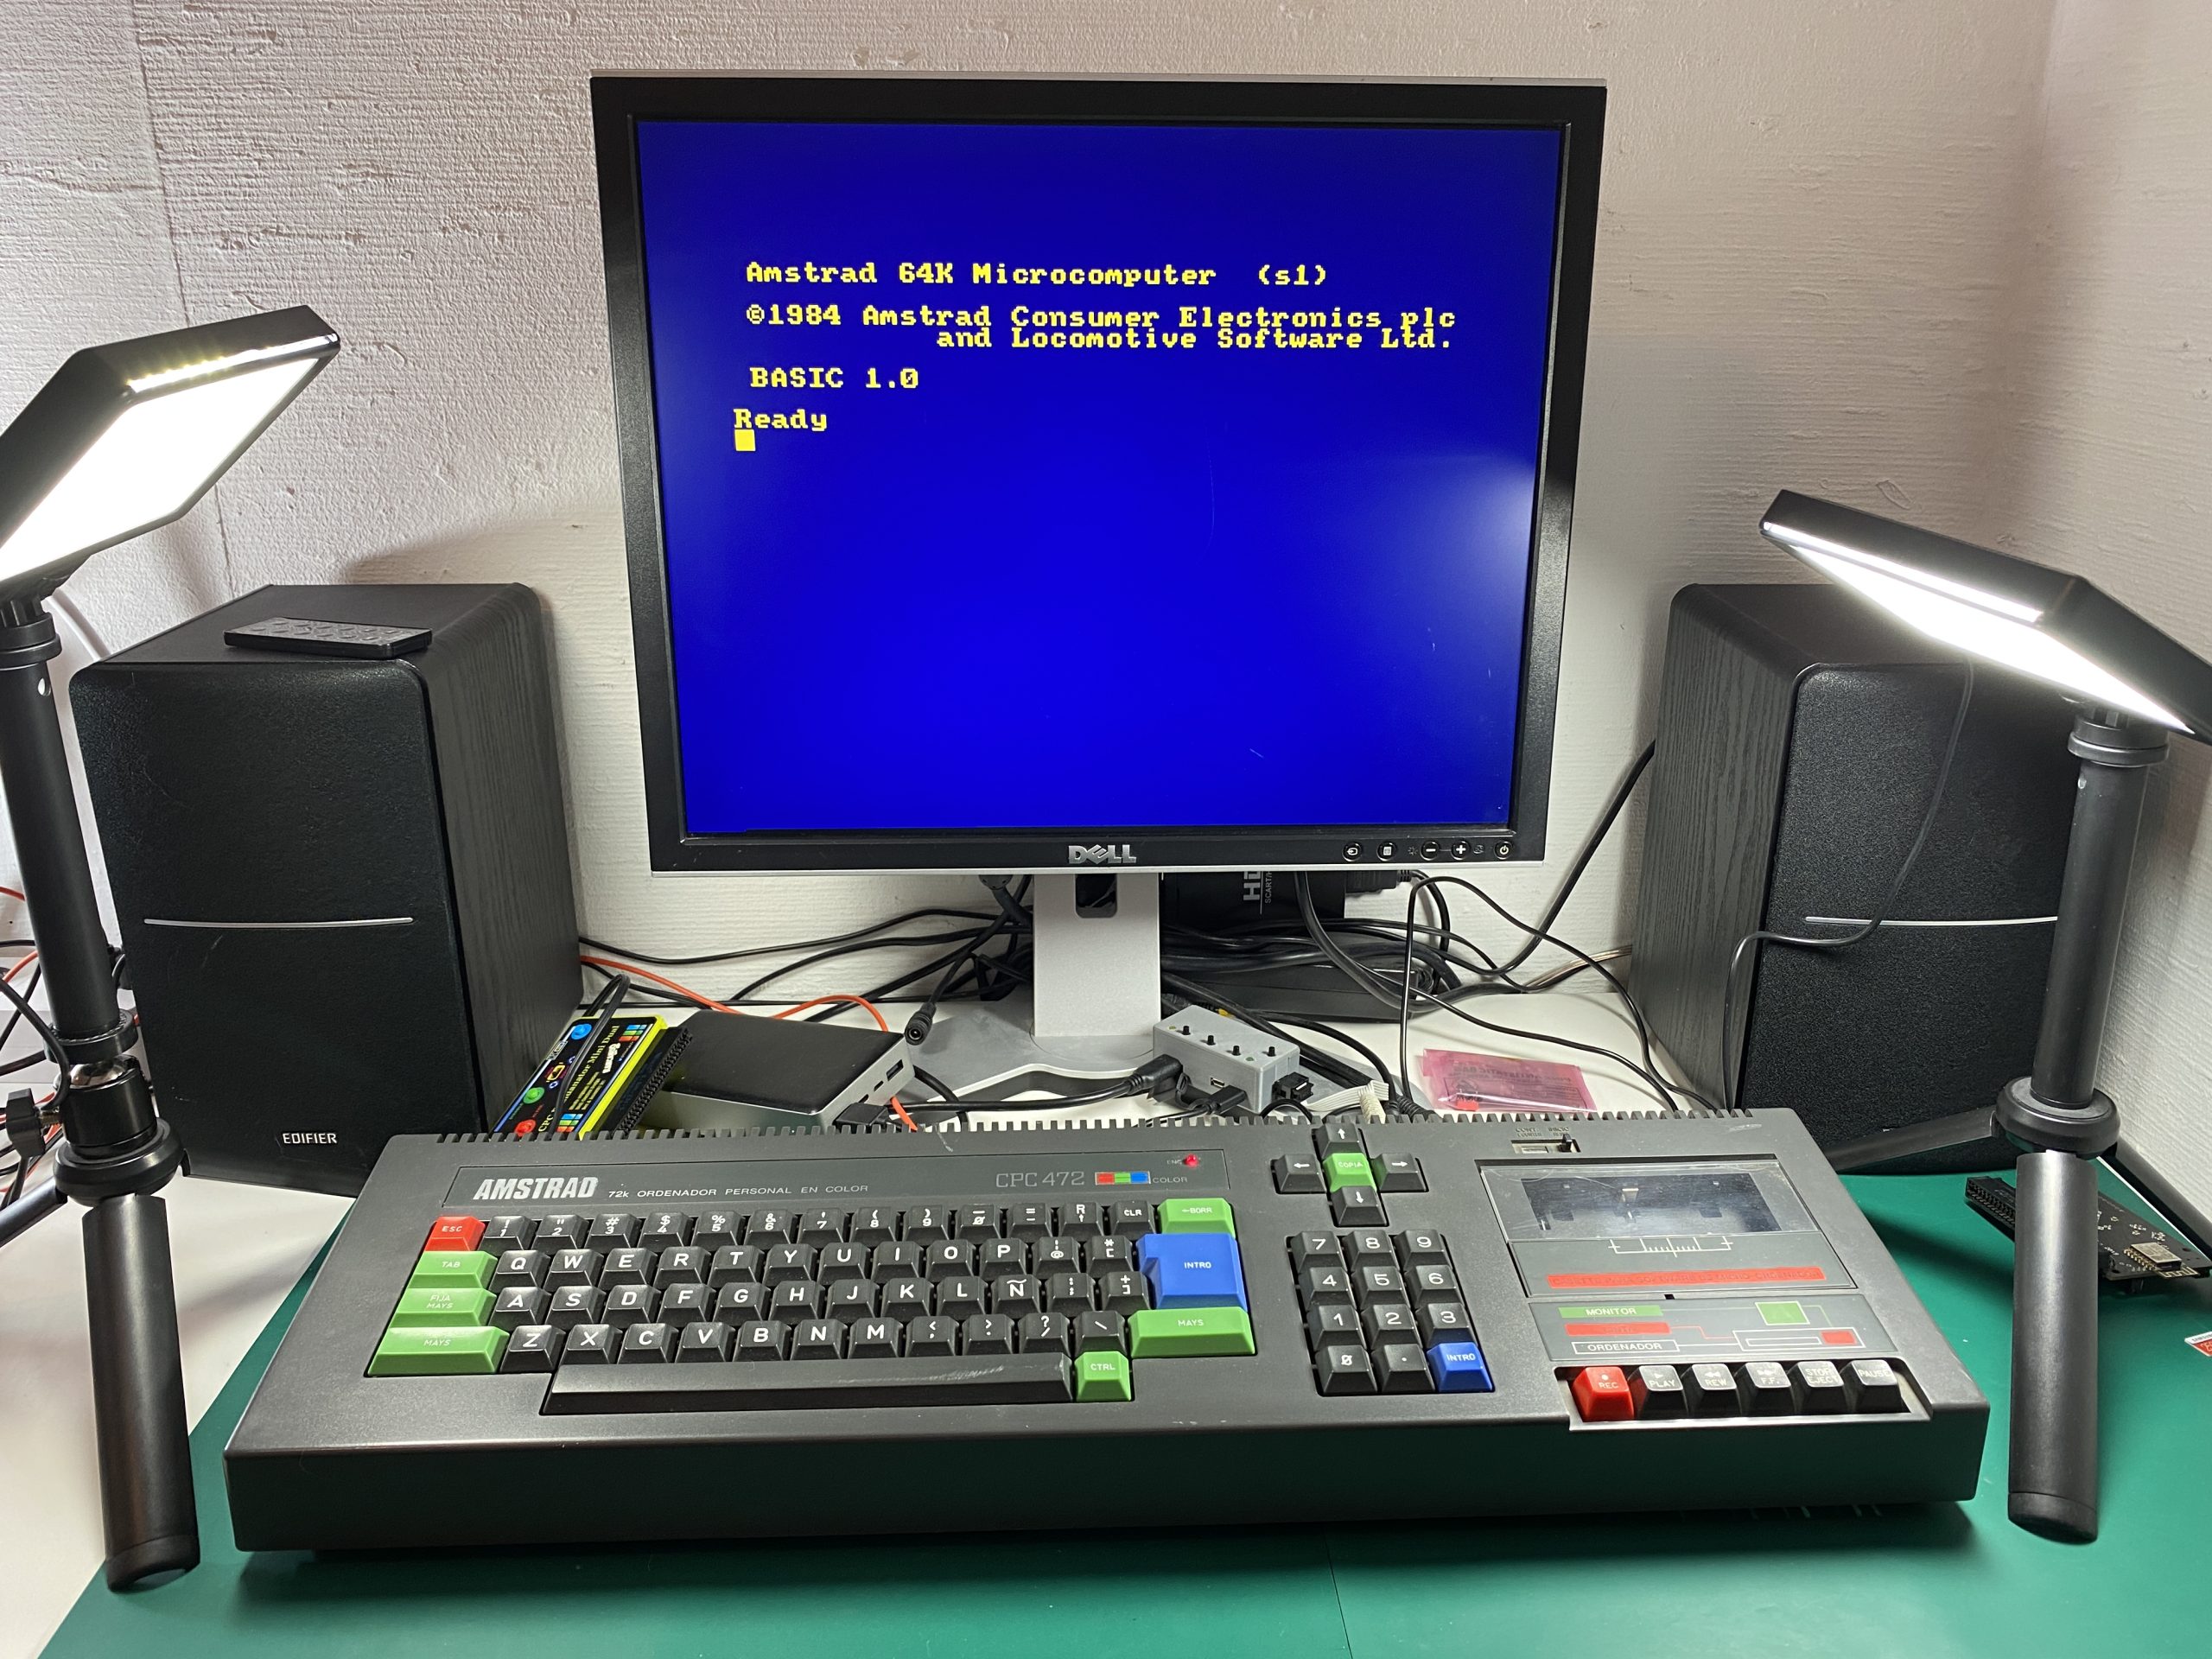
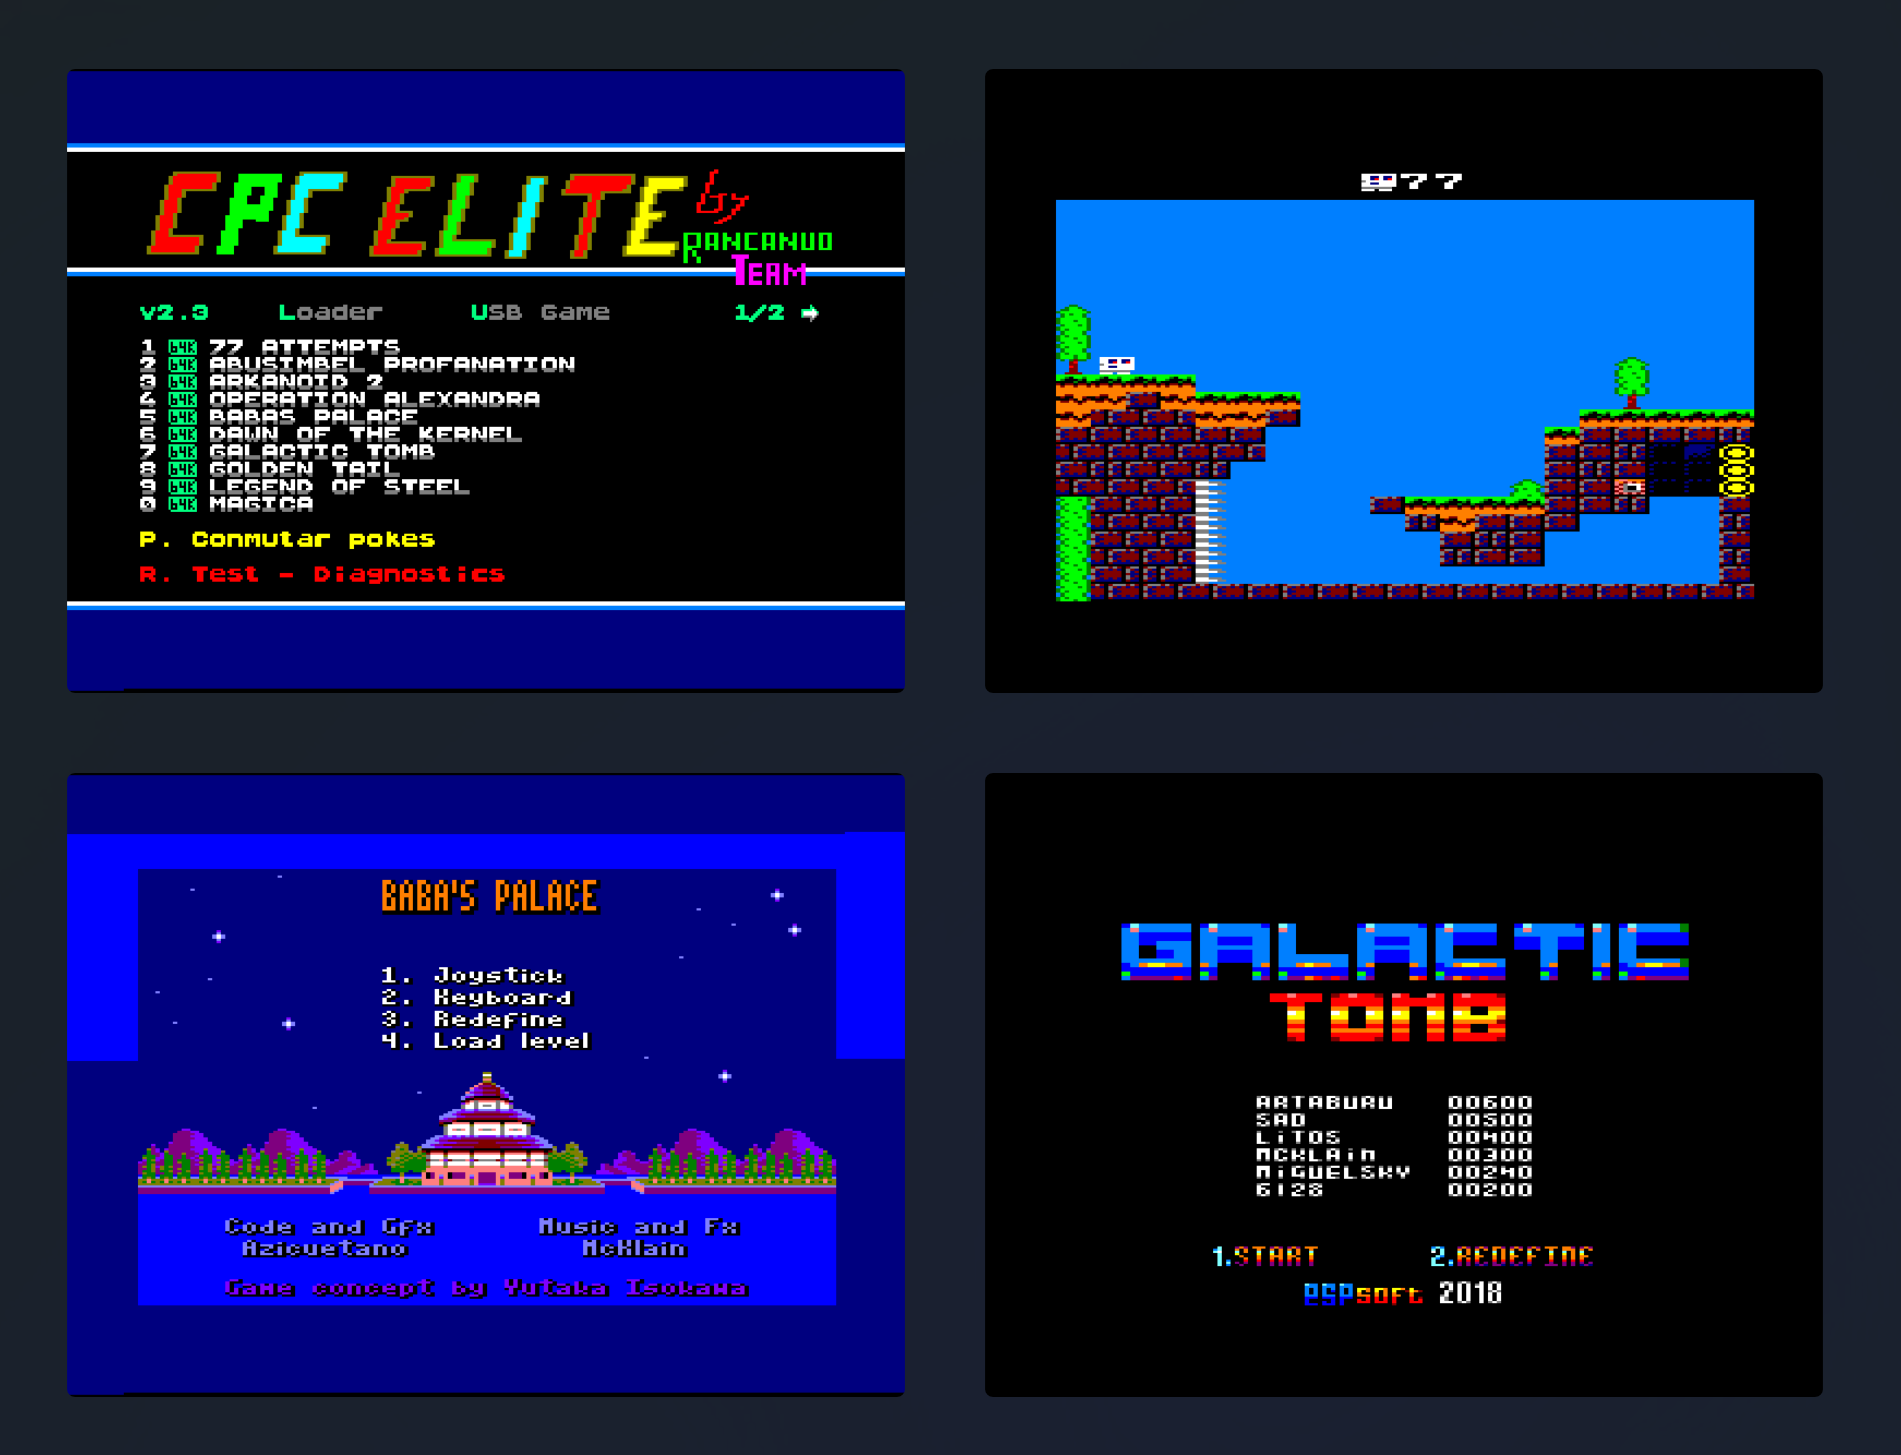
I then copied the games that were compatible with the SSA-1 to my M4 and tested it.
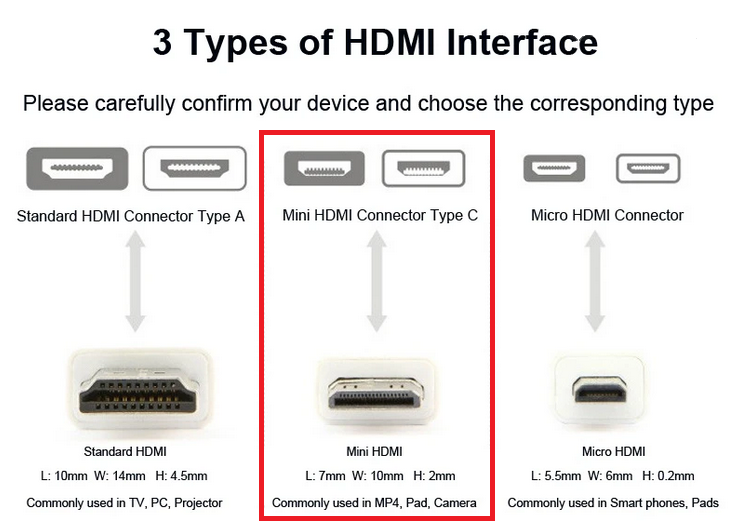
If you’d like info about setting up an M4 then checkout my blogs below:
cheers
niall